Quick Answer
This guide explains how to make sourdough starter from scratch with our reliable guide. This sourdough starter for beginners uses only flour and water for perfect artisan bread.
Practical note
For How to Make Sourdough Starter, the most useful home checks are temperature, measuring, resting time, and visible texture. Those details tell you more than guessing, especially before adding extra flour, liquid, heat, or leavening.
Decision table
| Situation | Likely cause or meaning | Best move |
|---|---|---|
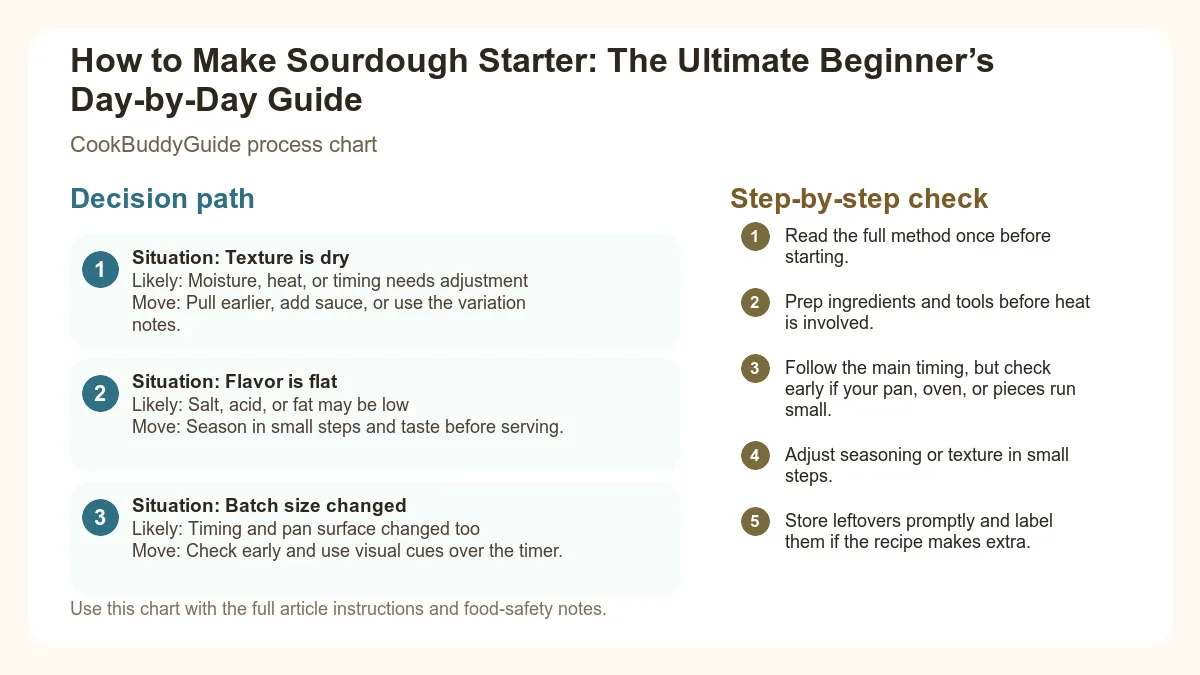
| Texture is dry | Moisture, heat, or timing needs adjustment | Pull earlier, add sauce, or use the variation notes. |
| Flavor is flat | Salt, acid, or fat may be low | Season in small steps and taste before serving. |
| Batch size changed | Timing and pan surface changed too | Check early and use visual cues over the timer. |
Step-by-step fix
- Read the full method once before starting.
- Prep ingredients and tools before heat is involved.
- Follow the main timing, but check early if your pan, oven, or pieces run small.
- Adjust seasoning or texture in small steps.
- Store leftovers promptly and label them if the recipe makes extra.
Common mistakes
- Changing the recipe before trying the base method once.
- Measuring casually when texture depends on ratios.
- Waiting until the end to fix seasoning.
- Ignoring carryover heat or resting time.
Related topic hubs
A sourdough starter is a living culture of wild yeast and lactic acid bacteria. Unlike store-bought commercial yeast, which provides a fast rise, a sourdough starter relies on natural leavening. The process takes time, but it can produce bread with deeper flavor and a crisp crust. You do not need laboratory equipment; flour, water, a clean container, and consistent feeding are enough. This guide walks through the full 7-to-10-day process for building a starter from scratch.
Table of Contents
- The Science of Sourdough: How Flour and Water Become Life
- Essential Ingredients and Tools
- The 7-Day Step-by-Step Sourdough Starter Schedule
- How to Know When Your Starter is Ready to Bake
- Maintaining Your Starter: Feeding Ratios and Storage
- Troubleshooting Common Sourdough Issues
- Kitchen Tips for Sourdough Success
The Science of Sourdough: How Flour and Water Become Life
Before we mix our first gram of flour, we need to understand what is actually happening inside that glass jar. We aren't just making a paste; we are cultivating an ecosystem. When you mix flour and water, enzymes in the flour begin to break down starches into simple sugars. This provides a feast for the wild yeast and lactic acid bacteria (LAB) that naturally exist on the grain of the flour and in your environment.
Wild Yeast vs. Lactobacillus
In a healthy starter, yeast and bacteria live in a symbiotic relationship. The yeast produces carbon dioxide, which creates the bubbles and lift in your bread. Meanwhile, the lactic acid bacteria produce organic acids that give sourdough its signature "sour" tang. According to the science of sourdough fermentation, this acidic environment is crucial because it protects the starter from harmful pathogens that cannot survive in low-pH conditions.
The Role of Fermentation in Flavor and Digestion
One of the biggest reasons I transitioned to sourdough years ago was for the health benefits. During the long fermentation process, the bacteria help break down phytic acid and begin the process of gluten development and degradation. This makes the nutrients in the grain more bioavailable and the bread significantly easier to digest for those with mild gluten sensitivities. It’s not just about the taste; it’s about creating a more nourishing loaf of bread.
Essential Ingredients and Tools
The Starter Supply List
- Whole wheat flour or Rye flour: These contain more nutrients and wild yeast than refined flour, making them perfect for "jumpstarting" a new culture.
- Unbleached all-purpose flour: This will be your primary flour for daily maintenance once the starter is established. Bleached flour contains chemicals that can hinder yeast growth.
- Filtered Water: While most tap water is fine, heavy chlorine can sometimes inhibit fermentation. If your water smells like a pool, use a filter or let it sit out overnight to dechlorinate.
- Glass Jar: A wide-mouth Mason jar or a Weck jar is ideal. It allows you to see the bubbles and the rise clearly.
- Kitchen Scale: Essential for maintaining a 100% hydration level (equal parts flour and water by weight).
- Breathable Lid: A loose-fitting lid or a cloth secured with a rubber band.
When you are just starting out, remember that sourdough is one of the most budget friendly meal ideas you can master. For the price of a five-pound bag of flour, you can create a leavening agent that lasts a lifetime.
The 7-Day Step-by-Step Sourdough Starter Schedule
Day 1: The Initial Mix
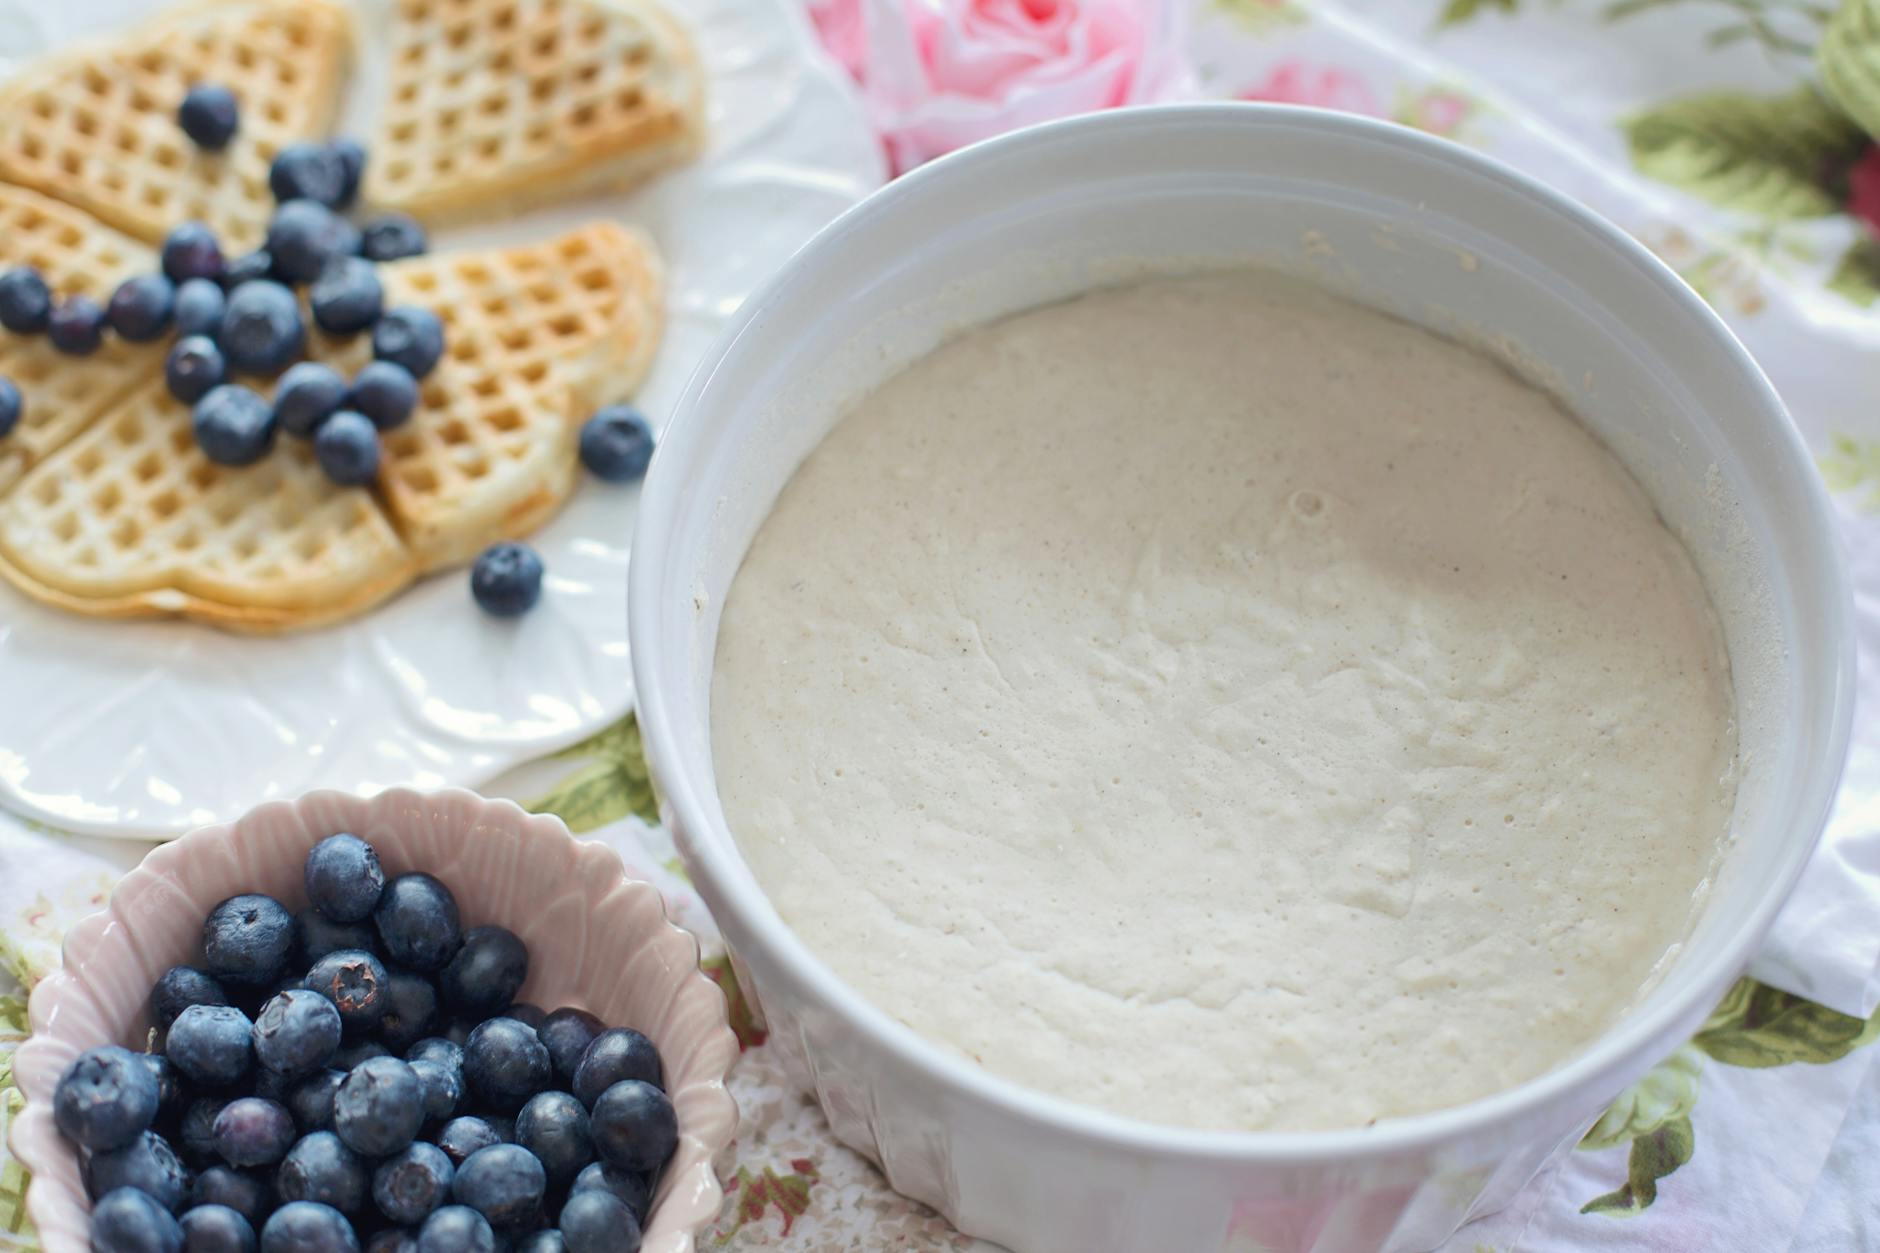
In your clean glass jar, mix 50g of whole wheat flour and 50g of warm water (about 80°F). Stir vigorously until no dry flour remains. The consistency should be like a thick, pasty peanut butter. Scrape down the sides of the jar, cover loosely, and let it sit for 24 hours.
Day 2: The First Check-In
You likely won't see much activity today, and that is perfectly normal. You might see a few tiny bubbles or a slight change in color. Do nothing. Let the microbes continue to settle in for another 24 hours. If you see liquid on top (this is called hooch), don't worry—it's just a sign that things are starting to move.
Day 3: The "False Rise" and Funky Smells
Day 3 is often where beginners quit. You might see a massive explosion of bubbles and a doubling in size, followed by a smell that resembles old cheese or dirty socks. Do not panic. This is usually a burst of Leuconostoc bacteria, not the yeast we want.
The Feed: Discard half of the mixture (about 50g). To the remaining 50g in the jar, add 50g of unbleached all-purpose flour and 50g of water. Stir well.
Day 4-6: Establishing Consistency
Over these days, you will repeat the Day 3 feeding every 24 hours. You are looking for the "bad" bacteria to die off as the environment becomes more acidic, allowing the wild yeast and lactic acid bacteria to take over. The smell will transition from "stinky" to "fruity" or "vinegary."
The Feed: Discard all but 50g of starter. Add 50g flour and 50g water. By Day 6, you should see the starter rising and falling predictably within 6-8 hours of feeding.
Day 7: Achieving Peak Maturity
By Day 7, your starter should be full of bubbles, have a pleasant sour smell, and consistently double in size after a feeding. If it’s not quite there yet, don't worry—some environments take up to 14 days. Just keep feeding!
How to Know When Your Starter is Ready to Bake
The Doubling Rule
The Float Test: Is It Reliable?
The float test involves taking a small teaspoon of your "peaked" starter and dropping it into a glass of water. If it floats, it means there is enough carbon dioxide trapped in the structure. Note from experience: This test can sometimes fail if you accidentally deflate the starter while scooping it. If your starter doubles in size but fails the float test, it’s likely still ready to bake.
The Aroma Check
A ready starter should smell like a mix of yeast and mild vinegar—think of a fruity, fermented scent. If it still smells like gym socks or ammonia, it needs more time to develop its microbiome. Once it reaches this stage, you can start looking into healthy breakfast meal prep ideas like sourdough pancakes or waffles using your discard.
Maintaining Your Starter: Feeding Ratios and Storage
Maintenance Ratios Explained
When you feed your starter, you are essentially giving it a fresh meal. The ratio determines how long it takes for the yeast to consume the flour.
- 1:1:1 Ratio: (e.g., 50g starter, 50g flour, 50g water). Best for daily feedings at room temperature.
- 1:2:2 Ratio: (e.g., 25g starter, 50g flour, 50g water). Use this if you want the starter to peak later (e.g., feeding at night to bake in the morning).
- Refrigerator Storage: Feed your starter, let it sit at room temperature for 1 hour to "wake up," then pop it in the fridge. It only needs to be fed once every 7-10 days.
What to Do with Sourdough Discard
"Discarding" feels wasteful to many beginners, but it is necessary to keep the volume manageable and the acidity balanced. If you don't discard, you'll eventually need a swimming pool's worth of flour to feed the ever-growing culture. Save your discard in a separate jar in the fridge! You can use it for discard recipes like crackers, muffins, or even pizza crust.
Troubleshooting Common Sourdough Issues
Hooch is simply an alcohol byproduct of fermentation. It’s a signal that your starter is hungry. You can either pour it off or stir it back in for a more sour smell. If you see hooch frequently, increase your feeding frequency or the amount of flour you provide.
It is very hard to kill a starter. Usually, it’s just too cold. Try moving it to a "warm spot," like the top of the refrigerator or inside an oven with the light turned on (but the heat OFF!). Temperature is the primary driver of fermentation speed.
If you see a fuzzy growth that is white, green, black, or pink, throw it away. Do not try to save it. However, don't confuse mold with Kahm yeast, which is a flat, white, wavy film on the surface. Kahm yeast is harmless but should be scraped off. For more on safety, check the sourdough starter safety and mold guidelines from Penn State.
Kitchen Tips for Sourdough Success
- Consistency is Key: Try to feed your starter at the same time every day. This trains the yeast and bacteria to follow a predictable cycle, which makes planning your bake days much easier.
- Seasonal Adjustments: In the summer, your starter will move fast. You might need to use cooler water or feed it twice a day. In the winter, use warm water and find the warmest spot in your house.
- The Jar Swap: Every few weeks, move your starter to a completely fresh, clean glass jar. This prevents dried-on starter around the rim from attracting mold.
- Don't Be Afraid of Rye: If your starter feels sluggish, give it a "treat" by replacing 20g of your all-purpose flour with rye flour. Rye is like a superfood for wild yeast.
Learning how to make sourdough starter is a rite of passage for any home cook. It connects you to a tradition that spans thousands of years and results in the best bread you will ever eat. It requires no more than 10 minutes of your day, but the payoff is a lifetime of delicious, artisan loaves. Don't let the first few "stinky" days discourage you. Stay the course, keep your kitchen scale handy, and soon you'll be the one sharing your starter with friends and neighbors.
Ready to start? Grab your flour and water, and let's get fermenting. You’ve got this!