Quick Answer
This guide explains how to make cinnamon rolls with our reliable homemade cinnamon rolls recipe. Includes overnight tips, yeast secrets, and a rich cream cheese frosting.
Related topic hubs
Method and key variables
You cannot achieve bakery-level results with subpar ingredients. Every component in this recipe serves a specific chemical purpose.Bread Flour vs. All-Purpose: Which is Better?
The Role of Room Temperature Ingredients
Step 1: Mastering Yeast Activation and the Bloom
The most common reason home cooks fail at how to make cinnamon rolls is improper yeast handling. Yeast is a living organism, and it needs to be treated with care.Temperature Matters: The 110°F Rule
To begin, you must warm your milk. Use a digital thermometer to ensure the warm milk is between 105°F and 110°F. If the milk is 120°F or higher, you risk killing the yeast instantly. If it’s below 100°F, the yeast will take forever to "wake up."Signs of Healthy Yeast vs. Dead Yeast
Once you add your active dry yeast and a teaspoon of sugar to the milk, let it sit for 5 to 10 minutes. This is called "blooming." You are looking for a thick, foamy head to develop on top of the milk, similar to the head on a latte. If the milk remains flat and clear, your yeast is dead. Stop immediately and buy fresh yeast; no amount of kneading or waiting will save the dough if the fermentation hasn't started. For more detail, see this guide on properly activating your yeast.Step 2: Mixing and Kneading for Structural Integrity
Once your yeast is frothy, it’s time to build the dough. This is where the stand mixer becomes your best friend.The Stand Mixer Method vs. Hand Kneading
While you can knead by hand, using a dough hook on a stand mixer allows for more consistent gluten development without the temptation to add too much extra flour. Consider mixing on low speed (Setting 2 on a KitchenAid) for about 7 to 10 minutes.The Windowpane Test: How to Know You're Done
How do you know when the gluten is sufficiently developed? Use the "Windowpane Test." Take a small piece of dough and gently stretch it out. If you can stretch it thin enough to see light through it without it tearing, your gluten network is strong. If it snaps immediately, keep kneading. Be careful not to over-knead, as this can lead to tough, rubbery rolls. You want a dough that is "tacky" (sticks to your finger for a split second then releases) but not "sticky" (leaves a mess on your hands).Step 3: The First Rise—Patience for Flavor
This is the "bulk fermentation" phase. During this time, the yeast consumes the sugars and releases carbon dioxide and alcohol, which provides both lift and flavor.Creating a Warm Environment
If your kitchen is cold, your dough won't rise. Use the proofing drawer setting on my oven. If you don't have one, place the dough in an unlit oven with the oven light turned on. The heat from that tiny bulb is usually enough to maintain a steady 75-80°F.Bulk Fermentation: Doubling in Size
Cover your bowl with plastic wrap or a damp cloth to prevent a skin from forming. You are looking for the dough to exactly double in size. This usually takes 60 to 90 minutes. Use the "finger-poke test": gently press two fingers into the dough. If the indentation stays and doesn't spring back, it’s ready.Step 4: The Art of the Roll and the Perfect Swirl
Now comes the fun part. Turn your dough out onto a lightly floured surface. Using a rolling pin, shape the dough into a large rectangle, roughly 12x18 inches.The Butter-to-Cinnamon-Sugar Ratio
Spread your room temperature butter across the dough, leaving a 1/2-inch border at the top edge. This border acts as a "seal" when you finish rolling. For the filling, Use a mixture of dark brown sugar (for the molasses notes) and high-quality Saigon cinnamon.The Dental Floss Method for Clean Cuts
One of the best tips I ever learned was to stop using a knife to cut my rolls. A knife squishes the delicate air pockets you just worked so hard to create. Instead, use the dental floss method. Slide a piece of unflavored floss under the log, cross it over the top, and pull quickly. It "strangles" the dough into a perfect circle without any compression. This technique for tight rolling and cutting is what separates amateur rolls from professional ones.Step 5: The Second Rise—The Secret to Fluffiness
After cutting your rolls, place them in a 9x13 baking dish lined with parchment paper. But don't put them in the oven yet!Why You Can't Skip the Second Proof
The second rise (or proof) is where the "fluff" happens. During the rolling process, you knocked a lot of air out of the dough. The second rise allows the yeast to re-inflate those cells. This rise should take about 45 to 60 minutes. The rolls should look "puffy" and be touching each other in the pan.The Heavy Cream Hack
A Practical Homemade Cinnamon Rolls Recipe
Ingredients:
- 1 cup warm milk (110°F)
- 1 packet (2.25 tsp) active dry yeast
- 1/2 cup granulated sugar
- 1/3 cup unsalted butter, melted and cooled
- 1 large egg, room temperature
- 4 cups bread flour (plus more for dusting)
- 1 tsp salt
- Filling: 1/2 cup softened butter, 1 cup brown sugar, 2.5 tbsp cinnamon
- Frosting: 4 oz cream cheese, 1/4 cup butter, 1.5 cups powdered sugar, 1 tsp vanilla
Instructions:
- Bloom yeast in warm milk and sugar for 10 minutes.
- Add butter, egg, flour, and salt. Knead with a dough hook for 7-10 minutes.
- Rise in a warm place for 90 minutes until doubled.
- Roll into a 12x18 rectangle, spread filling, and roll tightly.
- Cut into 12 rolls using dental floss and place in a lined pan.
- Rise for 45-60 minutes. (Optional: pour 1/2 cup warm heavy cream over rolls).
- Bake at 350°F for 22-27 minutes until golden brown.
- Frost while still warm.
Step 6: Baking and the Ultimate Cream Cheese Frosting
The Tangy Cream Cheese Glaze Recipe
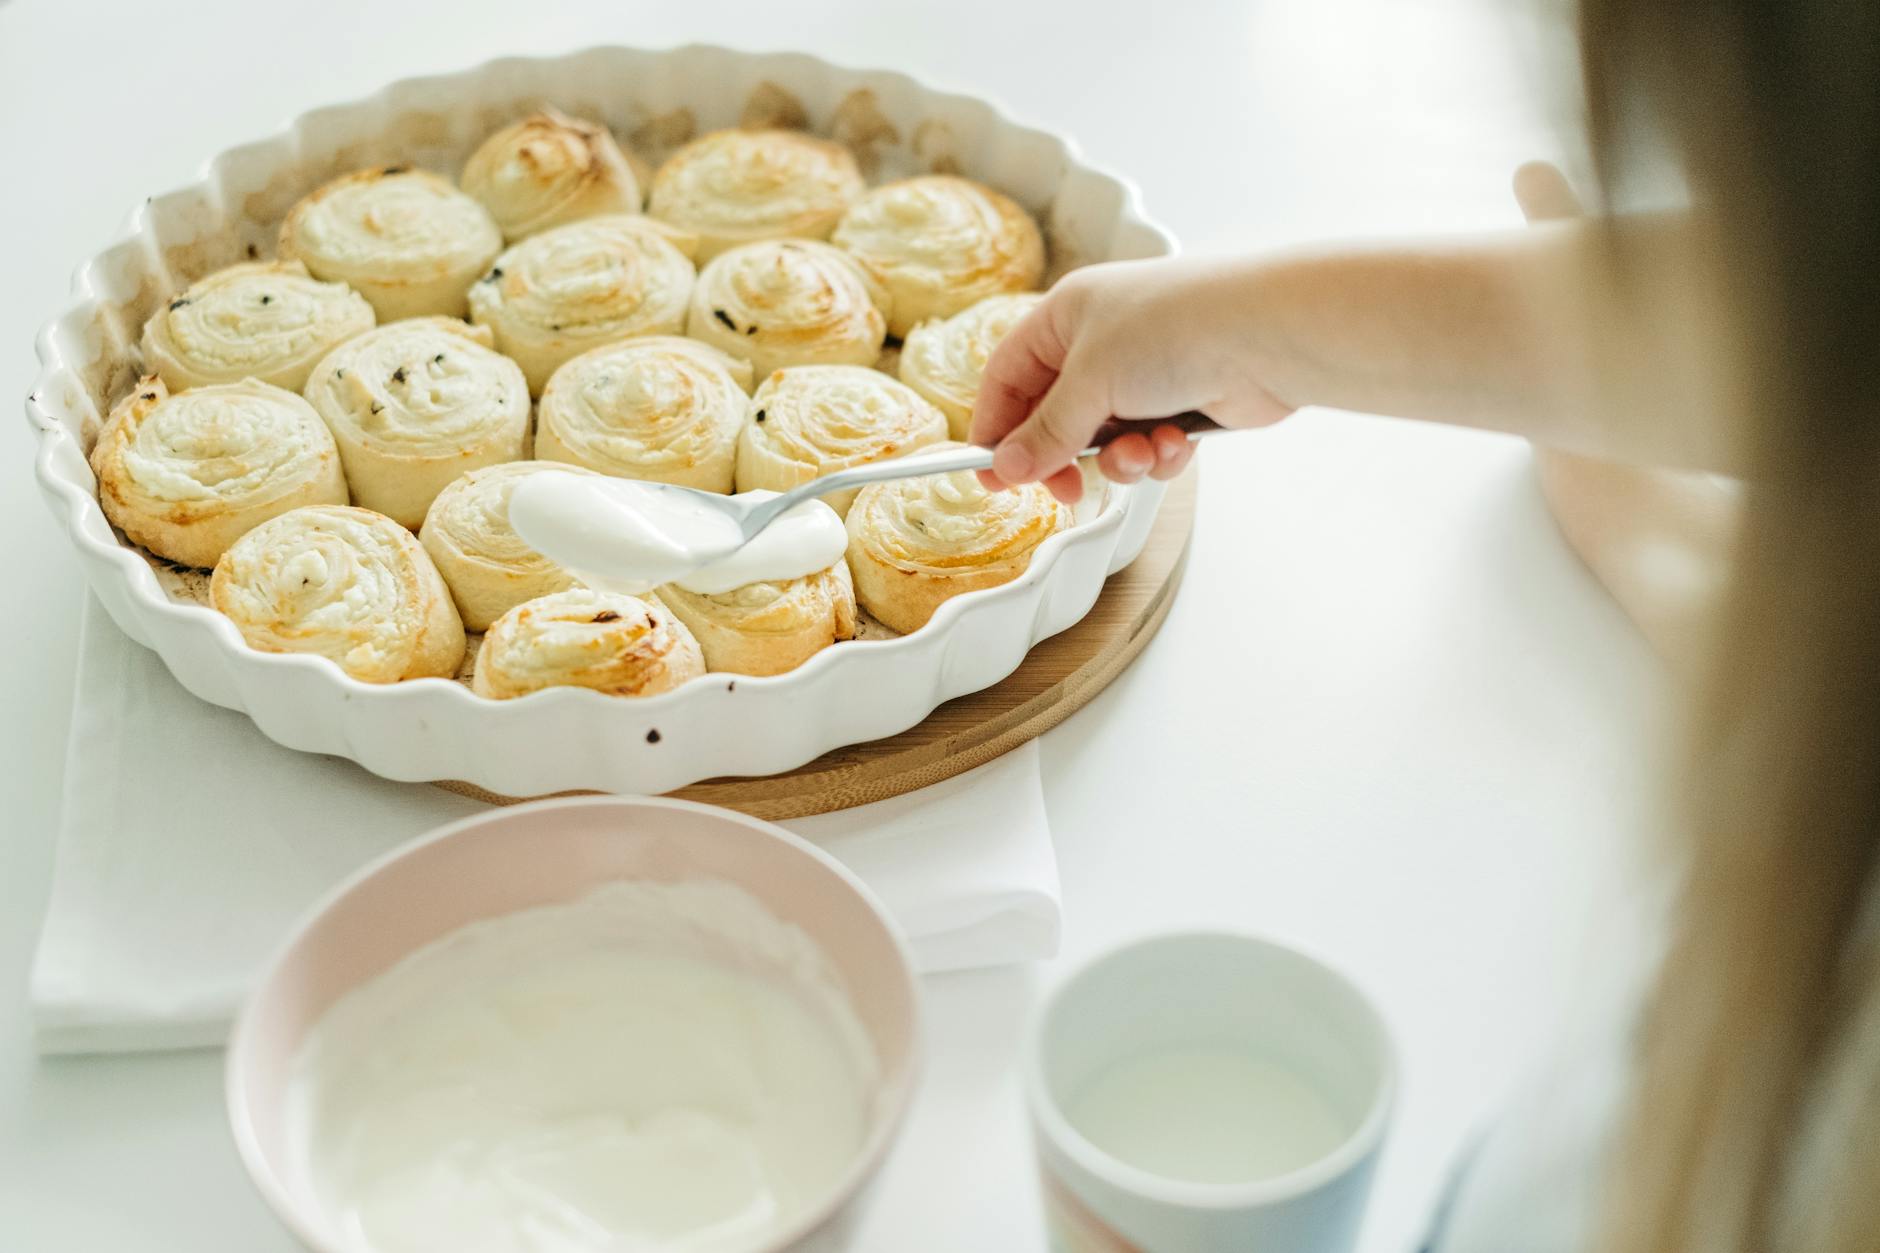
While the rolls bake, whip up your cream cheese frosting. Use a 1:2 ratio of butter to cream cheese to ensure it’s tangy enough to cut through the sweetness of the roll.Frosting While Warm vs. Frosting While Hot
The Overnight Option: How to Make Ahead
Let’s be honest: nobody wants to wake up at 4:00 AM to have cinnamon rolls ready by breakfast. The overnight method is a lifesaver.Refrigerator Proofing Instructions
After you have cut your rolls and placed them in the baking dish, cover them tightly with plastic wrap and put them immediately into the refrigerator. The cold temperature slows down the yeast (a process called retardation), allowing for a slow, 8-to-16-hour fermentation. This actually improves the flavor of the dough, making it more complex and "yeasty." For more on this, check out these tips for preparing dough for overnight rising.Bringing Rolls to Room Temp Before Baking
Troubleshooting Common Cinnamon Roll Problems
This is usually due to one of three things: expired yeast, under-proofing, or using too much flour. If the dough feels like a brick before it even goes in the oven, it won't magically lighten up while baking. Check this guide on troubleshooting dense or heavy rolls for more specific fixes.
This happens if your butter was melted instead of softened when you made the filling, or if you didn't roll the dough tightly enough. A loose roll leaves gaps for the butter and sugar to escape.
As tempting as it is, you should avoid it. Always follow safety guidelines regarding handling raw dough safely to avoid illness from raw flour or eggs.
Storage, Freezing, and Reheating Tips
Cinnamon rolls are best fresh, but they can be saved!- Storage: Keep rolls in an airtight container at room temp for up to 2 days, or in the fridge for 5 days.
- The Microwave Trick: To revive a day-old roll, microwave it for 15-20 seconds with a small cup of water next to it. The steam will re-hydrate the starch molecules, making it soft again.
- Freezing: You can freeze baked rolls (frosted or unfrosted) for up to 3 months. Thaw overnight in the fridge and reheat in a 300°F oven for 10 minutes.