 CookBuddyGuide
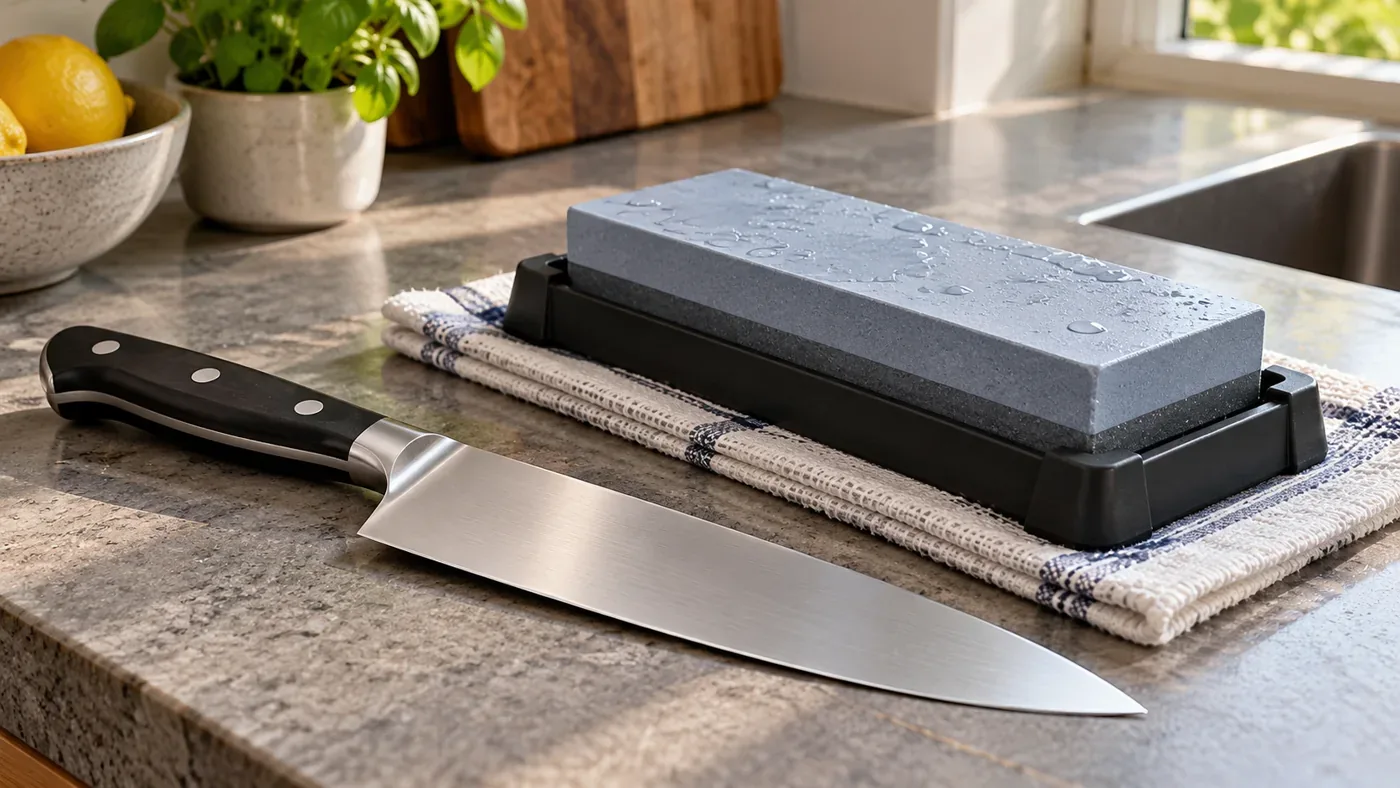
Does the knife need honing, sharpening, or repair?
Start with the blade, not the sharpener. Wash and dry it, then look for chips, a bent tip, or a loose handle. Stop using a knife with structural damage. A sound knife that slides over onion skin may need sharpening; one that improves after light honing may only need maintenance.
| What you notice | Next step | Limit |
|---|---|---|
| Straight edge needs extra pressure to start an onion cut; no chips | Try a compatible honing rod, then repeat the cut on a stable board. | Stop if honing makes no improvement. |
| Honing no longer restores the cut | Use a whetstone or compatible guided sharpener. | Match the factory edge rather than guessing its angle. |
| Visible chips, bent tip, or uneven blade profile | Ask the manufacturer or a qualified sharpener about repair. | Ordinary touch-ups will not fix substantial damage. |
| Serrated, ceramic, or single-bevel blade | Use that blade's specific service instructions. | The two-sided method below is not suitable. |
Tool names can be confusing. A smooth steel primarily maintains alignment; ceramic and diamond rods are abrasive and remove metal. Do not assume every rod is gentle or suitable for a hard, thin blade.
Find the angle and prepare the stone
There is no universal Western or Japanese sharpening angle. For example, Wusthof's instructions specify 14 degrees for its standard knives, while Shun's FAQ specifies 16 degrees for its double-bevel knives. These are per-side angles, not the total angle across both bevels.
Look up your model and use an angle guide if holding that angle is difficult. Stacked coins are an unreliable substitute because the resulting angle changes with blade width. A pull-through sharpener also needs the right angle and blade compatibility; a different setting changes the edge geometry.
A medium stone around 1000 grit is a practical starting point for routine dullness. Kramer Knives' sharpening guide describes forming an edge on a coarser stone, then refining it on a finer one. Deep chips and major reshaping are better left to someone experienced.
Prepare the stone as its maker directs. Some water stones need soaking, others only wetting. Oilstones and diamond plates have different requirements. Do not add oil to a water stone or leave a splash-and-go stone soaking without permission.
Sharpen a double-bevel steel knife
- Stabilize the stone. Use its holder or a nonslip base on a clear work surface. Keep the handle and your hands dry enough to grip securely.
- Set the specified angle. Hold the handle firmly. Rest the fingers of your other hand on the blade's face, safely above the cutting edge.
- Work along the whole edge. Make slow, controlled strokes, following the curve toward the tip. Maintain the angle and keep the working surface lubricated as instructed. Do not rock the blade or grind only its middle.
- Check progress. A small burr, or wire edge, forms on the opposite side as the abrasive reaches the cutting edge. Inspect under good light. Do not slide a fingertip along the edge to find it.
- Work the second side. Repeat at its specified angle. For an ordinary symmetrical bevel, treat both sides evenly. An asymmetric knife needs its own instructions.
- Refine and deburr. Use progressively lighter alternating strokes and a finer stone if appropriate. Follow the stone maker's finishing method rather than endlessly polishing a burr.
- Wash and dry. Remove abrasive slurry and metal residue before the knife touches food. Rinse and dry the stone according to its instructions.
Check the result without touching the edge
Slice paper with the cutting path well away from your fingers, or cut an onion on a stable board. Snagging at the same point suggests an uneven area or remaining burr. Do not use a thumbnail, your arm hair, or a dangling piece of food as a test. Practice the finished cut with the board setup in how to dice an onion.
If your knife maker recommends a rod, anchor its tip on a nonslip board, hold the specified angle, and draw the blade slowly from heel to tip with light pressure. Keep your supporting hand behind the guard. Fast, airborne strokes add no useful control.
Sharpen when cutting performance needs it, not on an automatic monthly schedule. Wash by hand, dry promptly, and protect the edge in a sheath, block, or suitable rack when organizing kitchen storage. Skip the ceramic-mug shortcut: it offers little control over the abrasive or angle. Blender blades are a separate assembly; follow blender care instructions rather than attempting to sharpen them like a chef's knife.
Sources and method
- Wusthof: How to sharpen your knives, for model-specific angles and controlled tool use.
- Shun: Frequently asked questions, for edge angles, honing, and compatible sharpeners.
- Kramer Knives: Sharpening, for stone progression, burr formation, and cutting checks.
This is a researched reference guide, not a report of firsthand sharpening tests. Manufacturer examples illustrate why blade-specific instructions take priority.