Quick Answer
This guide explains how to caramelize onions. It also explains the caramelized onions technique for deep sweetness, debunk myths, and get reliable results every time.
Practical note
For How to Caramelize Onions, this guide centers on Pole-to-Pole, Consistency, Fridge. Those are the checkpoints we would use first in a normal home kitchen before making a bigger change.
Decision table
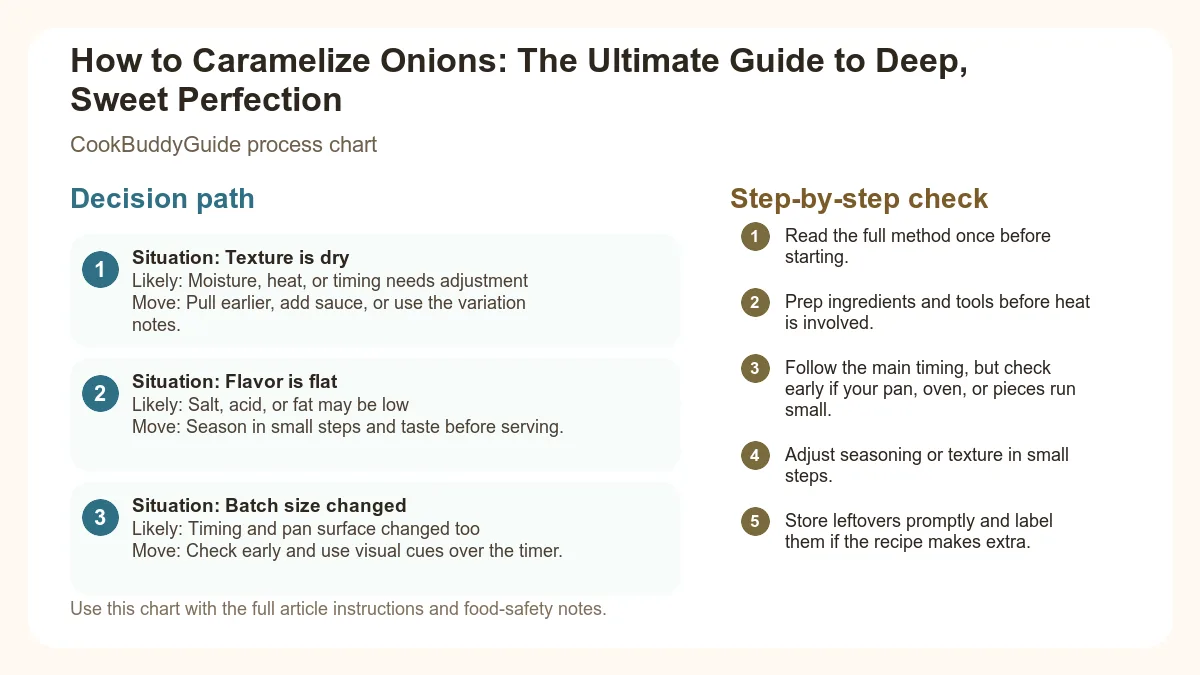
| Situation | Likely cause or meaning | Best move |
|---|---|---|
| Texture is dry | Moisture, heat, or timing needs adjustment | Pull earlier, add sauce, or use the variation notes. |
| Flavor is flat | Salt, acid, or fat may be low | Season in small steps and taste before serving. |
| Batch size changed | Timing and pan surface changed too | Check early and use visual cues over the timer. |
Step-by-step fix
- Read the full method once before starting.
- Prep ingredients and tools before heat is involved.
- Follow the main timing, but check early if your pan, oven, or pieces run small.
- Adjust seasoning or texture in small steps.
- Store leftovers promptly and label them if the recipe makes extra.
Common mistakes
- Changing the recipe before trying the base method once.
- Measuring casually when texture depends on ratios.
- Waiting until the end to fix seasoning.
- Ignoring carryover heat or resting time.
Related topic hubs
Learning how to caramelize onions is perhaps the most transformative skill a home cook can master. It turns the humble Allium cepa—the common onion—from a sharp, pungent bulb into a concentrated essence of sweetness and umami. Whether you are building a base for a classic French onion soup or looking for the ultimate topping for juicy burgers, the secret isn't a special ingredient; it’s patience and a fundamental understanding of heat management.
Table of Contents
- The 10-Minute Myth and the Science of Sweetness
- Choosing Your Ingredients and Tools
- Preparation: The Art of the Slice
- The Step-by-Step Caramelized Onions Technique
- Advanced Flavor Enhancements and Deglazing
- The Shortcut Method: The Baking Soda Trick
- Common Mistakes and How to Fix Them
- Storage, Freezing, and Creative Uses
Introduction: Why Real Caramelized Onions Take Time
The 10-Minute Myth: Why Quick Recipes Fail
The Science of Sweetness: Caramelization vs. Maillard Reaction
To understand why this takes so long, we have to look at what’s happening inside the pan. There are two primary chemical processes at play: the Maillard reaction and caramelization. The Maillard reaction is a chemical reaction between amino acids and reducing sugars that gives browned food its distinctive flavor. This starts happening relatively early. However, true caramelization is the pyrolysis of sugar—a process where sugar molecules break down under heat to create new, complex flavor compounds.
Because onions have a high water content, that water must first evaporate before the temperature of the onion itself can rise high enough for these sugars to transform. If the heat is too high, the outside burns (pyrolysis gone wrong) before the inside has even softened. This is why maintaining a medium-low heat is vital. For a deeper dive into the chemistry, consider reading about the science of the Maillard reaction and how it differs from simple browning.
Choosing Your Ingredients and Tools
The Best Onions for Caramelizing (Yellow vs. White vs. Red)
Fat Choice: Butter, Oil, or a Hybrid Approach?
The Best Pan for the Job: Why Surface Area Matters
The enemy of caramelization is crowding. If your onions are piled four inches deep, they will steam rather than brown. You want a wide, heavy-bottomed pan. A 12-inch cast-iron skillet or a heavy stainless steel tri-ply pan is ideal. Avoid non-stick pans if possible. Why? Because we want the fond—those little brown bits that stick to the bottom of the pan. These are concentrated flavor bombs that we will later incorporate back into the onions through deglazing.
Preparation: The Art of the Slice
How you cut the onion dictates how it will hold up after an hour of heat. Consider the "pole-to-pole" slice. Instead of cutting the onion into rings (orbital slicing), cut it in half through the root and stem, then slice lengthwise.
- Pole-to-Pole: These slices follow the "grain" of the onion. They maintain their structural integrity, resulting in a jammy consistency that still has some "bite" rather than turning into mush.
- Consistency: I cannot stress this enough—aim for uniform thickness (about 1/8th of an inch). If some slices are paper-thin and others are thick, the thin ones will burn before the thick ones soften. If you're doing a large batch, a mandoline is your best friend, but please, use the safety guard!
The Step-by-Step Caramelized Onions Technique
Masterclass Caramelized Onions
This caramelized-onion method works for everything from budget-friendly dinner recipes to special-occasion cooking.
Ingredients:- 3 lbs Yellow Onions (about 4-5 large onions)
- 1 tbsp Unsalted Butter
- 1 tbsp Extra Virgin Olive Oil
- 1 tsp Kosher Salt
- 1/2 cup Water (for deglazing)
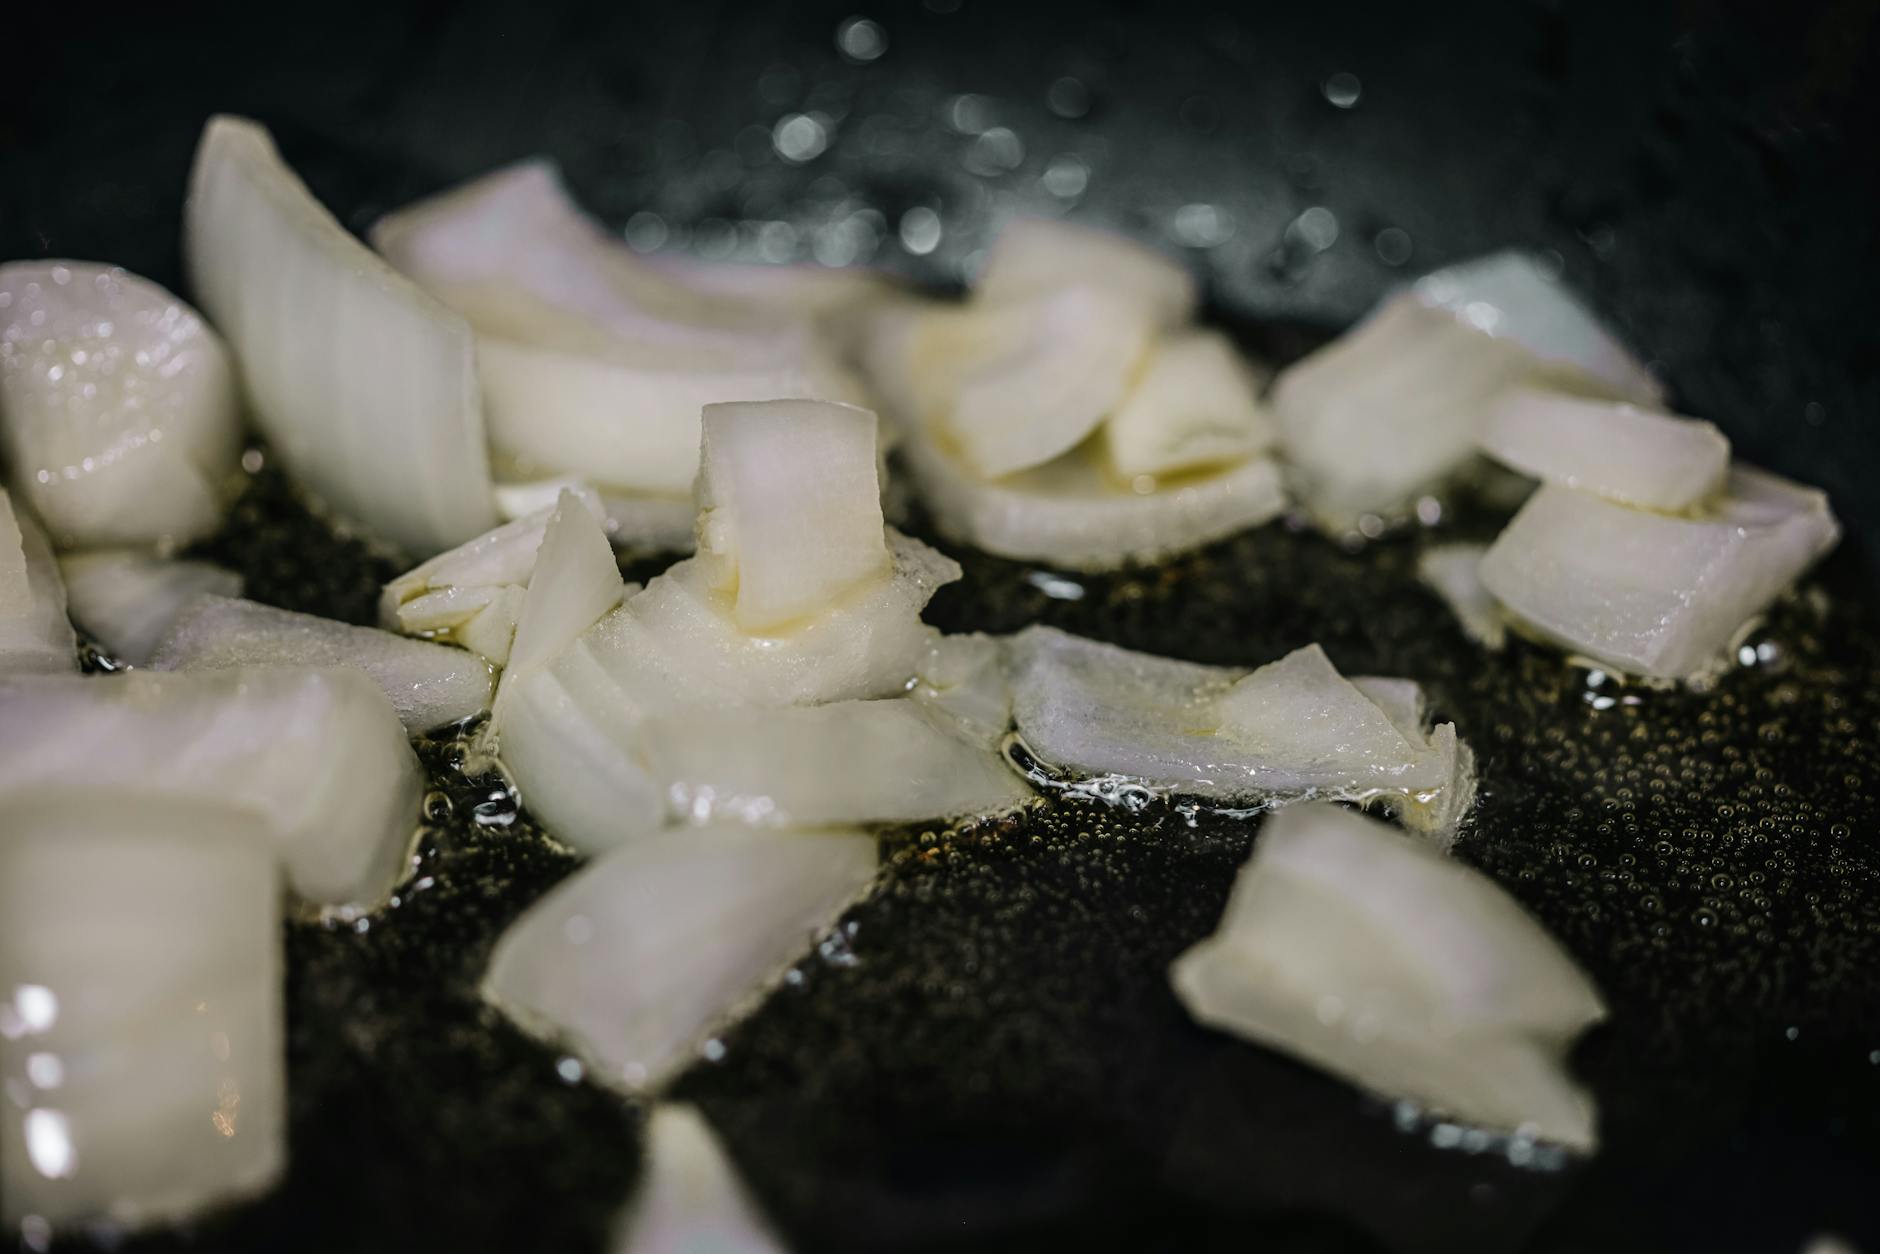
- Phase 1: Softening and Sweating (0-15 Minutes): Melt the butter and oil over medium heat. Add the onions and toss to coat. Add the salt immediately. Salt draws out moisture through osmosis, which helps the onions "sweat" and prevents them from searing too early. Cover the pan for the first 5 minutes to trap steam and speed up the softening.
- Phase 2: The Golden Blonde Stage (15-30 Minutes): Remove the lid. The onions will have shrunk significantly. Reduce heat to medium-low. You'll notice the onions turning a pale yellow, then a light golden blonde. Stir every 5 minutes. You are looking for the importance of consistent low heat here; if they start to brown too quickly, turn the dial down.
- Phase 3: Deep Mahogany and Development (30-50 Minutes): This is where the magic happens. The onions will turn a rich tan and eventually a deep mahogany. The sweetness will become fragrant. You will need to stir more frequently now—every 2-3 minutes—to ensure the onions on the bottom don't scorch.
- Phase 4: The Final Finish and Deglazing: Once the onions are dark brown and jammy, you’ll see a thick layer of fond on the bottom of the pan. Pour in 2 tablespoons of water (or wine/broth) and scrape the bottom with a wooden spoon. The liquid will lift the flavor and coat the onions in a rich glaze.
Advanced Flavor Enhancements
Deglazing with Wine, Broth, or Balsamic
The Role of Sugar: Is it Cheating?
Adding Herbs and Aromatics
If you know your onions are destined for a French onion soup, add a few sprigs of fresh thyme and a bay leaf during Phase 2. The fat in the pan will help extract the fat-soluble compounds in the herbs, infusing the onions from the inside out. Just remember to remove the woody stems before serving!
The Shortcut Method: How to Save 20 Minutes
Sometimes it’s 6:00 PM on a Tuesday, and you simply don't have an hour. While I maintain that the slow method is superior, there is a scientifically-backed shortcut for faster caramelized onions.
The Baking Soda Trick
Higher Heat with Constant Hydration
Another "pro" shortcut is to cook the onions over medium-high heat and "deglaze" with a splash of water every time the fond starts to get too dark. This forces the temperature down and prevents burning while allowing the browning to happen faster. It requires your undivided attention—you cannot walk away from the stove for even a minute.
Common Mistakes and How to Fix Them
If you see black spots or the pan smells acrid, immediately add a splash of water and turn the heat to low. The water will stop the cooking process and help you scrape up the burnt bits. If only a few pieces are burnt, pick them out. If the whole batch is scorched, unfortunately, the bitterness will permeate the entire dish and you may need to start over.
Bitterness usually comes from the heat being too high or not using enough fat. To fix slightly bitter onions, add a teaspoon of honey or a splash of balsamic vinegar. The acid and sweetness will help mask the bitter notes.
This usually happens if you crowd the pan too much or keep the lid on for too long. The onions steam in their own juices rather than frying. To fix this, spread them out into a larger pan and increase the heat slightly to evaporate the excess moisture.
Storage, Freezing, and Creative Uses
Because the caramelized onions technique is so time-consuming, consider making a double or triple batch. Onions reduce in volume by about 75%—what looks like a mountain of raw onions will end up as a small bowl of gold.
- Fridge: Store in an airtight container for 5-7 days.
Ways to Use Your Caramelized Onions
- Gourmet Grilled Cheese: Sourdough, sharp cheddar, and a thick layer of onions.
- Savory Yogurt Dip: Mix them into Greek yogurt with a little garlic powder for a healthy take on French onion dip.
- Pizza Topping: Pair with goat cheese, rosemary, and a drizzle of honey.
- Quick Pasta: Toss with hot pasta, parmesan cheese, and a little pasta water for an instant "pantry" dinner.
- Steak Frites: Pile them high on a seared ribeye.
Conclusion: The Reward of Patience
Mastering how to caramelize onions is a rite of passage for any serious home cook. It teaches you the value of heat control and the transformative power of time. The next time you open the fridge at 6:00 PM and feel like there's "nothing to eat," remember that a few humble onions and an hour of your time can create a condiment so flavorful it can carry an entire meal.
Don't be afraid of the time commitment. Put on a podcast, pour a glass of wine, and enjoy the rhythmic stirring. Your taste buds—and anyone lucky enough to share your table—will thank you. For more ways to use these onions in affordable meals, don't forget to check out our quick ground beef recipes for the ultimate burger inspiration!