Quick Answer
Master the sauce reduction technique to intensify flavor and achieve the perfect texture. It also explains how to reduce a sauce without scorching or over-salty results.
Practical note
For How to Reduce a Sauce, this guide centers on Deglaze, Scrape, Mount. Those are the checkpoints we would use first in a normal home kitchen before making a bigger change.
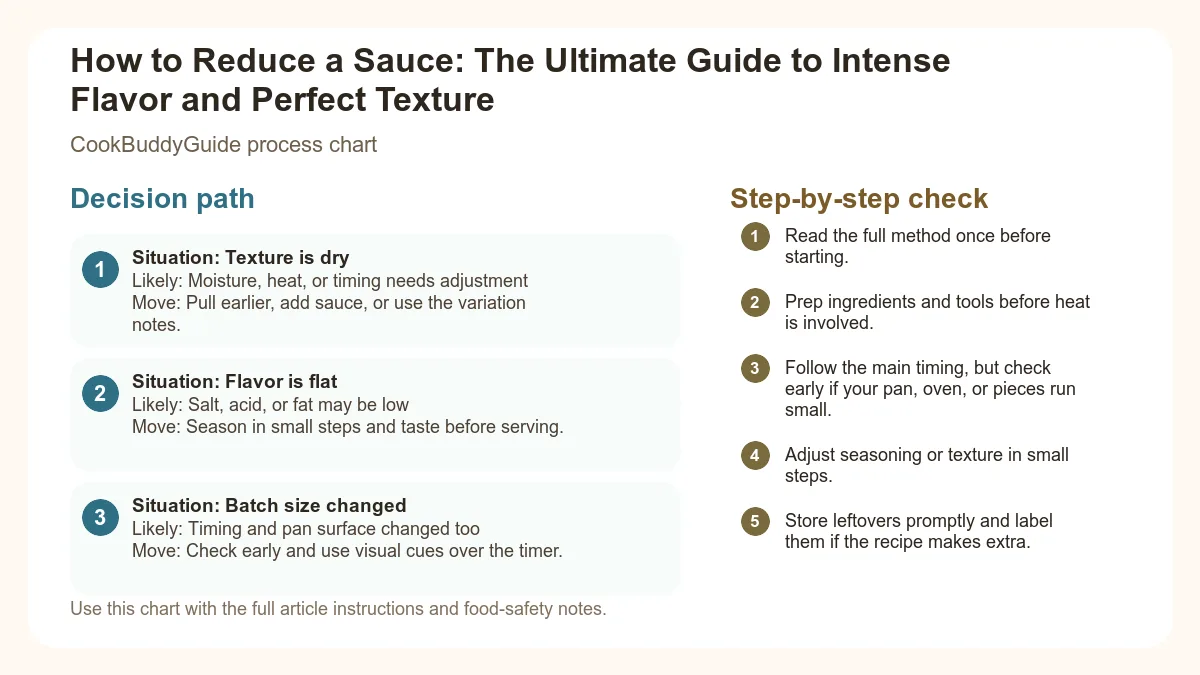
Decision table
| Situation | Likely cause or meaning | Best move |
|---|---|---|
| Texture is dry | Moisture, heat, or timing needs adjustment | Pull earlier, add sauce, or use the variation notes. |
| Flavor is flat | Salt, acid, or fat may be low | Season in small steps and taste before serving. |
| Batch size changed | Timing and pan surface changed too | Check early and use visual cues over the timer. |
Step-by-step fix
- Read the full method once before starting.
- Prep ingredients and tools before heat is involved.
- Follow the main timing, but check early if your pan, oven, or pieces run small.
- Adjust seasoning or texture in small steps.
- Store leftovers promptly and label them if the recipe makes extra.
Common mistakes
- Changing the recipe before trying the base method once.
- Measuring casually when texture depends on ratios.
- Waiting until the end to fix seasoning.
- Ignoring carryover heat or resting time.
Related topic hubs
The sauce reduction technique is essentially a lesson in patience and physics. By simmering a liquid, you are systematically removing water through evaporation, which leaves behind a concentrated flavor profile and a luxurious, velvety viscosity. Whether you are deglazing a pan to capture the fond or simmering a balsamic glaze until it’s thick enough to coat a strawberry, mastering this process will change your cooking forever. Today, This guide will walk you through every nuance of this technique, from the science of the Maillard reaction to the "wooden spoon test" that never fails.
- Why Reduction is the Secret to Restaurant-Quality Food
- The Science of the Sauce Reduction Technique
- Choosing Your Heat: Simmer vs. Boil
- Visual and Texture Cues: How to Tell It’s Done
- Reduction vs. Thickeners: When to Use Which?
- Essential Tools for Faster, Better Reductions
- Step-by-Step Guide to Reducing Different Sauce Types
- Common Mistakes and How to Avoid Them
- Practical Tips for Busy Home Cooks
Why Reduction is the Secret to Restaurant-Quality Food
What is Sauce Reduction?
The Magic of Evaporation and Flavor Concentration
The science of flavor concentration through reduction is fascinating. As water departs, the ratio of solutes to solvent changes. This doesn't just make the sauce saltier (which we will discuss later); it makes the flavors more complex. If you’ve ever tasted a raw wine and then tasted a red wine pan sauce, you know that the harsh alcohol bite disappears, leaving behind the deep, fruity notes of the grape. This process creates a silky mouthfeel that coats the palate, allowing you to experience the nuances of your ingredients long after the first bite.
The Science of the Sauce Reduction Technique
Viscosity and Solutes
The Maillard Reaction in Reductions
While the Maillard reaction is usually associated with the browning of meat or crust of bread, a version of it happens during long, slow reductions. As the sugars and amino acids in your sauce are exposed to heat over time, they undergo chemical changes that produce new, savory flavor compounds. This is why a sauce reduced over 20 minutes tastes fundamentally different—more "toasty" and savory—than a sauce thickened instantly with cornstarch. You are literally creating new flavors that didn't exist when you first turned on the stove.
Choosing Your Heat: Simmer vs. Boil
When to Use a Rapid Boil
A rapid boil is useful when you are reducing a high-volume, sturdy liquid like a plain vegetable stock or a thin wine base before any fats or delicate aromatics have been added. Because boiling involves more energy and movement, evaporation happens much faster. However, I only recommend this for the initial phase of reduction. Once the sauce begins to show any signs of thickening, you must turn the heat down.
The Importance of a Gentle Simmer for Delicate Sauces
For most sauce reduction techniques, you want a simmer—specifically between 185°F and 205°F. At this temperature, you’ll see small bubbles breaking the surface occasionally, but the liquid isn't churning violently. This is crucial for clarity. If you boil a stock too hard, you risk emulsification of impurities and fats into the liquid, resulting in a cloudy, greasy sauce. Furthermore, if you are making a dairy-based sauce, a boil will almost certainly cause the proteins to denature and "break," leaving you with a curdled mess.
Temperature Control to Prevent Scorching
Pro-Level Pan Sauce Method
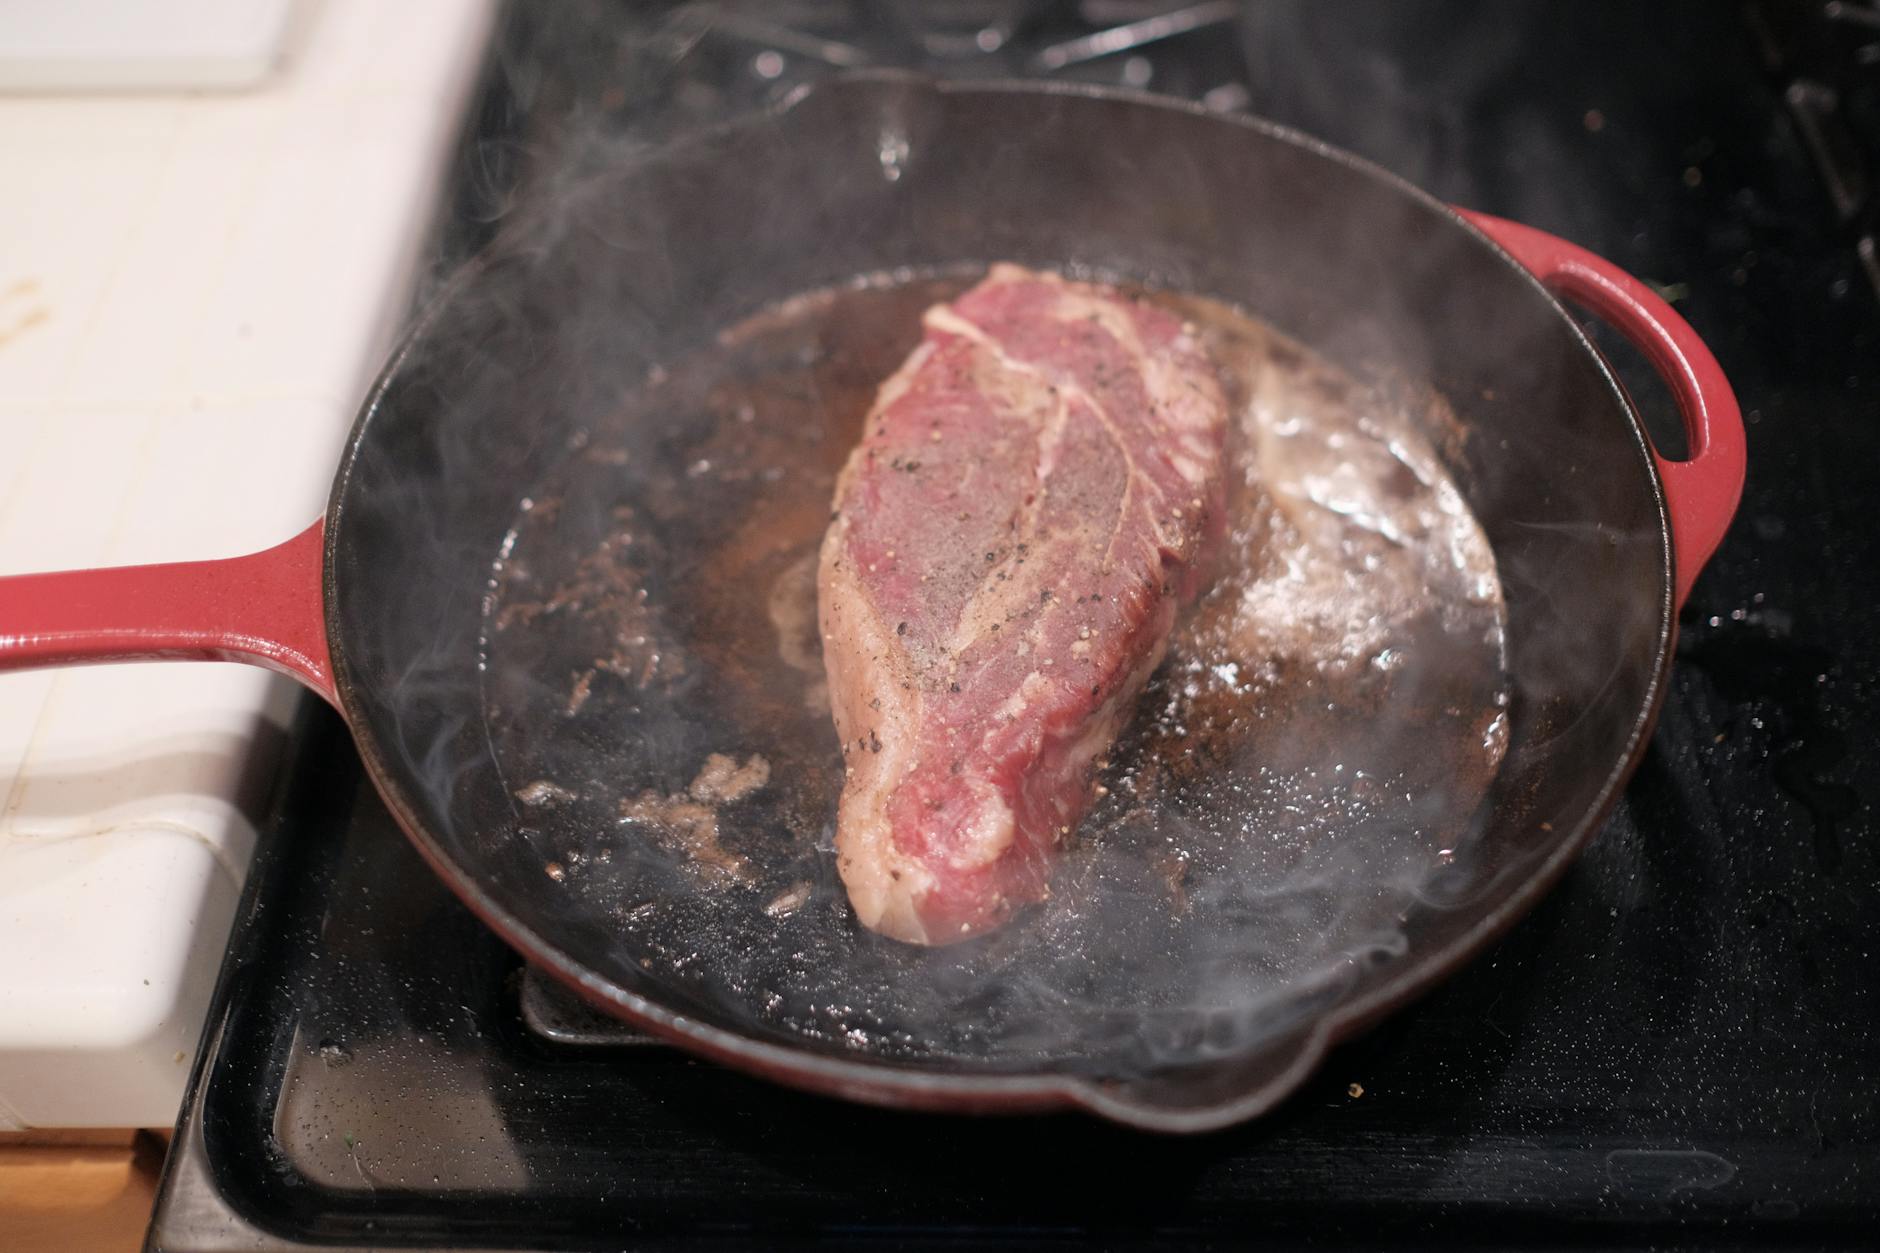
This is the foundational method Use for my 15-minute chicken breast recipes.
- Deglaze: After searing meat, pour 1/2 cup of wine or stock into the hot pan.
- Scrape: Use a wooden spoon to scrape up the fond (the brown bits).
- Reduce: Increase heat to medium-high until the liquid is reduced by half.
- Mount: Turn off the heat and whisk in 2 tablespoons of cold butter for emulsification.
Visual and Texture Cues: How to Tell It’s Done
Stop looking at the clock and start looking at the sauce. Time is a poor indicator of reduction because it depends entirely on your stove's power and the surface area of your pan.
The Spoon Test (Coating the Back of a Spoon)
This is the gold standard of how to reduce a sauce. Dip a metal or wooden spoon into your simmering sauce and pull it out. Observe how the liquid clings to the metal. If it runs off immediately like water, it needs more time. If it coats the spoon in a thin, translucent layer, you are getting close.
The 'Nappé' Consistency Explained
To check for achieving the nappe consistency, perform the "line test." Once the sauce coats the back of the spoon, draw your finger through the middle of the coating. If the line stays clean and the sauce doesn't run into the cleared track, you have reached nappé. This is the French culinary term for a sauce that is thick enough to coat food beautifully without being gloopy.
Watching the Bubble Size and Speed
As a sauce reduces and the viscosity increases, the bubbles will change. Early on, bubbles are small, frequent, and pop instantly. As the sauce becomes more concentrated with sugars and fats, the bubbles will become larger, "lazier," and will take longer to pop. If the bubbles start to look like "lava" or soapy foam, you are likely at the balsamic glaze or syrup stage and should remove it from the heat immediately.
Reduction vs. Thickeners: When to Use Which?
The Case for Pure Reduction
Reduction offers the purest, most intense flavor. Because you aren't adding flour or starch, the flavor of your base ingredients (the wine, the stock, the aromatics) is front and center. It is also naturally gluten-free and provides a glossy, clear finish that starch-based thickeners can't match. However, it takes time and significantly reduces the total amount of sauce you have at the end.
When to Use a Roux or Cornstarch Slurry
If you are cooking for a crowd and need two quarts of gravy, you cannot rely on reduction alone—you’d need ten gallons of stock to get there! This is where reduction versus starch-based thickeners comes into play. Use a roux (flour and fat) for hearty, opaque sauces like gravies or stews. Use a cornstarch slurry for a quick fix when you’re in a rush, though be warned: cornstarch can give a sauce a slightly "plastic" sheen and a muted flavor.
Beurre Manié: The Middle Ground
If I’ve reduced a sauce by half and it’s still not quite at the nappé stage, Use a beurre manié. This is equal parts softened butter and flour kneaded together into a paste. Whisking a small pea-sized amount into a boiling sauce thickens it instantly while adding a lovely buttery finish. It’s the "cheat code" Use when guests are arriving in five minutes.
Essential Tools for Faster, Better Reductions
You can reduce a sauce in a coffee mug if you have enough time, but the right tools can cut your cooking time in half.
Surface Area: Why a Wide Skillet Beats a Deep Pot
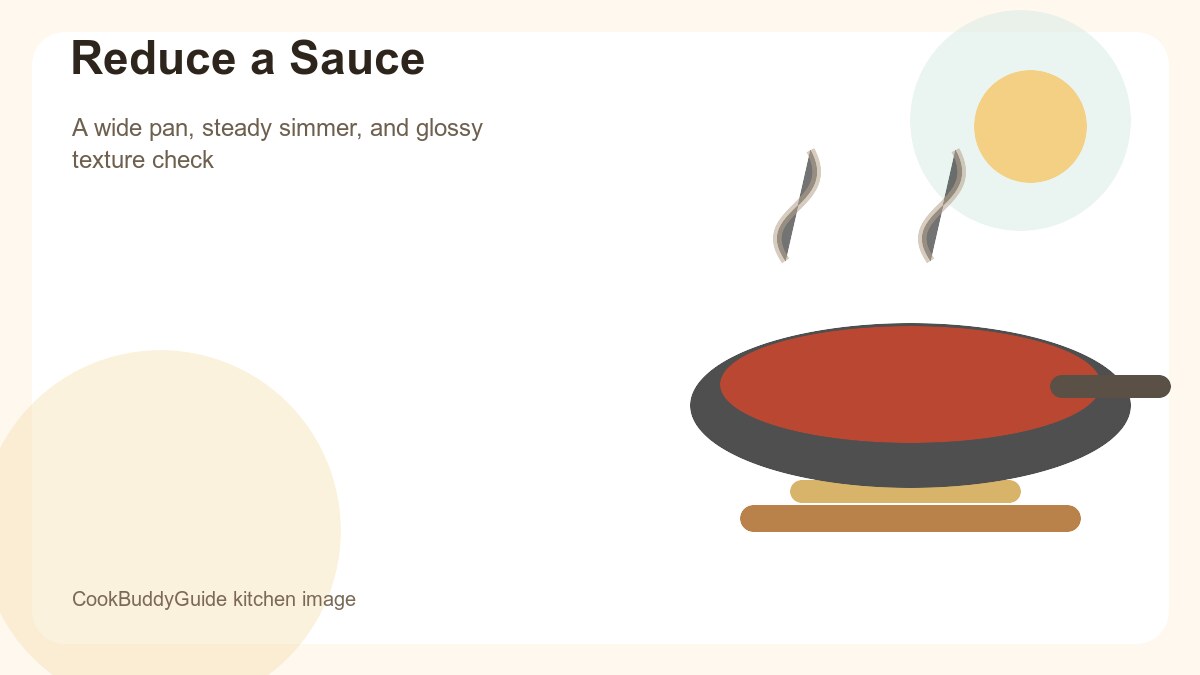
The rate of evaporation is directly tied to the surface area of the liquid exposed to the air. If you put two cups of stock in a narrow, tall saucepan, it might take 20 minutes to reduce by half. Put that same liquid in a 12-inch wide skillet, and it will be done in 5 to 7 minutes. This is why maximizing surface area for reduction is the #1 tip for busy home cooks. More surface area means more "exit doors" for water molecules.
The Role of Heavy-Bottomed Pans
Thin, cheap pans develop "hot spots." When you are reducing a sauce, the liquid at the very bottom becomes very dense and sugary. In a thin pan, these sugars will burn before the rest of the sauce is ready. Invest in a tri-ply stainless steel skillet or a cast-iron pan. The heavy base distributes heat evenly, allowing for a consistent simmer across the entire surface area.
Best Utensils: Silicone Spatulas vs. Whisks
While a whisk is great for incorporating butter at the end, a heat-resistant silicone spatula is my preferred tool during the reduction itself. It allows you to scrape the sides and bottom of the pan effectively, ensuring that no concentrated flavor gets stuck and burns on the edges. This also helps you "track" the bottom of the pan—if you can pull the spatula through and see the bottom for a split second, you’re almost there.
Step-by-Step Guide to Reducing Different Sauce Types
Wine-Based Sauces and Deglazing
When working with wine, the goal is to cook off the harsh ethanol while concentrating the acidity and fruit. Always reduce wine by at least half before adding other liquids like stock. If you add stock too early, the wine flavor will remain "raw" and acidic rather than mellow and deep.
Meat Stocks and Creating a Demi-Glace
Cream and Dairy-Based Reductions
Dairy is finicky. You can reduce heavy cream to thicken it (this is how classic Alfredo is made), but you must keep the heat low. Never try to reduce milk—it doesn't have enough fat to stabilize the proteins, and it will almost certainly curdle. Use heavy cream (at least 36% fat) for the best results.
Balsamic and Fruit Glazes
Common Mistakes and How to Avoid Them
The Salt Trap: Why You Must Season at the End
Over-Reduction: Turning Sauce into Glue
If you reduce a sauce too far, it becomes sticky, tacky, and overly intense. If this happens, don't panic. Simply whisk in a tablespoon of water or unsalted stock at a time until the consistency returns to nappé. The flavor will still be intense, but the texture will be saved.
Fixing a Scorched Sauce
If you smell burning, stop stirring immediately. If you scrape the bottom of a scorched pan, you will incorporate the burnt flakes into the entire sauce, ruining it. Instead, carefully pour the un-scorched liquid into a fresh pan, leaving the burnt bits behind. Taste the sauce; if it doesn't taste smoky or bitter, you can continue reducing in the new pan.
Practical Tips for Busy Home Cooks
The Ruler Trick for Precision
- Insert a clean wooden skewer or a metal ruler into the liquid at the start.
- Mark the height of the liquid.
- Calculate where the "halfway" mark is.
- Periodically dip the skewer back in to check your progress. It takes the guesswork out of "visual estimation."
The 'Ice Cube' Trick for Small Batches
If you only need a tiny bit of sauce for one steak, don't try to reduce a huge amount of liquid. Instead, use a very small skillet (6 inches) to maximize the surface area relative to the small liquid volume. If you find you have leftover reduced sauce, freeze it in an ice cube tray. One "sauce cube" is the perfect amount to toss into a stir-fry or a quick pasta dish for an instant flavor boost.
Estimating Time Based on Volume
As a general rule of thumb in a standard 12-inch skillet over medium-high heat:
- 1 cup of liquid takes 3-5 minutes to reduce by half.
- 2 cups of liquid takes 8-10 minutes to reduce by half.
- 4 cups (1 quart) takes 15-20 minutes to reduce by half.
Frequently Asked Questions
A: No. Reduction requires evaporation. If the lid is on, the steam hits the lid, condenses back into water, and falls back into the pan. Always reduce with the lid off.
A: This happens if the fats weren't properly emulsified or if the stock wasn't skimmed. You can fix this by whisking in a little cold butter at the end or by using a bread crust to "sop up" the excess oil from the surface.
A: Not entirely. While most of the ethanol evaporates, even a long-simmered sauce can retain about 5-15% of the original alcohol content. It is generally safe for most, but something to keep in mind for strict dietary needs.
Conclusion: Master the Reduction, Master the Meal
Learning how to reduce a sauce is perhaps the single most effective way to elevate your home cooking. It requires no fancy equipment—just a good pan, a watchful eye, and an understanding of how heat interacts with liquid. By focusing on concentrated flavor and the perfect nappé consistency, you turn every dinner into an event. Next time you’re pan-searing chicken or making a roast, don’t pour that liquid down the drain. Reduce it, mount it with butter, and taste the difference that a little evaporation can make. Happy cooking!