Quick Answer
This guide explains how to season cast iron skillet for a non-stick finish. This guide covers the best oils to season cast iron pan, oven temps, and maintenance tips.
Practical note
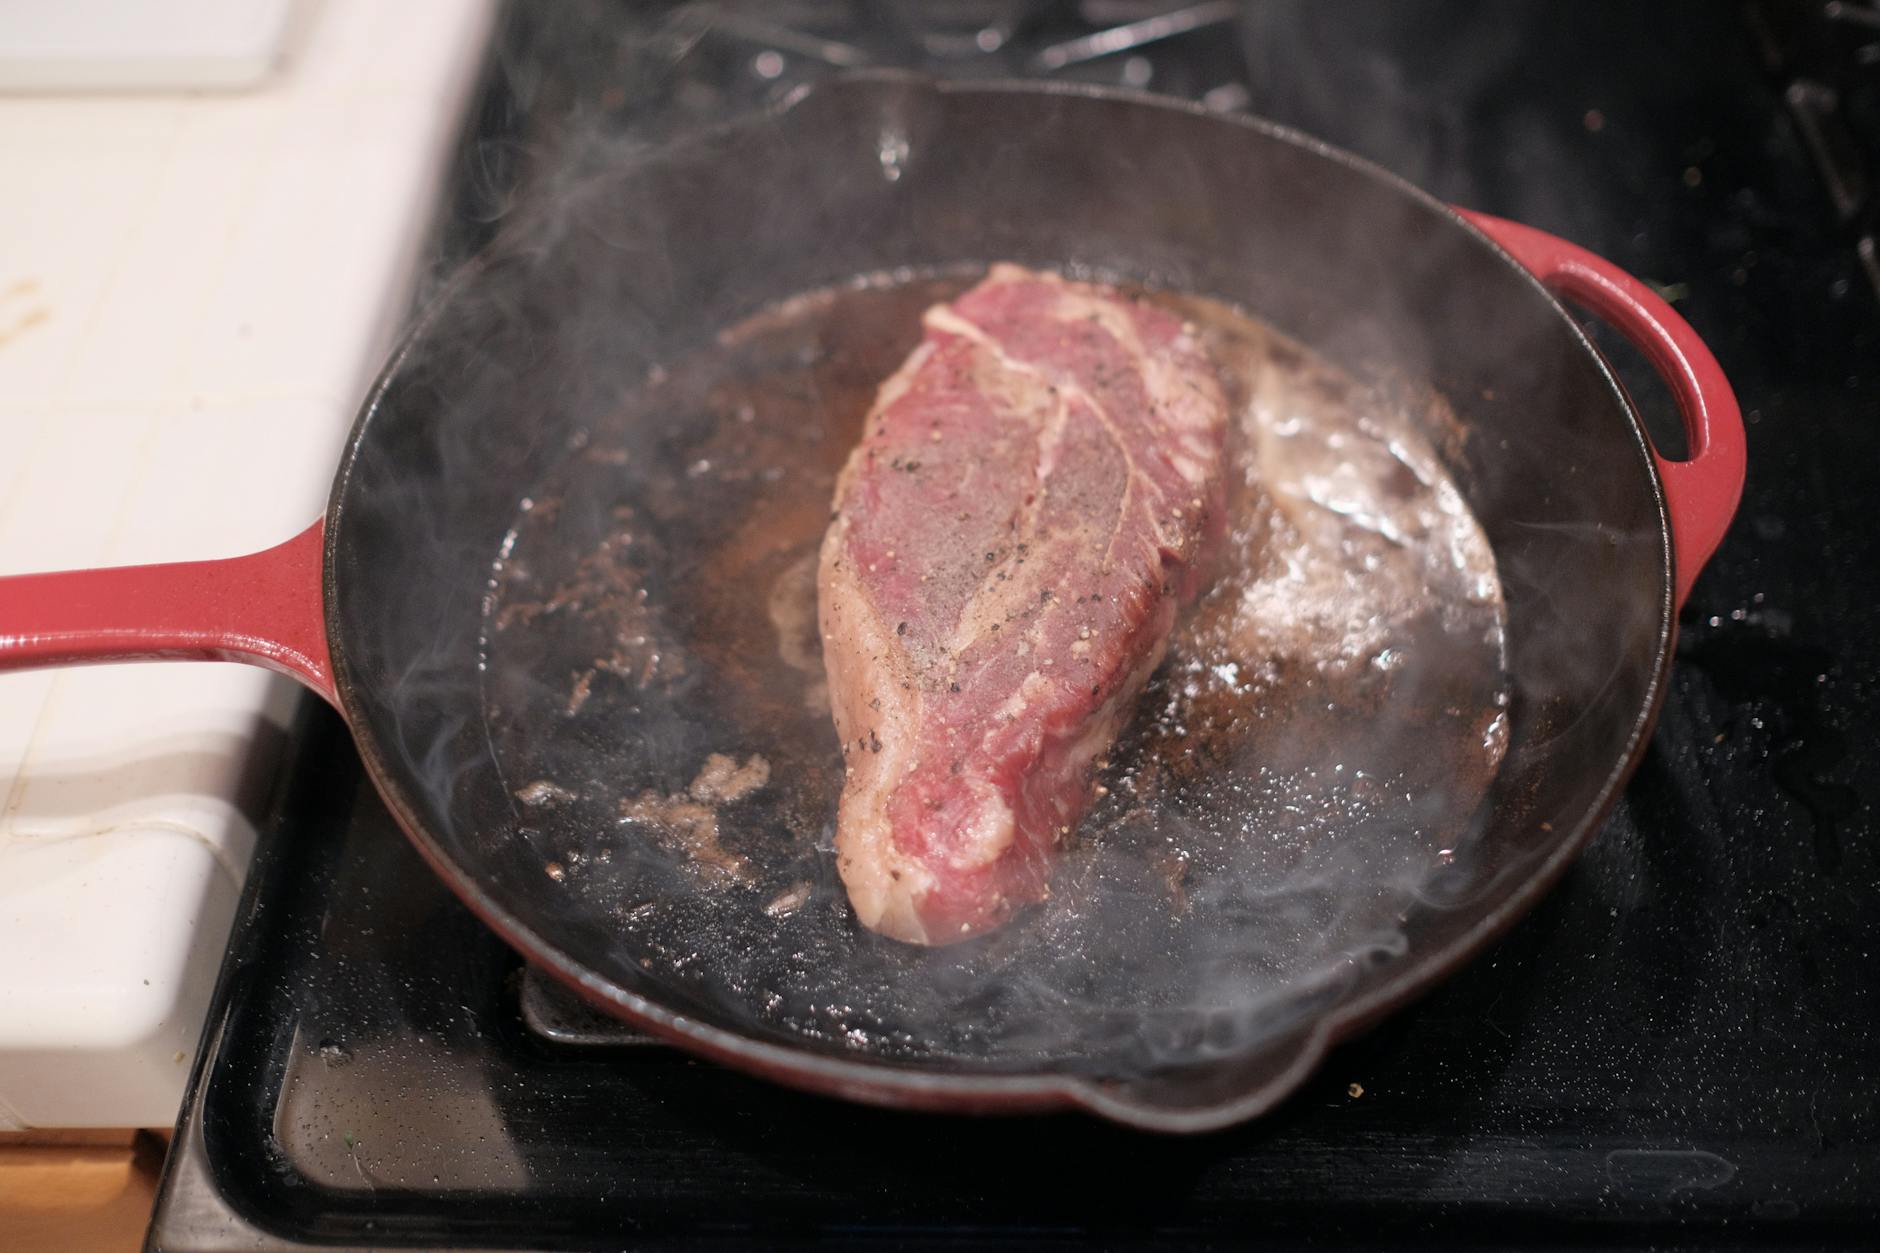
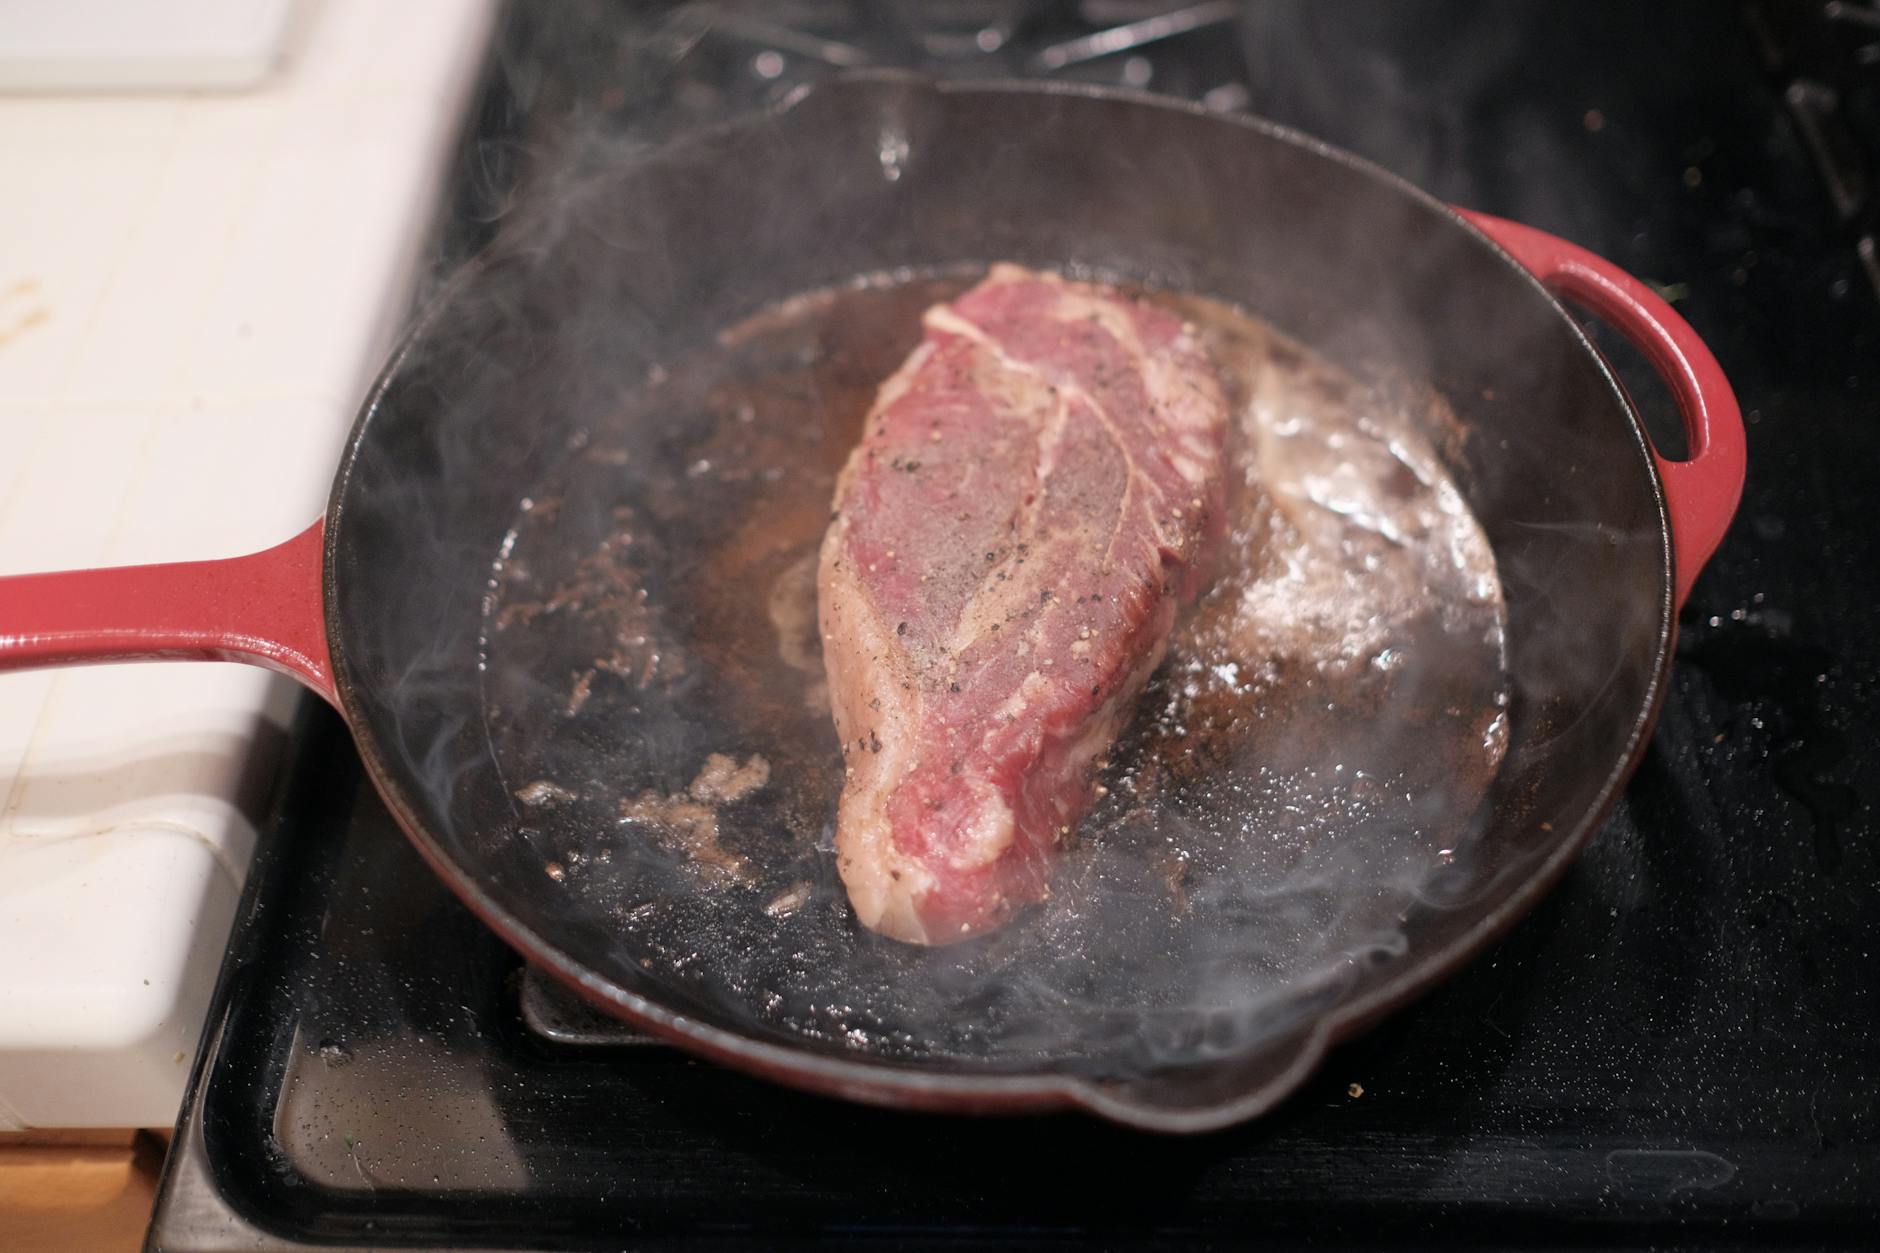
For How to Season a Cast Iron Skillet, the practical test is to change one pan variable at a time. Pan temperature, surface moisture, oil timing, and when you move the food are easier to judge separately than all at once.
Decision table
| Situation | Likely cause or meaning | Best move |
|---|---|---|
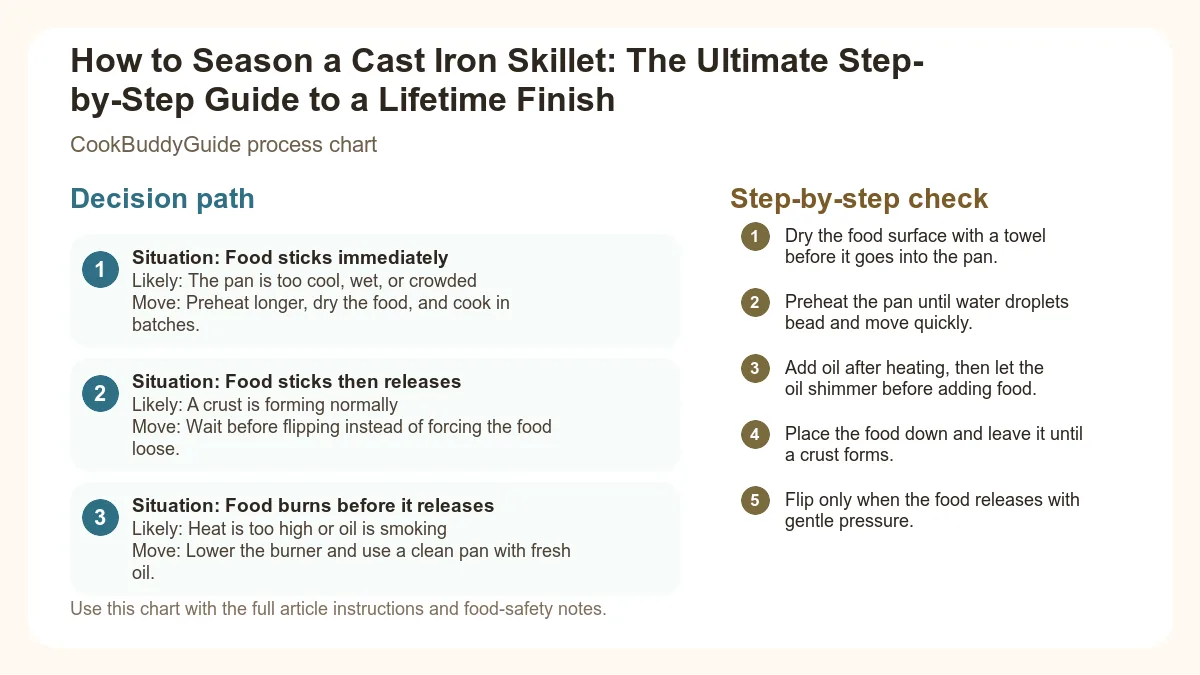
| Food sticks immediately | The pan is too cool, wet, or crowded | Preheat longer, dry the food, and cook in batches. |
| Food sticks then releases | A crust is forming normally | Wait before flipping instead of forcing the food loose. |
| Food burns before it releases | Heat is too high or oil is smoking | Lower the burner and use a clean pan with fresh oil. |
Step-by-step fix
- Dry the food surface with a towel before it goes into the pan.
- Preheat the pan until water droplets bead and move quickly.
- Add oil after heating, then let the oil shimmer before adding food.
- Place the food down and leave it until a crust forms.
- Flip only when the food releases with gentle pressure.
Common mistakes
- Adding food before the pan is fully preheated.
- Putting wet protein or vegetables straight into hot oil.
- Moving food before a crust has time to form.
- Crowding the pan until food steams instead of browns.
Related topic hubs
Table of Contents
- Introduction: Why Your Cast Iron Skillet is Your Best Kitchen Tool
- What Does Seasoning Actually Mean? (The Science of Polymerization)
- Choosing the Best Oil to Season Cast Iron Pan
- How to Season Cast Iron Skillet: The Step-by-Step Oven Method
- How Many Layers Do You Really Need?
- Daily Maintenance: How to Keep Your Seasoning Strong
- How to Re-Season a Damaged or Stripped Pan
- Common Mistakes to Avoid
- Frequently Asked Questions
Introduction: Why Your Cast Iron Skillet is Your Best Kitchen Tool
The Magic of a Well-Seasoned Pan
A well-seasoned cast iron skillet is the ultimate multitasker. It can go from a 500°F oven to a campfire without flinching. Unlike modern non-stick pans, which rely on PFOAs and other chemicals that eventually flake off, cast iron builds its own non-stick surface through regular use and proper cast iron care. When people ask me why Choose it over carbon steel or stainless steel, my answer is always the same: heat retention. Cast iron is a thermal battery; once it gets hot, it stays hot, which is crucial for achieving that deep brown crust on proteins.
What Does Seasoning Actually Mean? (The Science of Polymerization)
Polymerization vs. Carbonization
To understand how to season cast iron skillet surfaces, we have to look at the science behind cast iron seasoning. Seasoning is not just "oil on a pan." If you just rub oil on cold metal, it stays greasy and eventually goes rancid. Seasoning is the result of polymerization. When a thin layer of unsaturated fat is heated to its smoke point in the presence of iron (which acts as a catalyst), the long chains of fat molecules break down and cross-link with each other. This transforms the liquid oil into a hard, plastic-like solid that is chemically bonded to the metal pores.
Carbonization, on the other hand, is what happens when you burn food onto the pan. That black, crusty stuff isn't seasoning; it's carbon. It’s brittle and will flake off into your food. True seasoning is smooth, slightly matte or semi-glossy, and incredibly durable.
The Anatomy of a Non-Stick Patina
According to the experts at Lodge Cast Iron, seasoning is baked-on oil that protects the metal from moisture. Without this layer, the iron is exposed to oxygen and water, leading to rust. As you cook more, you add microscopic layers of polymerized oil, filling in the tiny pits and craters of the cast iron surface. Over years of use, this builds a thick patina that is naturally non-stick. This is why a 50-year-old pan often performs better than a brand-new one; it simply has more layers of history built into its surface.
Choosing the Best Oil to Season Cast Iron Pan
The Smoke Point Factor
When you season cast iron pan surfaces, the oil you choose matters immensely. You need an oil that can withstand high temperatures and has enough polyunsaturated fats to polymerize effectively. The smoke point is the temperature at which an oil begins to break down and smoke. For seasoning, we actually want to reach and slightly exceed this point to trigger the chemical reaction.
| Oil Type | Smoke Point | Pros/Cons |
|---|---|---|
| Grapeseed Oil | 420°F (215°C) | |
| Vegetable Shortening (Crisco) | 490°F (254°C) | Traditional, cheap, creates a very slick surface. |
| Flaxseed Oil | 225°F (107°C) | Creates a very hard finish, but prone to flaking if applied too thick. |
| Canola/Vegetable Oil | 400°F (204°C) | Readily available and effective for most home cooks. |
| Lard/Bacon Grease | 370°F (188°C) | Traditional, but can go rancid if the pan isn't used daily. |
Flaxseed Oil: The High-End Choice vs. The Reality
Grapeseed Oil: The Professional’s Secret
How to Season Cast Iron Skillet: The Step-by-Step Oven Method
The oven method is the most effective way to create an even, durable finish. Unlike stovetop seasoning, which can be patchy, the oven provides 360-degree heat that ensures the entire pan—including the handle and the bottom—is protected. This is the definitive step-by-step oven seasoning method Consider for all new or stripped pans.
The Master Seasoning Process
Step 1: Preparation and Deep Cleaning
If your pan is new, it likely has a factory coating of wax or oil. If it's old, it might have rust or old food. Scrub the pan thoroughly with warm, soapy water and a chainmail scrubber or stiff brush. This is the ONLY time Consider a heavy-duty scrub. Rinse and dry it immediately with a towel.
Step 2: The Warm-Up Phase
Place your clean, dry skillet in a 200°F (95°C) oven for about 10-15 minutes. This does two things: it ensures every molecule of water has evaporated (preventing rust) and it opens the "pores" of the metal to better accept the oil. Warning: The pan will be hot! Always use oven mitts.
Step 3: Applying the Micro-Layer of Oil
Remove the pan from the oven. Add about half a teaspoon of your chosen oil (grapeseed or shortening) to the center. Using a lint-free cloth or an old cotton T-shirt, rub the oil all over the pan—inside, outside, handle, and bottom. It should look shiny and wet.
Step 4: The "Wipe It All Off" Secret
This is the most important step. Take a clean, dry section of your cloth and wipe the pan until it looks dry. You want to try and remove every bit of oil you just put on. You might think you're removing all the seasoning, but you're actually leaving behind a microscopic film. If the layer is too thick, it will turn into a sticky, brown mess instead of a hard black finish.
Step 5: The Bake and Cool Cycle
Place the pan upside down on the middle rack of your oven. Placing it upside down prevents any residual oil from pooling in the bottom of the pan. Place a sheet of aluminum foil on the rack below to catch any stray drips. Turn the oven up to 450°F-500°F (230°C-260°C). Once the oven reaches temperature, set a timer for one hour. After the hour is up, turn the oven off and let the pan cool completely inside the oven. Do not open the door! A slow cool-down helps the bond set.
How Many Layers Do You Really Need?
The One-and-Done Myth
Why 3 to 5 Layers is the Sweet Spot
If you are restoring a stripped cast iron pan, aim for 5 layers. This creates a robust foundation that can handle almost anything you throw at it. Between layers, you don't need to wash the pan; just let it cool enough to handle, apply the micro-layer of oil, wipe it off, and put it back in the oven. It’s a great activity for a rainy Sunday afternoon while you're prepping other meals like easy one-pot pasta recipes.
The Fried Egg Test: Once you've finished your layers, the ultimate test is to fry an egg with a small pat of butter. If the egg slides around with just a nudge of a spatula, your seasoning is a success. If it sticks, you likely need another layer or your oven temperature wasn't high enough during the bake cycle.
Daily Maintenance: How to Keep Your Seasoning Strong
The Great Soap Debate: Can You Use Dish Soap?
Let’s put this myth to bed: Yes, you can use dish soap on cast iron. The idea that soap ruins seasoning comes from the days when soap contained lye, which is a powerful base that will strip polymerized oil. Modern dish soaps like Dawn are detergents, not lye-based soaps. They are perfectly safe for a well-seasoned pan. However, you don't need to use soap every time. Often, hot water and a brush are enough.
Cleaning Tools: Chainmail Scrubbers vs. Salt and Oil
For stuck-on bits, consider a chainmail scrubber. It’s a small square of stainless steel rings that acts like a gentle abrasive. It’s tough enough to remove burnt-on food but smooth enough that it won't gouge your non-stick coating. If you don't have one, a handful of kosher salt and a little oil can act as a natural abrasive paste.
The Golden Rule: Dry, Heat, and Oil
The most important part of cast iron care happens after the pan is clean. Never, ever let your cast iron air dry. This is the fastest way to get rusty skillet syndrome. Follow this 3-step post-wash routine:
- Towel dry the pan thoroughly.
- Place it on a stovetop burner over medium-low heat for 2-3 minutes until it’s bone dry and hot to the touch.
- While the pan is still warm, rub a tiny drop of oil (about 1/4 teaspoon) over the interior surface. Wipe it until no greasy residue remains. This is your "maintenance layer."
How to Re-Season a Damaged or Stripped Pan
Identifying Issues: Rust, Flaking, and Sticky Residue
Sometimes things go wrong. If you find your pan has orange spots, that's rust. If the black surface is coming off in flakes, that's likely "carbon buildup" (burnt food) rather than seasoning. If the pan feels tacky or sticky, you used too much oil or didn't heat it long enough. All of these can be fixed with a little elbow grease. For a deep dive into restoration, check out this guide on re-seasoning a damaged pan.
Stripping the Old Seasoning (The Easy Way)
If the pan is in truly bad shape, you may need to strip it down to the bare metal. You can do this by using a 50/50 vinegar and water bath for 30-60 minutes to dissolve rust. For removing old, flaky seasoning, some people use the self-cleaning cycle of their oven. Warning: This carries a risk of warping the iron or even cracking it due to extreme heat. A safer method is using an oven cleaner spray (containing lye) inside a trash bag for 24 hours, but this requires heavy-duty gloves and ventilation.
Starting from Scratch: The Restoration Process
Once you’ve stripped the pan, it will look grey and dull. This is "raw" iron. It will rust almost instantly if exposed to moisture, so you must begin the seasoning process immediately. Follow the Master Seasoning Process in the recipe card above, starting with the 200°F warm-up, and apply at least 5 layers to build back that protection.
Common Mistakes to Avoid
Using Too Much Oil
Not Heating the Pan Long Enough
Polymerization takes time and heat. If you turn the oven off after 20 minutes, the oil hasn't had time to cross-link. You’ll end up with a greasy pan that won't be non-stick. Stick to the full hour at 450°F+.
Storing Damp Pans
Never stack damp pans on top of each other. If you must stack your cast iron, place a paper towel between each pan to absorb any ambient moisture and prevent scratches to the patina.
Frequently Asked Questions
A: If it's a new seasoning, a little bit of smoke during the first few uses is normal as the layers settle. However, if it's smoking excessively, you might have old food residue or you're using an oil with a smoke point lower than your cooking temperature.
A: Vintage pans (like Griswold or Wagner) were often machine-polished to a smooth finish, whereas modern Lodge pans have a pebbly texture. Both perform beautifully once seasoned, but the smooth vintage pans do have a slight edge in "out-of-the-box" non-stick performance.