Quick Answer
This guide explains how to boil eggs perfectly every time. Our reliable guide includes a timing chart for soft, medium, and hard boiled results plus easy peeling secrets.
Practical note
For How to Boil Eggs Perfectly, this guide centers on 6 Minutes, 7 Minutes, 8 Minutes. Those are the checkpoints we would use first in a normal home kitchen before making a bigger change.
Decision table
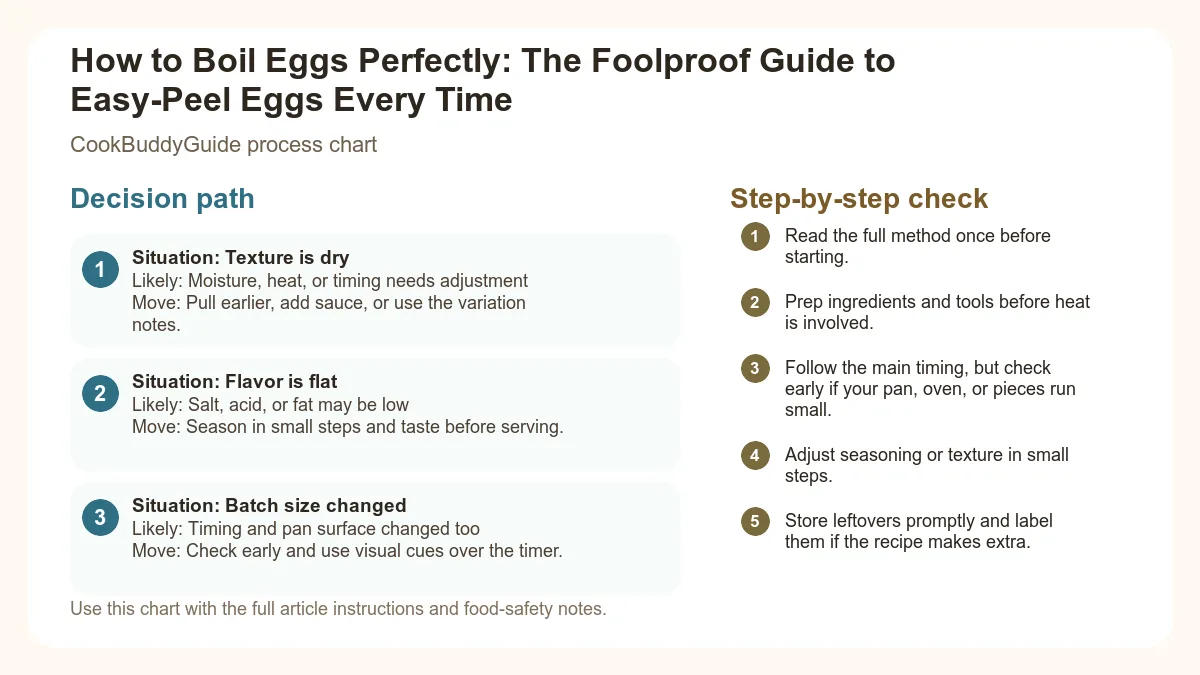
| Situation | Likely cause or meaning | Best move |
|---|---|---|
| Texture is dry | Moisture, heat, or timing needs adjustment | Pull earlier, add sauce, or use the variation notes. |
| Flavor is flat | Salt, acid, or fat may be low | Season in small steps and taste before serving. |
| Batch size changed | Timing and pan surface changed too | Check early and use visual cues over the timer. |
Step-by-step fix
- Read the full method once before starting.
- Prep ingredients and tools before heat is involved.
- Follow the main timing, but check early if your pan, oven, or pieces run small.
- Adjust seasoning or texture in small steps.
- Store leftovers promptly and label them if the recipe makes extra.
Common mistakes
- Changing the recipe before trying the base method once.
- Measuring casually when texture depends on ratios.
- Waiting until the end to fix seasoning.
- Ignoring carryover heat or resting time.
Related topic hubs
Table of Contents
- The Science of the Perfect Boiled Egg
- Choosing Your Ingredients: Does Freshness Matter?
- The Great Debate: Cold Start vs. Boiling Water Start
- A Practical Boiled Egg Timing Chart
- The Essential Step: The Ice Bath (Shocking)
- Practical Tips for Easy Peeling Every Single Time
- Troubleshooting Common Mistakes
- Altitude Adjustments and Special Equipment
- Storage, Meal Prep, and Food Safety
The Science of the Perfect Boiled Egg
Why Something So Simple is So Hard
The Science of the Egg: Proteins and Heat
When you heat an egg, you are initiating a process called protein denaturation. Imagine egg proteins as tiny, tightly coiled balls of yarn. As the heat increases, these coils begin to unwind. As they unwind, they bump into each other and form new, strong bonds. This process is called coagulation.
The egg white begins to set and become opaque at about 145°F (63°C) and becomes firm at 180°F (82°C). However, the egg yolk begins to thicken at 150°F (65°C) and sets firmly at 158°F (70°C). If you push the temperature of the whites too far past 180°F for too long, the proteins bond so tightly that they squeeze out the water, resulting in that rubbery, tough texture we all hate. Our goal is to find the "sweet spot" where the whites are tender and the yolks have reached your desired level of creaminess.
Choosing Your Ingredients: Does Egg Freshness Matter?
Fresh vs. Older Eggs for Peeling
As an egg ages in your refrigerator, the pH of the white increases. This change in alkalinity weakens the bond between the membrane and the white. For easy peel eggs, consider using eggs that have been in your fridge for 7 to 10 days. If you are buying from a grocery store, they are likely already at this "sweet spot."
Egg Sizes and Temperature
Beyond being a kitchen staple, eggs are a nutritional powerhouse. According to the nutritional profile of eggs provided by the Mayo Clinic, they are an excellent source of high-quality protein and essential nutrients, making them a perfect addition to high protein weight loss meals.
The Great Debate: Cold Start vs. Boiling Water Start
The Cold Start Method: Pros and Cons
The traditional method many of us learned from our parents is the "cold start." You place the eggs in a pot, cover them with cold water, bring it to a boil, then turn off the heat and let them sit. While this is a gentle method that rarely results in cracked shells, it is incredibly hard to time precisely. Different stoves take different amounts of time to reach a boil, and different pots retain heat differently. This variability is the enemy of perfection.
The Boiling Water (Hot Start) Method: Why We Recommend It
A Practical Boiled Egg Timing Chart
To master how to boil eggs perfectly, you need a reliable egg timer and a clear understanding of what happens inside the shell every minute. Here is my definitive guide for large eggs started in boiling water and then lowered to a simmering water temperature.
The Master Timing Guide
- 6 Minutes: The "Liquid Gold." The white is soft and just set, but the yolk is completely liquid. Perfect for dipping toast soldiers.
- 7 Minutes: The Classic Jammy Egg. The white is firm, and the yolk is thick and custardy. This is the gold standard for ramen or avocado toast.
- 8 Minutes: The "Medium-Soft." The yolk is mostly set but still has a dark, translucent, fudge-like center.
- 12 Minutes: The Classic Hard Boiled. The yolk is pale yellow and firm. This is the ideal stage for deviled eggs or egg salad.
Note: For a deep dive into these textures, you can view this perfect hard-boiled egg timing chart for visual references.
When you are meal prepping for the week, having a variety of these timings can keep things interesting. Check out our breakfast meal prep ideas for more ways to use these perfectly timed eggs.
The Essential Step: The Ice Bath (Shocking)
Why You Can't Skip the Ice Water
If you take your eggs out of the pot and just let them sit on the counter, they will continue to cook. This is called "carryover cooking." The residual heat trapped inside the shell will push a perfect 10-minute egg into 12-minute territory within minutes. Even worse, this slow cooling encourages the chemical reaction between the sulfur in the whites and the iron in the yolks.
Preventing the Green Ring
We have all seen it—that unappetizing greenish-gray ring around the egg yolk. This is not a sign of a bad egg; it is a sign of overcooking. When the egg gets too hot for too long, sulfur and iron react to form ferrous sulfide. An ice water bath stops this reaction instantly by rapidly dropping the internal temperature of the egg. This ensures your yolks stay bright, vibrant, and sulfur-free.
The 10-Minute Rule
Practical Tips for Easy Peeling Every Single Time
You have used older eggs, you used the hot-start method, and you shocked them in an ice bath. Now, it's time for the finish line. Here is my "Triple-Threat" peeling technique:
- The Crack and Roll: Gently tap the bottom of the egg (where the air pocket is) on a hard surface. Then, gently roll the egg under the palm of your hand with light pressure until the entire shell is a web of fine cracks.
- The Spoon Method: If you encounter a particularly stubborn egg, use a small teaspoon. Crack the shell at the fat end, slide the spoon between the white and the shell (curved side out), and rotate the egg. The spoon matches the contour of the egg and pops the shell off in large chunks.
Troubleshooting Common Mistakes
This is usually due to extreme thermal shock or the eggs hitting the bottom of the pot too hard. To prevent this, use a slotted spoon to gently lower the eggs into the water. You can also add a tablespoon of vinegar in water; while it doesn't help with peeling as much as people claim, it does help the egg white coagulate faster if a crack does occur, sealing the leak instantly.
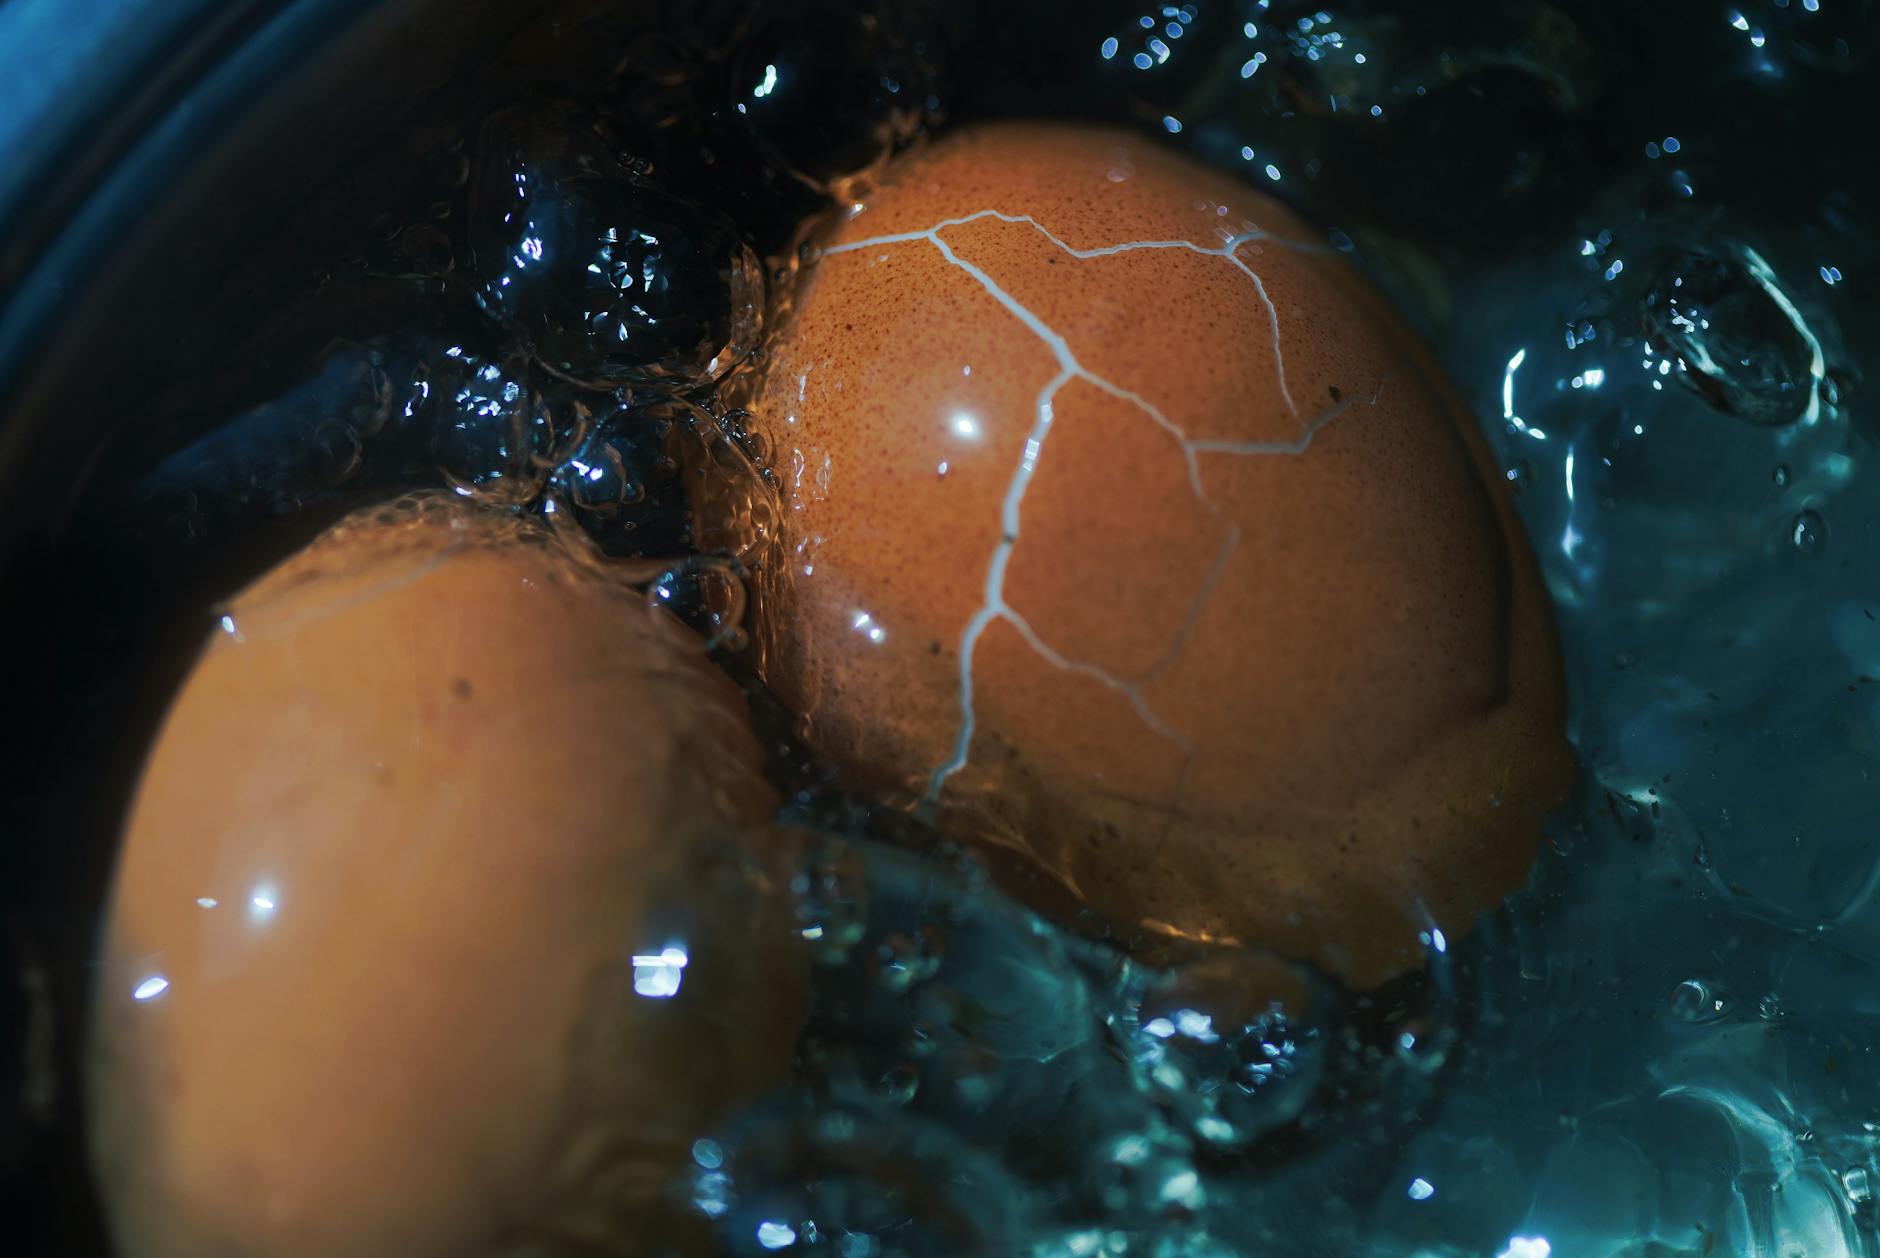
You likely kept the water at a "rolling boil" for the entire duration. Once the eggs are in, you should turn the heat down to a gentle simmer. High-intensity bubbling agitates the eggs and cooks the outer proteins too aggressively. A gentle simmer is all you need for perfect boiled eggs.
This is common in very fresh eggs or eggs that sat in one position in the fridge for a long time. If you are making deviled eggs and want perfectly centered yolks, try storing your egg carton on its side the night before you cook them, or gently stir the eggs for the first 2 minutes of boiling to help the yolk set in the center.
Altitude Adjustments and Special Equipment
Boiling Eggs at High Altitude
If you are cooking in Denver or the Swiss Alps, your water is boiling at a lower temperature than it would at sea level. This means how to boil eggs perfectly becomes a bit more complex. Because the water isn't as hot, the proteins take longer to coagulate. Generally, you will need to add 1 to 2 minutes to the timings listed above. For precise calculations, refer to the high-altitude cooking adjustments guide from Colorado State University.
Steaming: The Professional Secret
The Instant Pot (5-5-5 Method)
Storage, Meal Prep, and Food Safety
Once you have mastered the art of the boil, you need to know how to keep them fresh. According to the USDA's guidelines on the safe handling and storage of eggs, hard-boiled eggs should be refrigerated within two hours of cooking.
- In the Shell: Boiled eggs kept in their shells will last up to 7 days in the refrigerator. The shell acts as a natural protective barrier against fridge odors.
- Peeled: If you have already peeled your eggs, store them in a sealed container or a bowl of cold water (change the water daily). They should be eaten within 3 to 5 days.
- The Smell: Don't be alarmed if your fridge smells a bit "eggy" after storing boiled eggs. This is just the natural sulfur gases. Storing them in an airtight glass container is the best way to prevent this.
Pro Tip: Never freeze boiled eggs. The whites become tough, watery, and completely unpalatable upon thawing.
The Final Word
Perfecting the boiled egg is a rite of passage for any home cook. It transforms a humble ingredient into a versatile tool for breakfast meal prep, gourmet salads, and high-protein snacks. Remember: use eggs that aren't too fresh, start them in boiling water, use a slotted spoon, watch your egg timer like a hawk, and never, ever skip the ice water bath.