 CookBuddyGuide
It’s 6:15 PM on a Tuesday. You’ve had a long day, and you remember those beautiful tiger shrimp you bought a couple of days ago. You pull them out of the fridge, reach into the bag, and pause. Is that a faint whiff of the ocean, or is it something more... chemical? Does the shell feel slightly slippery? We’ve all been there, standing over the kitchen sink, debating whether a $20 pound of seafood is a delicious dinner or a recipe for a long night of foodborne illness.
The Quick Answer: Shrimp Shelf Life Cheat Sheet
If you’re standing in front of your open refrigerator right now, here is the bottom line. According to the USDA shrimp storage guidelines, you have a very narrow window for peak safety and flavor.
| Shrimp Type | Refrigerator (35°F - 38°F) | Freezer (0°F or below) |
|---|---|---|
| Raw Shrimp (Fresh or Thawed) | 1–2 Days | 3–6 Months |
| Cooked Shrimp | 3–4 Days | 2–3 Months |
| Breaded/Prepared Shrimp | 1–2 Days | 2 Months |
Raw Shrimp Shelf Life: A Deep Dive
When we talk about "fresh" shrimp at the grocery store, we have to address the industry's "little white lie." Unless you live on the coast and are buying directly from a boat, the "fresh" shrimp in the glass display case was almost certainly flash freezing at sea and thawed at the store. This is actually a good thing! Flash freezing preserves the cellular structure and prevents bacterial growth.
How to Store Shrimp for Maximum Freshness
Standard grocery store packaging (butcher paper or thin plastic bags) is the enemy of seafood. To maximize how long does shrimp last in fridge, you need to upgrade your storage game the moment you get home.
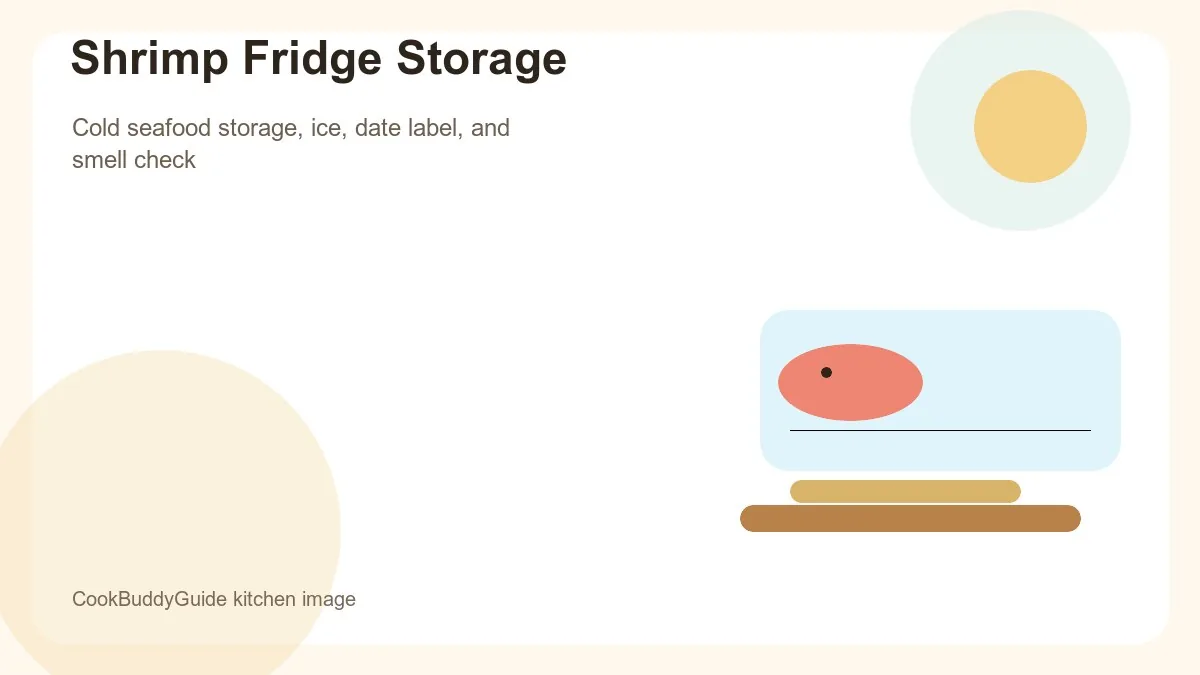
The Pro "Ice Bath" Storage Method
- Rinse: Gently rinse the raw shrimp under very cold running water to remove any surface bacteria or debris.
- The Colander Setup: Place the shrimp in a colander. Place the colander inside a larger bowl.
- Ice Layering: Cover the shrimp with a damp paper towel, then pile crushed ice or ice cubes on top of the towel.
- Drainage: The bowl underneath will catch the melting ice. This is crucial—shrimp should never sit in a pool of water, as this accelerates spoilage and ruins the texture.
- Coldest Spot: Place this setup on the bottom shelf of your fridge, toward the back.
Choosing the Right Containers for Cooked Shrimp
For leftovers, an airtight container is non-negotiable. Cooked shrimp absorbs odors like a sponge. If you leave them on a plate covered only with plastic wrap, they will taste like the onions or melon sitting next to them within 12 hours. For more tips on keeping pre-prepared food fresh, check out our guide on storing your freezer meals.
Signs of Spoilage: How to Tell if Shrimp is Bad
The FDA seafood safety tips emphasize that fresh shrimp should have a mild, slightly salty scent. Anything else is a red flag. Here is my 3-point inspection checklist:
1. The Scent Test: Ammonia vs. Sea Salt
If you open the bag and are hit with a sharp ammonia smell, do not pass go, do not collect $200. Throw it away. Ammonia is a byproduct of protein breakdown in shellfish. While some people think they can "wash it off," the bacteria have already penetrated the meat.
2. Visual Cues: Melanosis and Discoloration
Have you ever seen black spots on the head or where the legs attach? This is called Melanosis. It’s not necessarily rot; it’s an enzymatic reaction similar to an apple turning brown. However, it is a sign that the shrimp is aging. If the shrimp looks dull, yellowed, or has opaque white patches (a sign of freezer burn if previously frozen), the quality has significantly declined.
3. Texture: The "Slimy" Factor
Raw shrimp should be firm and slippery, but never slimy. If you pick up a shrimp and it leaves a thick, mucus-like residue on your fingers that doesn't easily rinse off, bacterial growth has taken over. Fresh shrimp should "snap" when you press the flesh; spoiled shrimp will feel mushy or "mealy."
Freezing Shrimp: The Long-Term Solution
If you realize you won't get to those shrimp within 48 hours, freezing is your best friend. But you can't just toss the grocery bag in the freezer.
How to Flash Freeze Shrimp (IQF Style)
Individual Quick Freezing (IQF) prevents the shrimp from clumping together into a giant "shrimp brick," allowing you to grab exactly what you need for a single meal.
- Dry Thoroughly: Pat the shrimp extremely dry with paper towels. Moisture on the surface leads to freezer burn.
- Single Layer: Arrange the shrimp on a parchment-lined baking sheet so they aren't touching.
- Initial Freeze: Place the tray in the freezer for 1–2 hours until the shrimp are rock hard.
- Double Bag: Transfer the frozen shrimp into a heavy-duty freezer bag. Squeeze out every bit of air. For extra protection, place that bag inside a second airtight container or another freezer bag.
Safe Thawing Methods for Busy Cooks
How you thaw is just as important as how you store. According to how to defrost shrimp guides, there are only two methods Consider.
The Overnight Fridge Method (Best for Texture)
Place the frozen bag on a plate (to catch condensation) and let it sit in the fridge for 12–24 hours. This slow transition keeps the ice crystals from tearing the delicate muscle fibers, resulting in a much better "pop" when you bite into the cooked shrimp.
The Cold Water Flush (The 15-Minute Save)
If it's 6:00 PM and the shrimp are frozen solid, place them in a sealed zip-top bag. Submerge the bag in a bowl of cold tap water. Every 5 minutes, change the water. Never use warm or hot water, as this will cook the outside of the shrimp while the inside remains frozen, creating a breeding ground for bacteria.
Cooking with "Older" Shrimp: Safety First
Use fresh shrimp within two refrigerated days or freeze it, following FDA's seafood storage guidance. A normal smell does not rescue shrimp with an unsafe or unknown handling history. Cook only shrimp that has stayed cold, and discard it if you cannot establish that history; extra cooking is not a substitute for safe storage.
- Internal Temperature: Use a digital thermometer to ensure the shrimp reaches an internal temperature of 145°F. The meat should be opaque and pearly white.
- High Heat Searing: Instead of a gentle poach, opt for a high-heat stir-fry or grilling. The rapid heat penetration is more effective at killing surface pathogens.
- Avoid Acidic Marinades: While lemon juice is great for flavor, don't let "older" shrimp sit in acid for more than 10 minutes. The acid begins to "cook" the protein (like ceviche), but it doesn't kill bacteria the way heat does. It can also mask the smell of shrimp that is starting to turn.
Common Mistakes Home Cooks Make with Shrimp
Even seasoned cooks fall into these traps. Avoid these three mistakes to keep your kitchen safe:
2. Storing in Original Grocery Wrapping
As mentioned, butcher paper is designed for transport, not storage. It leaks, it doesn't seal out oxygen, and it can harbor bacteria from the butcher's counter. Always transfer your shrimp to a clean airtight container or use the ice bath method described above.
Frequently Asked Questions
A: If it is raw, the USDA recommends throwing it out after 2 days. If it is cooked, it is likely safe for up to 4 days, provided it has been stored in an airtight container at or below 40°F.
A: A bleach or ammonia smell is a definitive sign of spoilage. It indicates that the proteins are breaking down. Do not eat it.
A: Some species, like tiger shrimp, naturally have a grayish hue. However, if the shrimp was bright pink or translucent and has turned a dull, matte gray, it is likely oxidizing and losing freshness.
Final Thoughts from the CookBuddy Kitchen
Shrimp is a luxury ingredient that deserves respect. By understanding how long does shrimp last in fridge, you can shop with confidence and cook without fear. Remember: 1–2 days for raw, 3–4 days for cooked. When in doubt, refer to the cold food storage chart for a quick refresher.
The next time you're at the seafood counter, don't be afraid to ask questions. A good fishmonger will appreciate your interest in quality. And once you get those shrimp home, get them on ice or in an airtight container immediately. Your taste buds—and your stomach—will thank you!
Happy cooking, and stay safe in the kitchen!