Quick Answer
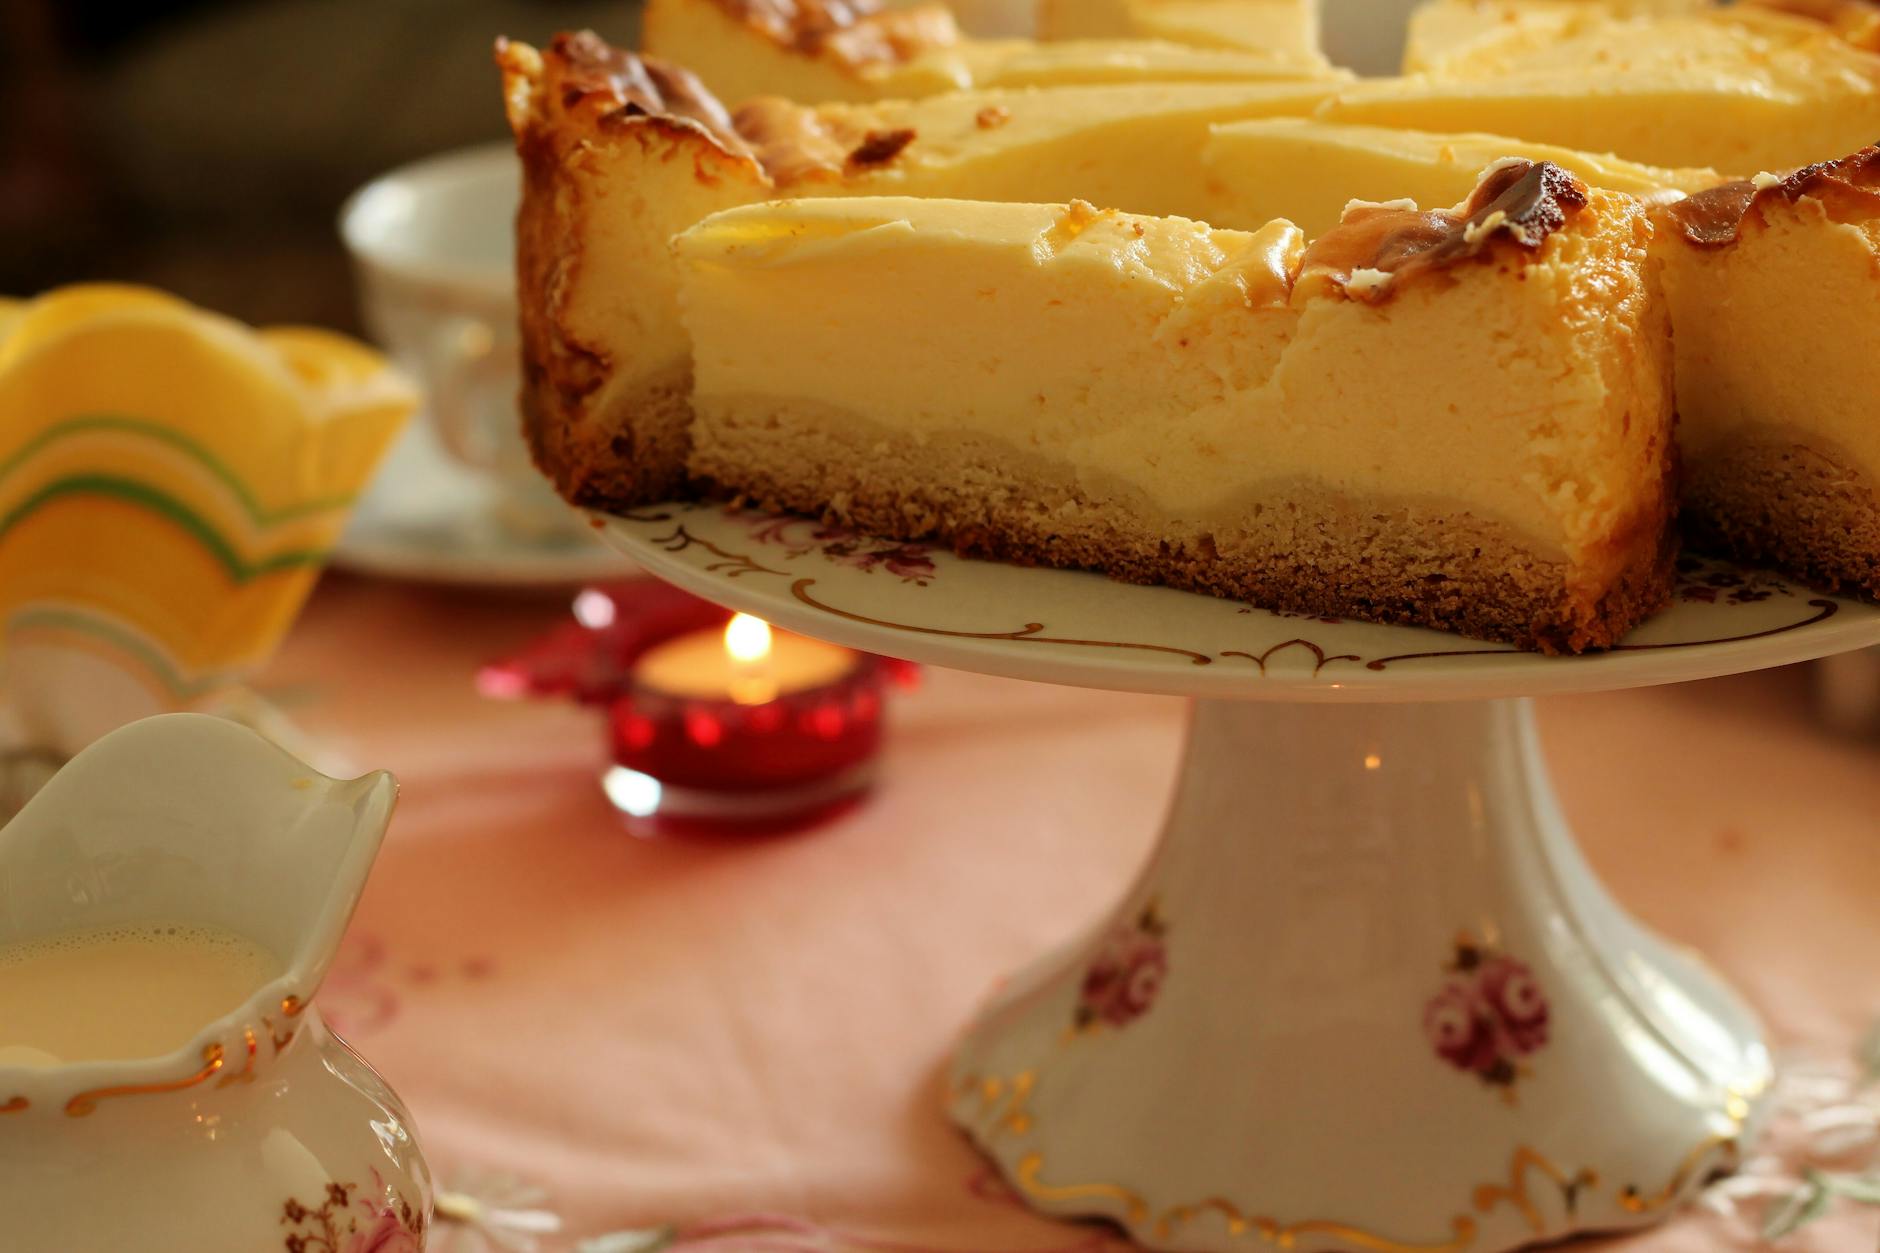
Master this easy cheesecake recipe with our reliable beginner cheesecake recipe guide. It also explains how to prevent cracks and get creamy results every single time.
Practical note
For A Practical Easy Cheesecake Recipe, the most useful home checks are temperature, measuring, resting time, and visible texture. Those details tell you more than guessing, especially before adding extra flour, liquid, heat, or leavening.
Decision table
| Situation | Likely cause or meaning | Best move |
|---|---|---|
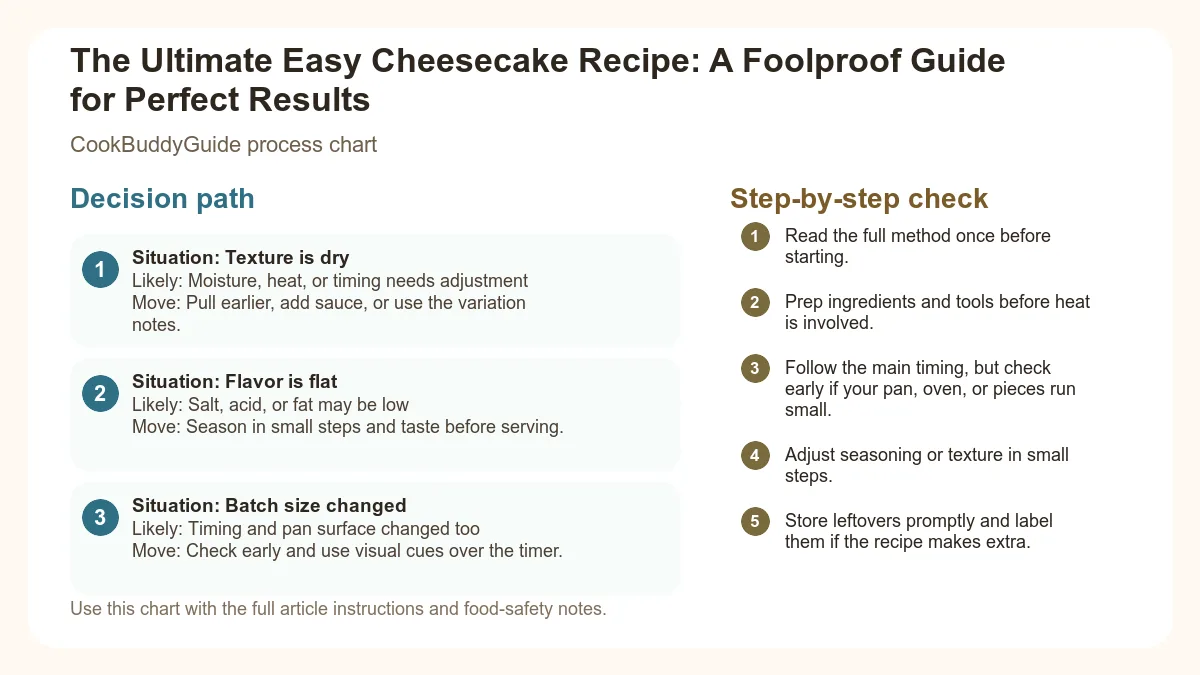
| Texture is dry | Moisture, heat, or timing needs adjustment | Pull earlier, add sauce, or use the variation notes. |
| Flavor is flat | Salt, acid, or fat may be low | Season in small steps and taste before serving. |
| Batch size changed | Timing and pan surface changed too | Check early and use visual cues over the timer. |
Step-by-step fix
- Read the full method once before starting.
- Prep ingredients and tools before heat is involved.
- Follow the main timing, but check early if your pan, oven, or pieces run small.
- Adjust seasoning or texture in small steps.
- Store leftovers promptly and label them if the recipe makes extra.
Common mistakes
- Changing the recipe before trying the base method once.
- Measuring casually when texture depends on ratios.
- Waiting until the end to fix seasoning.
- Ignoring carryover heat or resting time.
Related topic hubs
- Why This is the Only Easy Cheesecake Recipe You’ll Ever Need
- The Science of Smooth: Room Temperature Ingredients
- Essential Equipment for Beginners
- Crafting the Perfect Graham Cracker Crust
- The Filling: Mixing for Air-Bubble-Free Texture
- The Water Bath Secret: Two Methods
- Troubleshooting: Preventing Cracks
- Cooling and Chilling: The Non-Negotiables
- The No-Bake Alternative
- Creative Toppings and Serving Tips
- The Master Baked Cheesecake Recipe
Why This is the Only Easy Cheesecake Recipe You’ll Ever Need
The Anatomy of a Perfect Cheesecake
Why Most Beginners Fail (And How You Won't)
The Science of Smooth: Why Room Temperature Ingredients Matter
The Cream Cheese Rule
According to experts on room temperature ingredients for baking, using ingredients at the same temperature allows for a proper emulsion. This emulsion is what creates that signature creamy texture. If you're in a rush, you can speed up the process by cutting the cream cheese into small cubes and spreading them out on a plate; they will usually reach the desired temperature in about 30 to 45 minutes.
Eggs and Sour Cream: Don't Forget the Rest
It’s a common mistake to soften the cream cheese but use cold eggs. When a cold egg hits softened cream cheese, it shocks the fat, causing it to seize up and create—you guessed it—more lumps. Consider placing your eggs in a bowl of warm water for 10 minutes before beating eggs into the batter. This ensures the entire mixture stays emulsified. However, remember that for safe food handling practices, you shouldn't leave dairy products out for more than two hours. Timing is everything.
Essential Equipment for Your Beginner Cheesecake Recipe
The Magic of the Springform Pan
Mixing Tools: Stand Mixer vs. Hand Mixer vs. Whisk
While a stand mixer is a luxury that makes the process easier, a simple electric mixer (handheld) is actually preferred by many professionals for cheesecake. Why? Because it gives you more control over the speed. High speeds introduce too much air, which we want to avoid. If you are feeling particularly traditional, you can use a whisk and some elbow grease, but ensure you are thorough. No matter what tool you use, a flexible silicone spatula is your best friend for scraping the bottom of the bowl—where the hidden lumps always hide.
Step-by-Step: Crafting the Perfect Graham Cracker Crust
The Ratio: Crumbs, Sugar, and Butter
Pre-baking: The Secret to a Non-Soggy Base
The Filling: How to Mix for a Silky, Air-Bubble-Free Texture
Low and Slow: The Mixing Philosophy
Scraping the Bowl: The Most Overlooked Step
The Water Bath Secret: Two Methods for Success
Method 1: The Traditional Bain-Marie (Submerged)
A water bath (or bain-marie) is simply a pan of hot water that surrounds your cheesecake pan. The water acts as a buffer, ensuring the temperature never rises above 212°F (100°C) around the delicate eggs. This prevents the proteins from over-coagulating and curdling. To do this successfully, you must wrap your springform pan in at least three layers of heavy duty aluminum foil to prevent leaks. For a deeper look at the physics, see the science of cheesecake water baths.
Method 2: The Simplified Steam Method (Lower Rack)
If the idea of submerged foil stresses you out, use the "Steam Method." Place a roasting pan filled with boiling water on the bottom baking rack of your oven and place the cheesecake on the rack directly above it. While not as effective as a true submerged bath, it creates a humid environment that keeps the surface of the cake moist, which is often enough to prevent cracking in an easy cheesecake recipe. This is a great middle-ground for those who find the foil-wrapping process cumbersome.
Troubleshooting 101: How to Prevent Your Cheesecake from Cracking
The "jiggle test" is your best indicator. When you gently shake the pan, the outer 2-3 inches should be set and firm, but the center circle (about the size of a grapefruit) should still jiggle like Jell-O. If the whole thing jiggles, it needs more time. If the center is firm, you've overbaked it. If you want to be precise, use an instant-read thermometer; the internal temperature should be exactly 150°F (65°C).
Don't panic! Cracks usually happen because the cake stuck to the sides of the pan as it shrank during cooling. To prevent this, run a thin knife around the edge of the cake immediately after taking it out of the oven. This releases the tension. For more professional advice, check out this guide on how to prevent your cheesecake from cracking.
The Hardest Part: Why Proper Cooling and Chilling is Non-Negotiable
The Oven-Door-Ajar Technique
A sudden drop in temperature is the fastest way to crack a perfect cheesecake. When the timer goes off, turn off the oven, crack the door open about an inch, and leave the cheesecake inside for one hour. This gradual cooling process allows the structure to stabilize slowly. It might seem like a long time to wait when you're hungry, but it's the difference between a deep bakery-style look and a homemade mess. If you're looking for something faster to eat while you wait, check out our simple 5-ingredient dinner recipes to keep you occupied.
The 6-Hour Rule: Why Overnight is Better
Cheesecake is not a dessert you can eat warm. It needs at least 6 hours—ideally 12 to 24—in the refrigerator. During this time, the fats solidify and the flavors develop. A cheesecake eaten 2 hours after baking tastes like sweet eggs; a cheesecake eaten 24 hours later tastes like heaven. To avoid condensation (which makes the top sticky), let the cake reach room temperature on the counter before covering it with plastic wrap and moving it to the fridge.
No Springform Pan? The Easy No-Bake Cheesecake Alternative
Sometimes you need a beginner cheesecake recipe that doesn't involve an oven at all. No-bake cheesecakes rely on heavy cream and refrigeration to set, rather than eggs and heat. The texture is more mousse-like and airy compared to the dense New York style. This is an excellent option for summer months when you don't want to heat up the kitchen. In fact, it pairs perfectly with our other refreshing no-cook summer meals.
The main difference lies in the structural agents. While baked versions use eggs, no-bake versions often use whipped cream or occasionally gelatin. You can read more about the no-bake versus baked cheesecake differences to decide which style fits your craving. No-bake versions can be made in a simple pie dish or even a square brownie pan if you don't own a springform pan.
Creative Toppings to Elevate Your Easy Cheesecake Recipe
Classic Fruit Compotes
A simple strawberry or blueberry sauce can mask any minor surface imperfections. To make a quick compote, simmer 2 cups of frozen berries with 1/4 cup of sugar and a squeeze of lemon juice for 5-8 minutes until thickened. Let it cool completely before spooning it over your chilled cake. The acidity of the fruit perfectly balances the richness of the sour cream and cream cheese in the filling.
The Decadent Route: Ganache and Caramel
For a more indulgent finish, a chocolate ganache (equal parts hot heavy cream and chocolate chips) creates a stunning, glossy finish. If you’re feeling bold, a drizzle of salted caramel and a sprinkle of pecans can turn this easy cheesecake recipe into a "Turtle" cheesecake. When serving, always use a thin knife dipped in hot water and wiped clean between every single slice. This is the secret to those perfect, bakery-style slices you see on Instagram.
The Master Baked Cheesecake Recipe
Ingredients
For the Crust:- 1.5 cups Graham Cracker crumbs
- 1/4 cup granulated sugar
- 6 tbsp salted butter, melted
- 32 oz (4 blocks) full-fat Cream Cheese, room temperature
- 1 cup granulated sugar
- 1 cup full-fat Sour Cream, room temperature
- 1 tbsp Vanilla Extract
- 3 large eggs, room temperature
Instructions
- Prep the Oven: Preheat to 350°F (175°C). Grease a 9-inch springform pan.
- Make the Crust: Mix crumbs, sugar, and butter. Press firmly into the bottom and 1 inch up the sides of the pan. Bake for 10 minutes, then cool.
- Cream the Cheese: In a large bowl, beat the cream cheese and sugar on low speed until smooth. Scrape the bowl thoroughly.
- Add Aromatics: Mix in the sour cream and vanilla extract until just combined.
- The Egg Stage: Add eggs one at a time, mixing on low speed just until the yellow disappears. Do not overmix!
- The Water Bath: Wrap the pan in 3 layers of heavy duty aluminum foil. Place in a large roasting pan and fill the roasting pan with 1 inch of boiling water.
- Bake: Lower oven to 325°F (160°C). Bake for 75 minutes.
- The Cool Down: Turn off the oven, crack the door, and let sit for 60 minutes.
- Chill: Remove from the water bath, run a knife around the edge, and refrigerate for at least 12 hours.
Easy No-Bake Cheesecake (The Shortcut)
Ingredients
- 1.5 cups Graham Cracker crumbs
- 1/2 cup melted butter
- 16 oz Cream Cheese, softened
- 1 cup powdered sugar
- 1 tsp Vanilla Extract
- 1.5 cups heavy whipping cream, chilled
Instructions
- Crust: Mix crumbs and butter. Press into a 9-inch pie plate. Freeze for 10 minutes.
- Cream: Beat cream cheese, powdered sugar, and vanilla until smooth.
- Whip: In a separate bowl, whip heavy cream to stiff peaks.
- Fold: Gently fold the whipped cream into the cream cheese mixture until no streaks remain.
- Set: Pour into the crust and refrigerate for at least 6 hours before serving.
Conclusion: Your Journey to Cheesecake Mastery
Mastering this easy cheesecake recipe is a rite of passage for any home cook. By focusing on room temperature ingredients, avoiding overmixing, and respecting the cooling process, you have all the tools necessary to create a dessert that rivals any professional bakery. Remember, the secret ingredient isn't the brand of cream cheese or the type of vanilla—it's the patience to let the science of baking do its work. Whether you choose the traditional New York style or the quick no-bake alternative, you're now equipped to handle any cheesecake challenge that comes your way. Happy baking!