Quick Answer
Master this easy brownie recipe from scratch for perfect fudgy brownies homemade. It also explains the butter-melting secret and why underbaking is the key to gooey success.
Practical note
For A Practical Easy Brownie Recipe From Scratch, this guide centers on Prep the Oven and Pan, Mix the Fats and Sugars, The Whisking Phase. Those are the checkpoints we would use first in a normal home kitchen before making a bigger change.
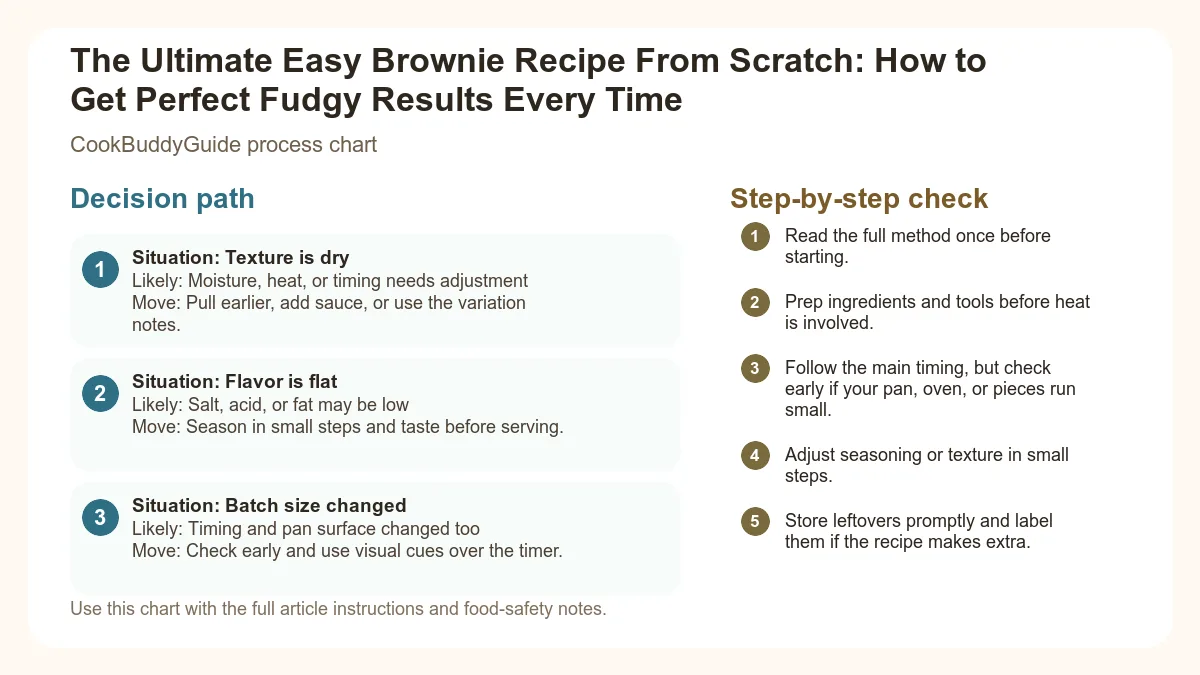
Decision table
| Situation | Likely cause or meaning | Best move |
|---|---|---|
| Texture is dry | Moisture, heat, or timing needs adjustment | Pull earlier, add sauce, or use the variation notes. |
| Flavor is flat | Salt, acid, or fat may be low | Season in small steps and taste before serving. |
| Batch size changed | Timing and pan surface changed too | Check early and use visual cues over the timer. |
Step-by-step fix
- Read the full method once before starting.
- Prep ingredients and tools before heat is involved.
- Follow the main timing, but check early if your pan, oven, or pieces run small.
- Adjust seasoning or texture in small steps.
- Store leftovers promptly and label them if the recipe makes extra.
Common mistakes
- Changing the recipe before trying the base method once.
- Measuring casually when texture depends on ratios.
- Waiting until the end to fix seasoning.
- Ignoring carryover heat or resting time.
Related topic hubs
Table of Contents
- The Science of Texture: Fudgy vs. Cakey Brownies
- The Butter Method: Melted vs. Creamed
- Essential Ingredients for Fudgy Brownies Homemade
- Step-by-Step: The reliable Easy Brownie Recipe
- The Art of the Bake: Timing and Temperature
- The Hardest Part: Cooling and Cutting
- Troubleshooting Common Brownie Blunders
The Science of Texture: Fudgy vs. Cakey Brownies
In the world of baking, brownies occupy a unique space between a cookie and a cake. However, the "perfect" brownie is almost always defined by its fudginess. To achieve this, we have to look at the ratio of flour to fat. A fudgy brownie has a significantly higher fat content (from butter and chocolate) relative to the amount of flour used. When you increase the flour, you introduce more starch, which builds a structural network that traps air, leading to a "cakey" texture.
The Role of Gluten Development
Why We Skip the Baking Powder
You will notice that this easy brownie recipe from scratch contains no chemical leaveners like baking powder or baking soda. Why? Because we aren't looking for "lift." Chemical leaveners create carbon dioxide bubbles that expand in the oven, creating a porous, airy crumb. For a world-class fudgy brownie, we rely solely on the air whipped into the eggs during the initial mixing phase. This provides just enough structure without turning the dessert into a chocolate sponge cake.
The Butter Method: Melted vs. Creamed
The Whisking Hack for the Crinkle Top
Temperature Matters: Room Temperature Eggs
use room temperature eggs. If you add cold eggs to melted butter, the butter will seize and clump, ruining the emulsification process. If you’re in a rush (and let’s be honest, we usually are when a chocolate craving hits), place your cold eggs in a bowl of warm water for 5 minutes. This ensures a smooth, glossy batter that incorporates perfectly.
Essential Ingredients for Fudgy Brownies Homemade
When you're making an easy brownie recipe from scratch, every ingredient has to pull its weight. Since there are so few components, the quality of each one directly impacts the final flavor profile. This isn't the time for the "budget" cocoa powder hidden in the back of the pantry since 2019.
Cocoa Powder vs. Melted Chocolate
After 50 batches, I’ve concluded that a hybrid approach is best. Use Dutch-process cocoa for deep, earthy notes and a darker color, but I also fold in chopped bittersweet chocolate. Dutch-process cocoa has been treated with an alkalizing agent to neutralize its acidity, which makes it smoother and more "chocolatey" than natural cocoa. The chopped chocolate pieces melt during the bake, creating pockets of pure molten fudge that you just can't get with powder alone.
The Secret Power of Espresso Powder and Sea Salt
Sugar Selection: Why Brown Sugar is Your Best Friend
While many recipes call for only granulated sugar, Use a mix of white and light brown sugar. The molasses in brown sugar adds moisture and contributes to the chewy edges we all love. It also aids in the Maillard reaction, the chemical process that gives baked goods their complex, toasted flavors. If you’re looking to save money on your grocery bill while still eating like royalty, check out our guide on budget friendly meal ideas.
Step-by-Step: The reliable Easy Brownie Recipe From Scratch
The CookBuddy Ultimate Fudgy Brownies
Yields: 16 brownies | Pan: 8x8 inch square
Ingredients:- 10 tbsp (140g) Unsalted Butter, melted and slightly cooled
- 1 cup (200g) Granulated Sugar
- 1/2 cup (100g) Light Brown Sugar, packed
- 2 Large Eggs (room temperature)
- 2 tsp Vanilla Extract
- 1/2 cup (45g) Dutch-process cocoa powder
- 1/2 cup (65g) All-purpose flour
- 1/2 tsp Sea salt
- 1/2 tsp Instant espresso powder (optional)
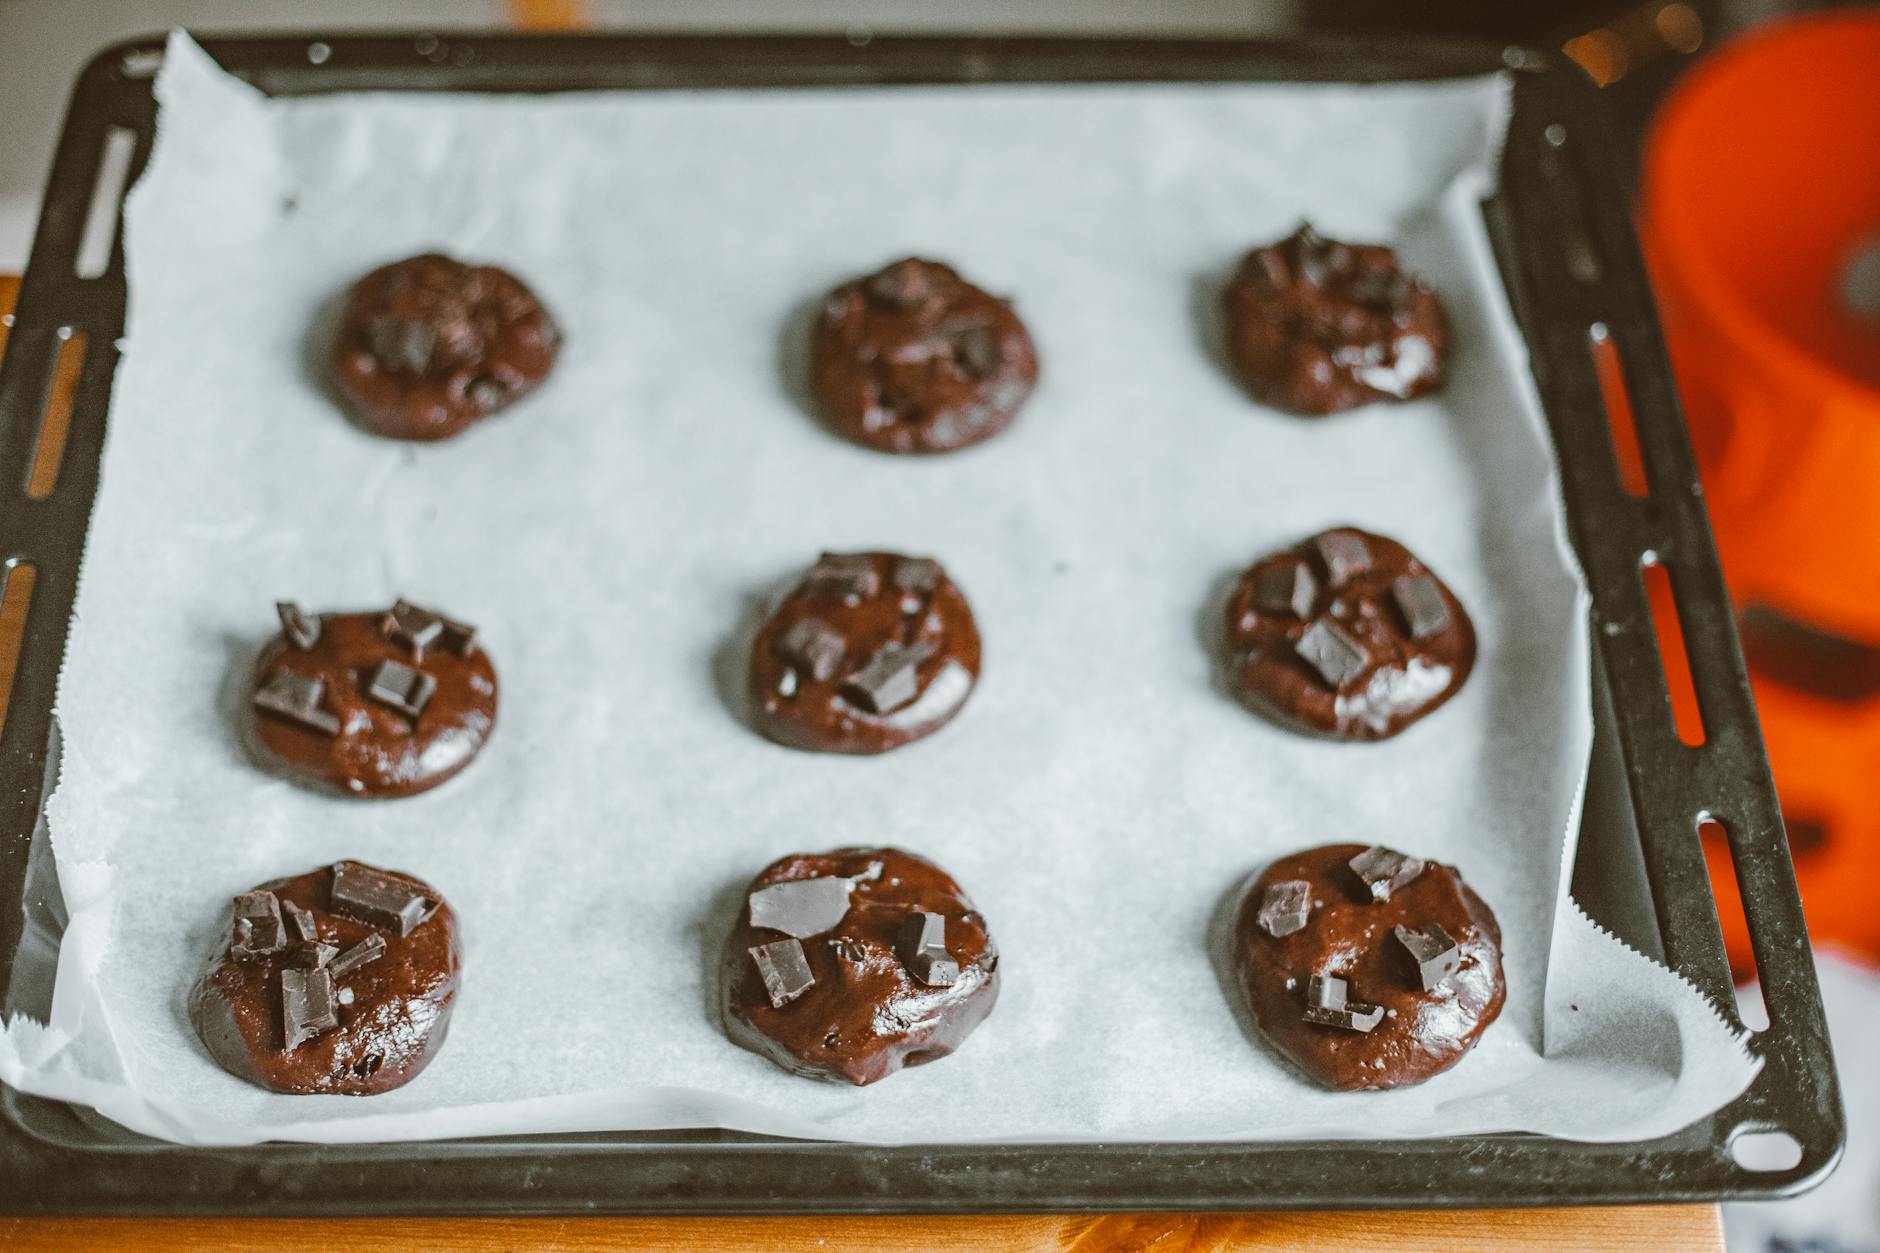
- 3/4 cup (125g) Bittersweet chocolate chips or chunks
- Prep the Oven and Pan: Preheat your oven to 325°F (165°C). Line an 8x8 inch baking pan size with baking parchment, leaving an overhang on two sides to create a "parchment sling."
- Mix the Fats and Sugars: In a large microwave-safe bowl, melt the butter. Whisk in the granulated and brown sugars until the mixture looks like wet sand.
- The Whisking Phase: Add the room temperature eggs and vanilla extract. Whisk vigorously by hand for 2 full minutes until the batter is light, fluffy, and ribbony. This is key for the crinkle top!
- Incorporate Dry Ingredients: Sift in the cocoa powder, flour, salt, and espresso powder. Use a rubber spatula to fold the ingredients together. Stop the moment you see no more dry flour. Do not overmixing!
- Add the Chocolate: Gently fold in the chocolate chips or chunks.
- Bake: Pour the batter into the prepared pan and smooth the top. Bake for 25-30 minutes. (See the "Art of the Bake" section below for doneness cues).
- Cool: Remove from the oven and place on a cooling rack. Let them cool completely in the pan for at least 2 hours before lifting the parchment sling to cut.
The Art of the Bake: Timing and Temperature
The biggest mistake home cooks make with an easy brownie recipe from scratch is trusting the "clean toothpick" rule. If you wait until a toothpick comes out clean, you have already overbaked your brownies, and they will be dry and cakey once they cool. Instead, follow the brownie doneness toothpick test: you want the tester to come out with a few moist, fudgy crumbs attached. This indicates the center is set but still retains that gooey, dense interior.
Why 325°F is Better Than 350°F
Most recipes default to 350°F, but for fudgy brownies homemade, 325°F is the "sweet spot." The lower temperature allows the brownies to bake more evenly from the edges to the center. At 350°F, the edges often become hard and overcooked before the middle is even safe to eat. By lowering the heat, we encourage carryover cooking—the process where the residual heat in the pan continues to cook the brownies for several minutes after they’ve been removed from the oven.
The Impact of Oven Hotspots
The Hardest Part: Cooling and Cutting
How to Get Professional, Clean Edges
If you want those perfectly square, sharp-edged brownies you see on Instagram, here is my pro tip: use a plastic knife. For some reason, the fudge doesn't stick to plastic the way it does to metal. If you must use a metal knife, run it under hot water, wipe it dry, and make one clean slice. Wipe the knife clean and reheat it between every single cut. This prevents "smearing" and keeps the layers distinct.
Storage Tips for Freshness
Brownies actually taste better on day two! The flavors have more time to meld, and the texture becomes even denser. Store your brownies in an airtight container at room temperature for up to 4 days. For longer storage, wrap individual squares in plastic wrap and freeze them in a zip-top bag. They thaw beautifully in about 30 minutes, making them a perfect "emergency" dessert for busy weeknights.
Troubleshooting Common Brownie Blunders
Even with the best easy brownie recipe from scratch, things can go wrong. If your batch didn't turn out quite right, don't despair. Most issues are caused by minor technical errors that are easily fixed in the next round. Many common brownie baking mistakes stem from incorrect measurements or oven calibration issues.
This usually happens if the butter and sugar weren't properly emulsified with the eggs, or if the batter was overbeaten after the flour was added, causing the fat to separate. Ensure your eggs are at room temperature to help the fat and liquid bond.
The crinkle top is all about the sugar. If you reduced the sugar in the recipe, or if you didn't whisk the eggs and sugar long enough, the "meringue" layer won't form. Stick to the full amount of sugar and whisk until the batter is pale and thick.
Overbaking is the culprit here. If your brownies are too hard to eat, don't throw them away! Crumble them over vanilla ice cream or use them as a base for a trifle. Next time, pull them out 2-3 minutes earlier than you think you should.
Final Thoughts for the Home Cook
Remember, the best brownies are the ones shared with friends and family. So, grab your one-bowl dessert supplies, preheat that oven, and get ready to experience the ultimate fudgy bliss. Happy baking from all of us at CookBuddyGuide!