Quick Answer
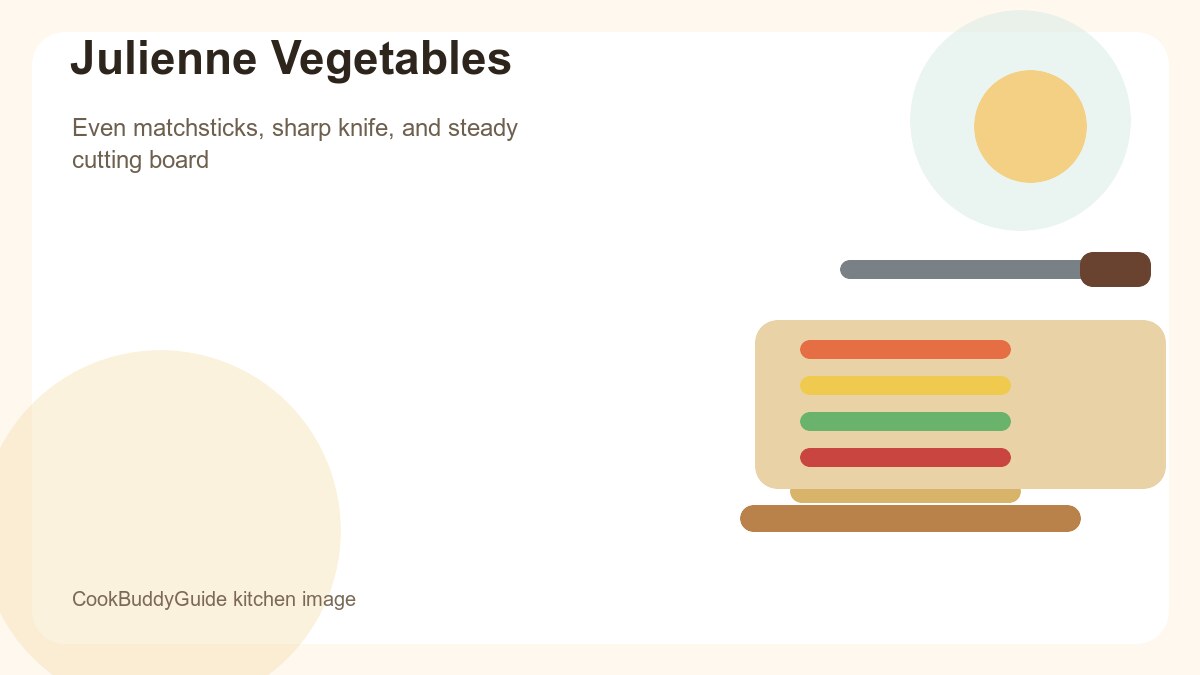
This guide explains how to julienne vegetables. Master the julienne cut technique for carrots, peppers, and more to level up your stir-fries and salads.
Practical note
For How to Julienne Vegetables, this guide centers on The "Wedge" Effect, Bruised Produce, Tapered Ends. Those are the checkpoints we would use first in a normal home kitchen before making a bigger change.
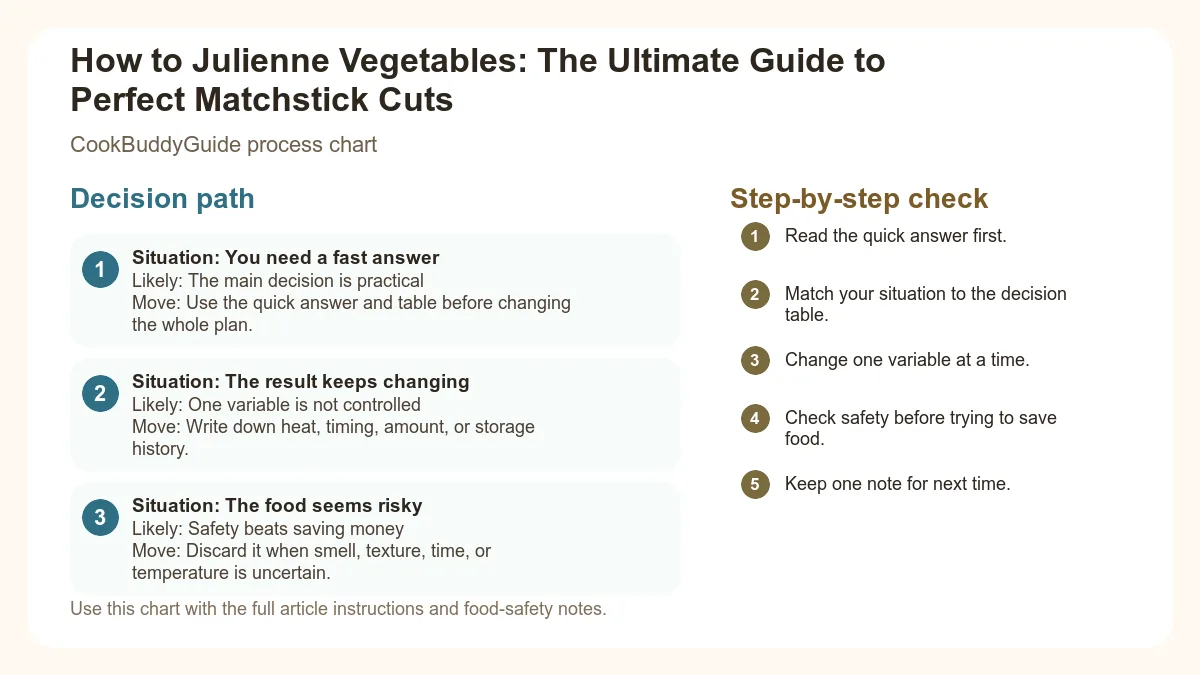
Decision table
| Situation | Likely cause or meaning | Best move |
|---|---|---|
| You need a fast answer | The main decision is practical | Use the quick answer and table before changing the whole plan. |
| The result keeps changing | One variable is not controlled | Write down heat, timing, amount, or storage history. |
| The food seems risky | Safety beats saving money | Discard it when smell, texture, time, or temperature is uncertain. |
Step-by-step fix
- Read the quick answer first.
- Match your situation to the decision table.
- Change one variable at a time.
- Check safety before trying to save food.
- Keep one note for next time.
Common mistakes
- Skipping the quick answer and changing too much at once.
- Treating quality problems and safety problems the same way.
- Not writing down the detail that caused the repeat problem.
Related topic hubs
Table of Contents
- Why Mastering the Julienne Cut is a Helpful Shortcut
- Essential Tools for Precision Cutting
- The Core Technique: A Step-by-Step Visual Guide
- How to Julienne Specific Vegetables
- Mandoline vs. Knife: The Great Debate
- Common Mistakes and How to Fix Them
- Practical Applications: Putting Your Skills to Use
- Storage and Prep-Ahead Tips
- Frequently Asked Questions
Why Mastering the Julienne Cut is a Helpful Shortcut
The Science of Uniformity: Why Size Matters
In French cuisine, the julienne is considered one of the most elegant cuts. It maximizes the surface area of the vegetable, allowing it to pick up sauces and seasonings more effectively. Because the strips are so thin, they soften slightly but retain a distinct "snap." According to the standard julienne cut dimensions, a true julienne should be approximately 1/8 inch × 1/8 inch × 2 inches. If you go slightly larger, you’ve moved into "batonnet" territory.
Julienne vs. Batonnet: Knowing the Difference
Essential Tools for Precision Cutting
The Best Knife for Julienne Cuts
Cutting Board Stability Hacks
Mandoline Slicers: When to Use Them
The Core Technique: A Step-by-Step Visual Guide
The secret to a perfect julienne isn't speed; it's the sequence. You must transform a round, rolling object into a stable, rectangular one. This is the essence of professional food presentation.
The Universal Julienne Method
Step 1: Squaring Off the Vegetable
Start by cutting off the ends of your vegetable (like a carrot or zucchini). Cut the vegetable into manageable 2-inch lengths. Now, slice a thin strip off one side to create a flat surface. Turn the vegetable onto that flat side. This process of squaring off the vegetable is the single most important step for safety and precision.
Step 2: Cutting the Planks
With your vegetable stabilized on its flat side, cut it lengthwise into thin slices (about 1/8 inch thick). These are called "planks." Try to keep your knife perfectly vertical to ensure the planks are uniform from top to bottom.
Step 3: Stacking and Slicing the Strips
Stack 2 or 3 planks on top of each other. Using this step-by-step julienne guide technique, slice through the stack lengthwise at 1/8-inch intervals. The result? Perfect matchstick strips.
Pro Tip: The "Claw" Grip
Always tuck your fingertips inward, using your knuckles to guide the side of the knife blade. This "Claw" grip ensures that if the knife slips, it hits your hard knuckle rather than your soft fingertip.
How to Julienne Specific Vegetables
Carrots: Managing the Roll
Zucchini: Dealing with the Soft Core
The watery center of a zucchini can make a finished dish soggy. Cut the four firm sides away from the seedy core, then julienne the outer flesh and skin for strips that hold their shape better.
Bell Peppers: The Skin-Side Secret
Mandoline vs. Knife: The Great Debate
A mandoline is useful when you need a large volume of uniform strips; a chef's knife is usually faster for a small garnish. A julienne peeler is another option for carrots and other firm vegetables, though it is less precise than a knife.
Common Mistakes and How to Fix Them
- The "Wedge" Effect: This happens when your knife isn't perfectly perpendicular to the board. If you tilt the blade, your planks will be thicker on one side. The Fix: Slow down and focus on the vertical alignment of your knife for the first three cuts.
- Bruised Produce: If your herbs or delicate vegetables look dark or wet after cutting, your knife is dull. A sharp knife slices; a dull knife crushes. The Fix: Hone your knife before every session and get it professionally sharpened once or twice a year.
- Tapered Ends: If you don't square off the vegetable properly, the ends of your strips will be pointy and thin, leading to burnt tips in a stir-fry. The Fix: Be aggressive with your initial squaring. Those "scraps" are still edible—just not for this specific dish.
Practical Applications: Putting Your Skills to Use
Now that you’ve mastered the technique, what do you do with all those perfect matchsticks? Julienned vegetables are the stars of many refreshing no-cook summer meals. They add a sophisticated crunch that chopped vegetables simply can't match.
Quick Pickled Banh Mi Topping
- 1 cup julienned carrots
- 1 cup julienned daikon radish
- 1/2 cup rice vinegar
- 2 tbsp sugar
- 1 tsp salt
Whisk the vinegar, sugar, and salt until dissolved. Toss with your vegetables and let sit for 10 minutes. These are perfect for healthy lunch ideas for work, especially when topped on a grain bowl or tucked into a sandwich.
The Perfect Stir-Fry
When stir-frying, Add my julienned vegetables in order of density. Carrots go in first for 60 seconds, followed by bell peppers for 45 seconds, and finally zucchini or snow peas for the last 30 seconds. This ensures everything reaches that "al dente" sweet spot at the exact same moment.
Storage and Prep-Ahead Tips
Can you julienne in advance? Absolutely. In fact, for certain vegetables, it actually improves them.
Carrots and Radishes: After cutting, store these in a container filled with ice-cold water in the fridge. This keeps them incredibly crisp—they’ll actually "snap" when you bite them. They can stay this way for up to 2 days.
Peppers and Zucchini: Do not store these in water. Place them in an airtight container with a dry paper towel at the bottom to absorb any excess moisture. Use these within 24 hours for the best texture.
Frequently Asked Questions
A: Technically, julienning an onion is called "slicing with the pole." You cut from the root to the stem end to create long, thin strips that hold their shape well during cooking, unlike crosswise slices which tend to break down.
A: For home cooking, a slight variation in length is mostly aesthetic. However, the thickness must be consistent for even cooking. If you want that deep bakery-style look, use a ruler to trim your vegetable blocks to exactly 2 inches before you start slicing planks.
A: Buy a 5-pound bag of cheap potatoes. They are the perfect texture for practicing—not too hard, not too soft. Once you've julienned them all, soak them in water to remove starch and fry them up as matchstick fries (shoestring fries)!
Final Thoughts from the Kitchen
Mastering how to julienne vegetables is a rite of passage for any home cook looking to level up. It transforms the way you approach prep work and elevates the simple act of eating a salad into a gourmet experience. Don't be discouraged if your first few attempts look more like "rustic chunks" than "matchsticks." Like any skill, it’s about muscle memory. Keep your knife sharp, keep your board stable, and remember the "Claw." Before you know it, you'll be flying through your vegetable prep with the confidence of a pro. Happy cooking!