Quick Answer
Rubbery chicken usually means lean breast meat was cooked too long, or thigh and leg meat did not cook long enough for connective tissue to soften. Check the thickest part with an instant-read thermometer, rest the meat before slicing, and never use color alone to judge safety.
Practical note
Chicken breast and chicken thighs often fail in opposite ways. Breast meat gets firm and dry when overcooked, while thighs can stay bouncy and chewy when they are only barely done; identify the cut before changing the method.
Decision table
| Situation | Likely cause or meaning | Best move |
|---|---|---|
| Breast is firm, dry, and stringy | It was overcooked | Cook the next piece to a verified safe temperature, then rest it. |
| Thigh is bouncy around joints | Connective tissue has not softened | Cook longer with gentler heat while monitoring temperature. |
| Center is glossy or temperature is uncertain | It may be undercooked | Return it to heat and verify the thickest part reaches 165 F. |
Step-by-step fix
- Identify the cut and make thick pieces an even thickness.
- Pat the surface dry and preheat the pan or oven.
- Cook with steady heat instead of repeatedly raising the temperature.
- Check the thickest part with an instant-read thermometer.
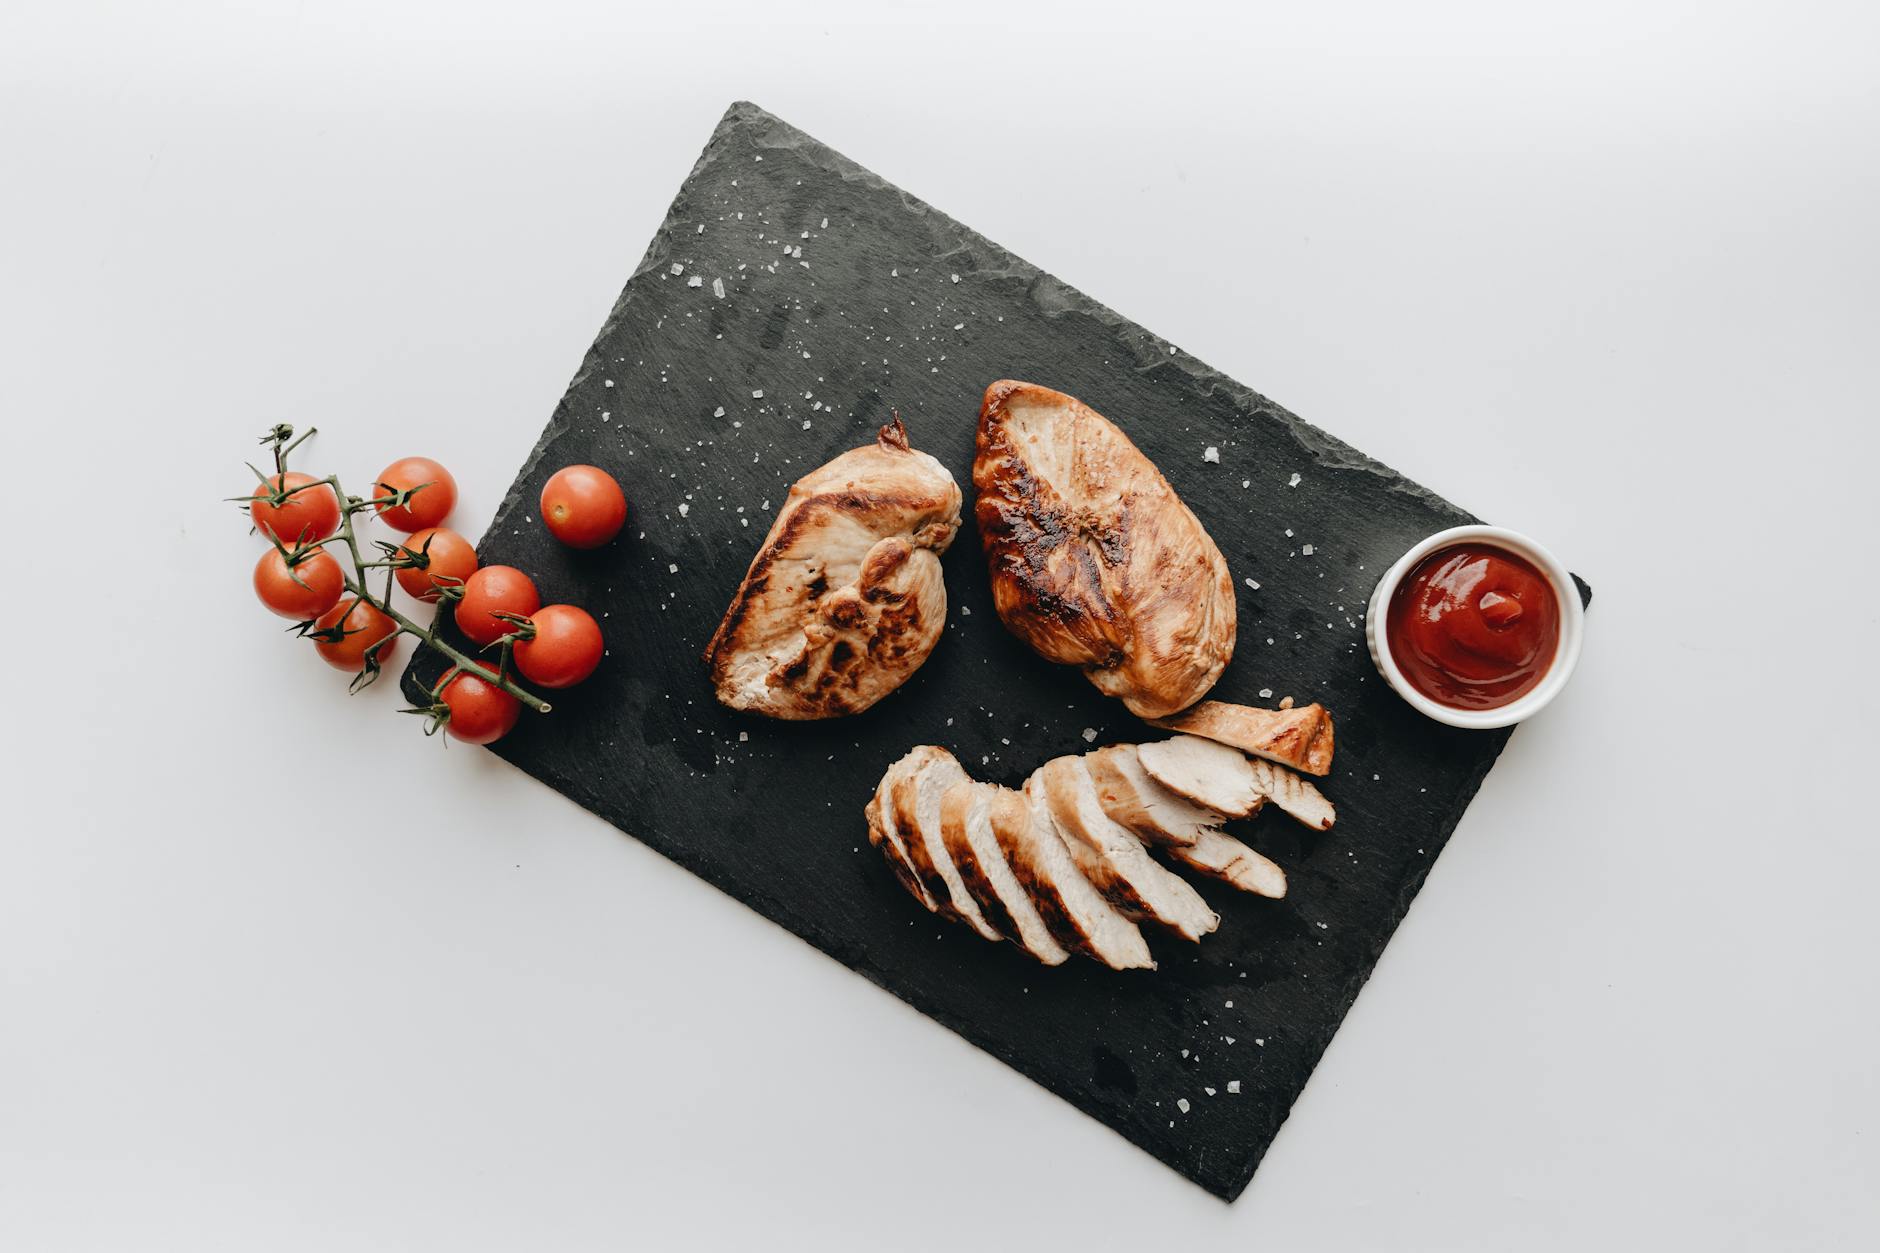
- Rest the chicken for several minutes, then slice across the grain.
Common mistakes
- Cooking breasts and thighs for the same amount of time.
- Judging doneness by color, juices, or cooking time alone.
- Slicing immediately and losing hot juices to the cutting board.
- Starting with uneven pieces that finish at different times.
Related topic hubs
Rubbery chicken usually comes from one of three problems: the meat cooked too far, an uneven piece forced part of the chicken to overcook, or a naturally firm condition known as woody breast affected the texture. Identify which pattern you have before changing the recipe, because each cause needs a different fix.
The five causes below cover overcooking, uneven thickness, high heat, insufficient resting, and woody breast. Use the symptom table first, then adjust one variable on the next batch rather than changing the entire recipe at once.
Table of Contents
- The Science of Texture: Why Your Chicken Feels Like Rubber
- Cause #1: Overcooking (The Most Common Culprit)
- Cause #2: Cooking Directly from Frozen
- Cause #3: High Heat and the Lack of "The Rest"
- Cause #4: Skipping the Brine or Marinade
- Cause #5: Uneven Thickness and Hot Spots
- The Master Temperature Guide for Every Cut
- Can You Save Rubbery Chicken? (Post-Cooking Rescue)
- Frequently Asked Questions
The Science of Texture: Why Your Chicken Feels Like Rubber
To understand how to fix rubbery chicken causes, we first have to look at what’s happening at a microscopic level. Chicken is composed of muscle fibers held together by connective tissue. These fibers are like tiny, water-filled tubes. When we apply heat, we trigger a process called protein denaturation.
Protein Denaturation Explained
As chicken cooks, the proteins begin to uncoil and then recoalesce. If you cook them gently, they form a loose web that traps moisture. However, if heat is applied too aggressively or for too long, these proteins contract violently. Imagine wringing out a wet towel; that is exactly what the muscle fibers do to the moisture inside the meat. Once that moisture is squeezed out, the fibers become tightly packed and rigid, resulting in that dreaded overcooked chicken breast texture.
The Difference Between Tough, Dry, and Rubbery
"Tough," "dry," and "rubbery" describe different failures. Tough dark meat may need more time for connective tissue to soften. Dry meat has lost too much moisture. A springy, rubbery chicken breast is more often associated with excessive heat, uneven thickness, or the meat's starting texture.
There is also a biological factor known as Woody Breast syndrome. This is a condition found in a small percentage of commercially raised broiler chickens where the muscle fibers are abnormally thick and hard before you even start cooking. You can usually spot this in the grocery store: look for unusually large breasts with white striping or a hard, bulging appearance. If you start with a "woody" breast, no amount of culinary skill will fix the rubbery texture. However, 90% of the time, the issue is how we handle the meat in the kitchen.
Cause #1: Overcooking (The Most Common Culprit)
The Danger Zone: Going Past 165°F
The USDA states that the safe internal temperature for chicken is 165°F (74°C). At this temperature, bacteria are destroyed instantly. The problem is that lean white meat, like the breast, begins to lose its structural integrity the moment it crosses that 165°F threshold. By the time it hits 175°F, the proteins have tightened so much that the meat becomes bouncy and resilient.
Carryover Cooking: The Silent Texture Killer
The "Pro-Pull" Technique
To ensure your chicken stays juicy and avoids a rubbery fate, follow this protocol:
- Always use an instant-read thermometer. Do not rely on "clear juices" or "firmness."
- For chicken breasts, stop cooking when the thermometer reads 160°F at the thickest part.
- Immediately transfer the meat to a warm plate and tent it loosely with foil.
- Let it rest for 5–8 minutes. The carryover heat will bring it to the safe 165°F mark without over-tightening the fibers.
Cause #2: Cooking Directly from Frozen
It’s 6:00 PM, you’re tired, and you realize the chicken is still a solid block of ice in the freezer. We’ve all been there. But throwing a frozen breast directly into a hot pan or air fryer is a guaranteed recipe for rubber.
The Outside-In Heat Struggle
When you cook frozen chicken, the exterior has to defrost and kemudian cook before the interior even begins to thaw. By the time the center reaches a safe 165°F, the outside layers have been subjected to high heat for double the necessary time. This creates a "rubber ring" around the outside of the meat while the center remains barely cooked. This lack of moisture retention on the exterior is a primary reason why is my chicken rubbery when cooked in a rush.
Safe Thawing Methods for Busy Cooks
Planning ahead is the best way to fix rubbery chicken causes. According to experts at The Kitchn, there are better ways than the microwave to handle this. You can find their full guide on the best ways to thaw chicken, but here are my two go-to methods:
- The Overnight Fridge Method: Place the chicken on a rimmed plate on the bottom shelf of your fridge 24 hours before cooking. This is the gold standard for texture.
- The Cold Water Bath: If you're in a hurry, place the chicken in a sealed Ziploc bag and submerge it in a bowl of cold water. Change the water every 30 minutes. A standard breast will thaw in about an hour.
Cause #3: High Heat and the Lack of "The Rest"
Many home cooks believe that "more heat equals faster dinner." While high heat is great for the Maillard reaction (that beautiful brown crust), sustained high heat is the enemy of lean poultry. If you blast a boneless, skinless breast on high heat for the entire duration of the cook, the muscle fibers "shock" and contract instantly.
Why High Heat Shocks the Fibers
Think of it like jumping into a freezing pool—your whole body tenses up. Chicken fibers do the same when they hit a 450°F pan. This rapid contraction forces out the juices before the meat has a chance to cook through. This is why Consider a two-stage cooking process: a high-heat sear for color, followed by a lower-temperature finish to reach the target internal temperature.
The Magic of the 5-10 Minute Rest
Resting your meat is not optional. When chicken cooks, the heat pushes the juices toward the center of the cut. If you slice into it immediately, those juices spill out onto the cutting board, leaving the fibers dry and rubbery. Allowing the meat to rest allows the fibers to relax and reabsorb those juices. As noted by Bon Appétit, the importance of resting cooked meat cannot be overstated for maintaining a tender mouthfeel.
Rest cooked chicken for about five minutes before slicing so the temperature and juices can settle. If it was cooked in an air fryer, move it out of the hot basket rather than leaving it beside the heating element. See the related air-fryer chicken guide for timing and temperature checkpoints.
Cause #4: Skipping the Brine or Marinade
Chicken breast is incredibly lean. Unlike chicken thighs vs breasts, the latter has almost no intramuscular fat to keep it moist. This is where brining comes in. If you're struggling with why is my chicken rubbery, a simple salt-water soak might be your "magic bullet."
Dry Brining vs. Wet Brining
Brining works through osmosis and denaturing. Salt helps dissolve some of the protein strands that would otherwise contract and become rubbery. It also allows the meat to hold onto more water during the cooking process.
- Wet Brining: Submerging chicken in a solution of water, salt, and sugar. This is great for adding massive amounts of moisture.
- Dry Brining: Rubbing the chicken with salt and letting it sit in the fridge for 30 minutes to 2 hours. This is a practical method as it results in better skin browning and more concentrated flavor.
The science of brining poultry shows that even a short 15-minute brine can increase the weight of the meat by 10%, providing a "buffer" against overcooking. If you want to try this tonight, check out my 15-Minute Chicken Breast Recipes which utilize quick-brining techniques for maximum speed and flavor.
Acid and Enzymes: Breaking Down the Toughness
Beyond salt, using yogurt or buttermilk in a marinade is a fantastic way to tenderize. The lactic acid and calcium in dairy gently break down the connective tissue without making the meat mushy, which can happen with harsh acids like lemon juice or vinegar if left too long.
Cause #5: Uneven Thickness and Hot Spots
Have you ever noticed that the thin "tail" of a chicken breast is always dry and rubbery while the thick center is just barely done? This is a physical geometry problem. A standard chicken breast is shaped like a teardrop, which is the worst possible shape for even cooking.
The Anatomy of a Chicken Breast
The thickest part of the breast can be 2 inches thick, while the tip is barely half an inch. In the time it takes for heat to penetrate to the center of the thick part, the thin end has been at 165°F for ten minutes. That thin end is now 100% rubber.
The Pounding Technique
Pound the thick end of a chicken breast until the piece is reasonably even. It will not make every part finish at the exact same second, but it narrows the gap and reduces the chance that the thin end dries out while the center cooks. America's Test Kitchen provides a visual guide to pounding chicken to an even thickness.
How to Pound Chicken Like a Pro
I’ve done this a thousand times, and the "plastic wrap sandwich" is the only way to avoid a mess:
- Place the chicken breast between two sheets of plastic wrap or inside a large gallon-sized freezer bag.
- Using the flat side of a meat mallet (or a heavy rolling pin), start from the center and work your way out.
- Use firm, glancing blows rather than direct downward force to avoid tearing the meat.
- Aim for a uniform thickness of about 1/2 to 3/4 of an inch.
The Master Temperature Guide for Every Cut
| Chicken Cut | Pull Temp (Off Heat) | Final Target Temp | Why? |
|---|---|---|---|
| Boneless Breast | 160°F | 165°F | Lean meat; turns to rubber quickly over 165°F. |
| Tenderloins | 160°F | 165°F | Very small; cook extremely fast. Watch closely! |
| Thighs (Bone-in) | 170°F | 175°F+ | Needs higher heat to break down connective tissue. |
| Drumsticks | 170°F | 175°F+ | High collagen content; tastes better when "overcooked" slightly. |
| Whole Roast Bird | 160°F (Breast) | 165°F | Check both the breast and the thickest part of the thigh. |
Kitchen Tip: When cooking chicken thighs vs breasts, remember that thighs are much more forgiving. Because they have more fat and collagen, they don't turn rubbery at 175°F; instead, they become more tender as the connective tissue melts into gelatin. If you are a beginner, start with thighs!
Can You Save Rubbery Chicken? (Post-Cooking Rescue)
The Shred and Sauce Method
The best way to mask a rubbery texture is to break down the structure. Don't serve the breast whole. Instead, use two forks to shred the meat into thin strands. By increasing the surface area and mixing it with a high-fat sauce (like BBQ sauce, buffalo sauce, or a creamy mayo for chicken salad), you lubricate the dry fibers and make the rubbery texture almost unnoticeable.
Repurposing Overcooked Meat
- Chicken Soup: Simmering shredded overcooked chicken in a flavorful broth won't exactly "reverse" the rubberiness, but the surrounding liquid makes it much more palatable.
- Enchiladas or Tacos: Heavy spices and melted cheese are excellent at hiding texture issues.
- Fried Rice: Chop the chicken into very small, pea-sized bits. When tossed with soy sauce and sesame oil in a hot wok, the small size prevents the "rubbery chew" from being the dominant sensation.
Frequently Asked Questions
A: Yes! Air fryer chicken tips usually involve high heat and short times. Because the air fryer circulates heat so efficiently, it creates a great crust. Just be sure to use your instant-read thermometer and pull the meat at 160°F, as air fryers can dry out meat very quickly if left just a minute too long.
A: Usually, no. Undercooked chicken is "squishy" or "slimy" and often pink. Rubbery chicken is almost always a sign of overcooking or "Woody Breast Syndrome." If the meat is white all the way through but bouncy, it's overdone.
A: One of the main benefits of sous vide chicken is that it's physically impossible to overcook it past your set temperature. However, if you set your sous vide to 165°F or higher, it can still have a firmer, more traditional texture. Most sous vide enthusiasts prefer 145°F to 150°F for a texture that is juicy and tender, not rubbery.
Final Thoughts from the Kitchen
Understanding why is my chicken rubbery is the first step toward becoming a more confident home cook. It usually boils down to a combination of heat management, preparation, and patience. By using a meat mallet to even out the thickness, giving your meat a quick brine, and—most importantly—trusting your instant-read thermometer rather than the clock, you can eliminate rubbery chicken from your repertoire forever.
Next time you're at the stove, remember: pull at 160°F, let it rest for 5 minutes, and enjoy the juiciest chicken of your life. Happy cooking!