Quick Answer
This guide explains how to make waffles without a waffle iron using our practical skillet and griddle methods. It also includes crispy, delicious results every time with these easy hacks!
Practical note
For How to Make Waffles Without a Waffle Maker, this guide centers on Preheat, The Pour, The "Faux-Pocket" Hack. Those are the checkpoints we would use first in a normal home kitchen before making a bigger change.
Decision table
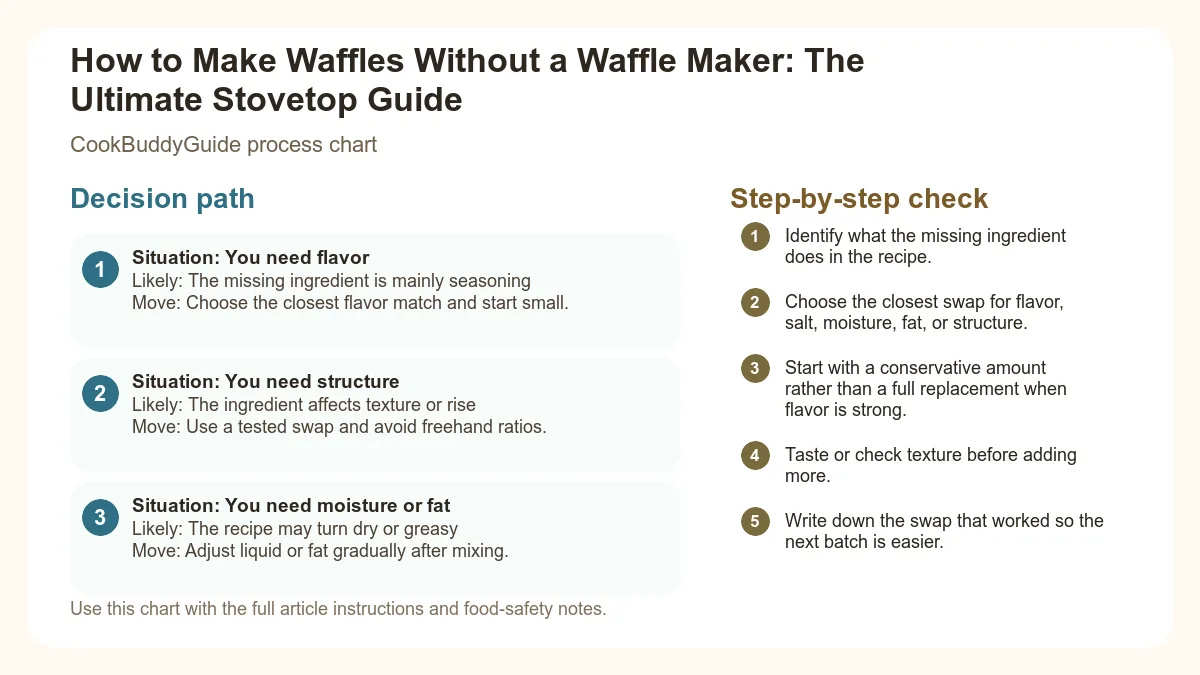
| Situation | Likely cause or meaning | Best move |
|---|---|---|
| You need flavor | The missing ingredient is mainly seasoning | Choose the closest flavor match and start small. |
| You need structure | The ingredient affects texture or rise | Use a practical swap and avoid freehand ratios. |
| You need moisture or fat | The recipe may turn dry or greasy | Adjust liquid or fat gradually after mixing. |
Step-by-step fix
- Identify what the missing ingredient does in the recipe.
- Choose the closest swap for flavor, salt, moisture, fat, or structure.
- Start with a conservative amount rather than a full replacement when flavor is strong.
- Taste or check texture before adding more.
- Write down the swap that worked so the next batch is easier.
Common mistakes
- Replacing a strong ingredient 1:1 before tasting.
- Choosing a flavor match when the recipe actually needs structure.
- Forgetting that salty swaps can change the whole dish.
- Adding extra liquid before the batter, dough, or sauce has time to hydrate.
Related topic hubs
It’s 8:30 AM on a Sunday. You’ve promised the family a stack of golden, crispy Belgian waffles. The strawberries are sliced, the coffee is brewing, and you reach into the back of the pantry only to realize your waffle iron has finally given up the ghost—or perhaps, like many minimalist home cooks, you simply never bought that bulky, single-use gadget in the first place. Most people at this point would pivot to pancakes, but let’s be honest: a pancake is not a waffle. A pancake is soft and pillowy; a waffle is a structural masterpiece defined by its crispy edges and fluffy interior.
Table of Contents
- The Science of the Waffle: Texture vs. Shape
- The Secret is in the Batter: Adjusting for the Stovetop
- Method 1: The Non-Stick Skillet Technique
- Method 2: The Griddle Method for Even Heat
- Achieving the Perfect Crunch on a Flat Surface
- Taste and Texture Comparison: Stovetop vs. Traditional
- Common Mistakes and Troubleshooting
- Serving and Storage Tips
The Science of the Waffle: Texture vs. Shape
Why You Don't Need a Single-Use Gadget
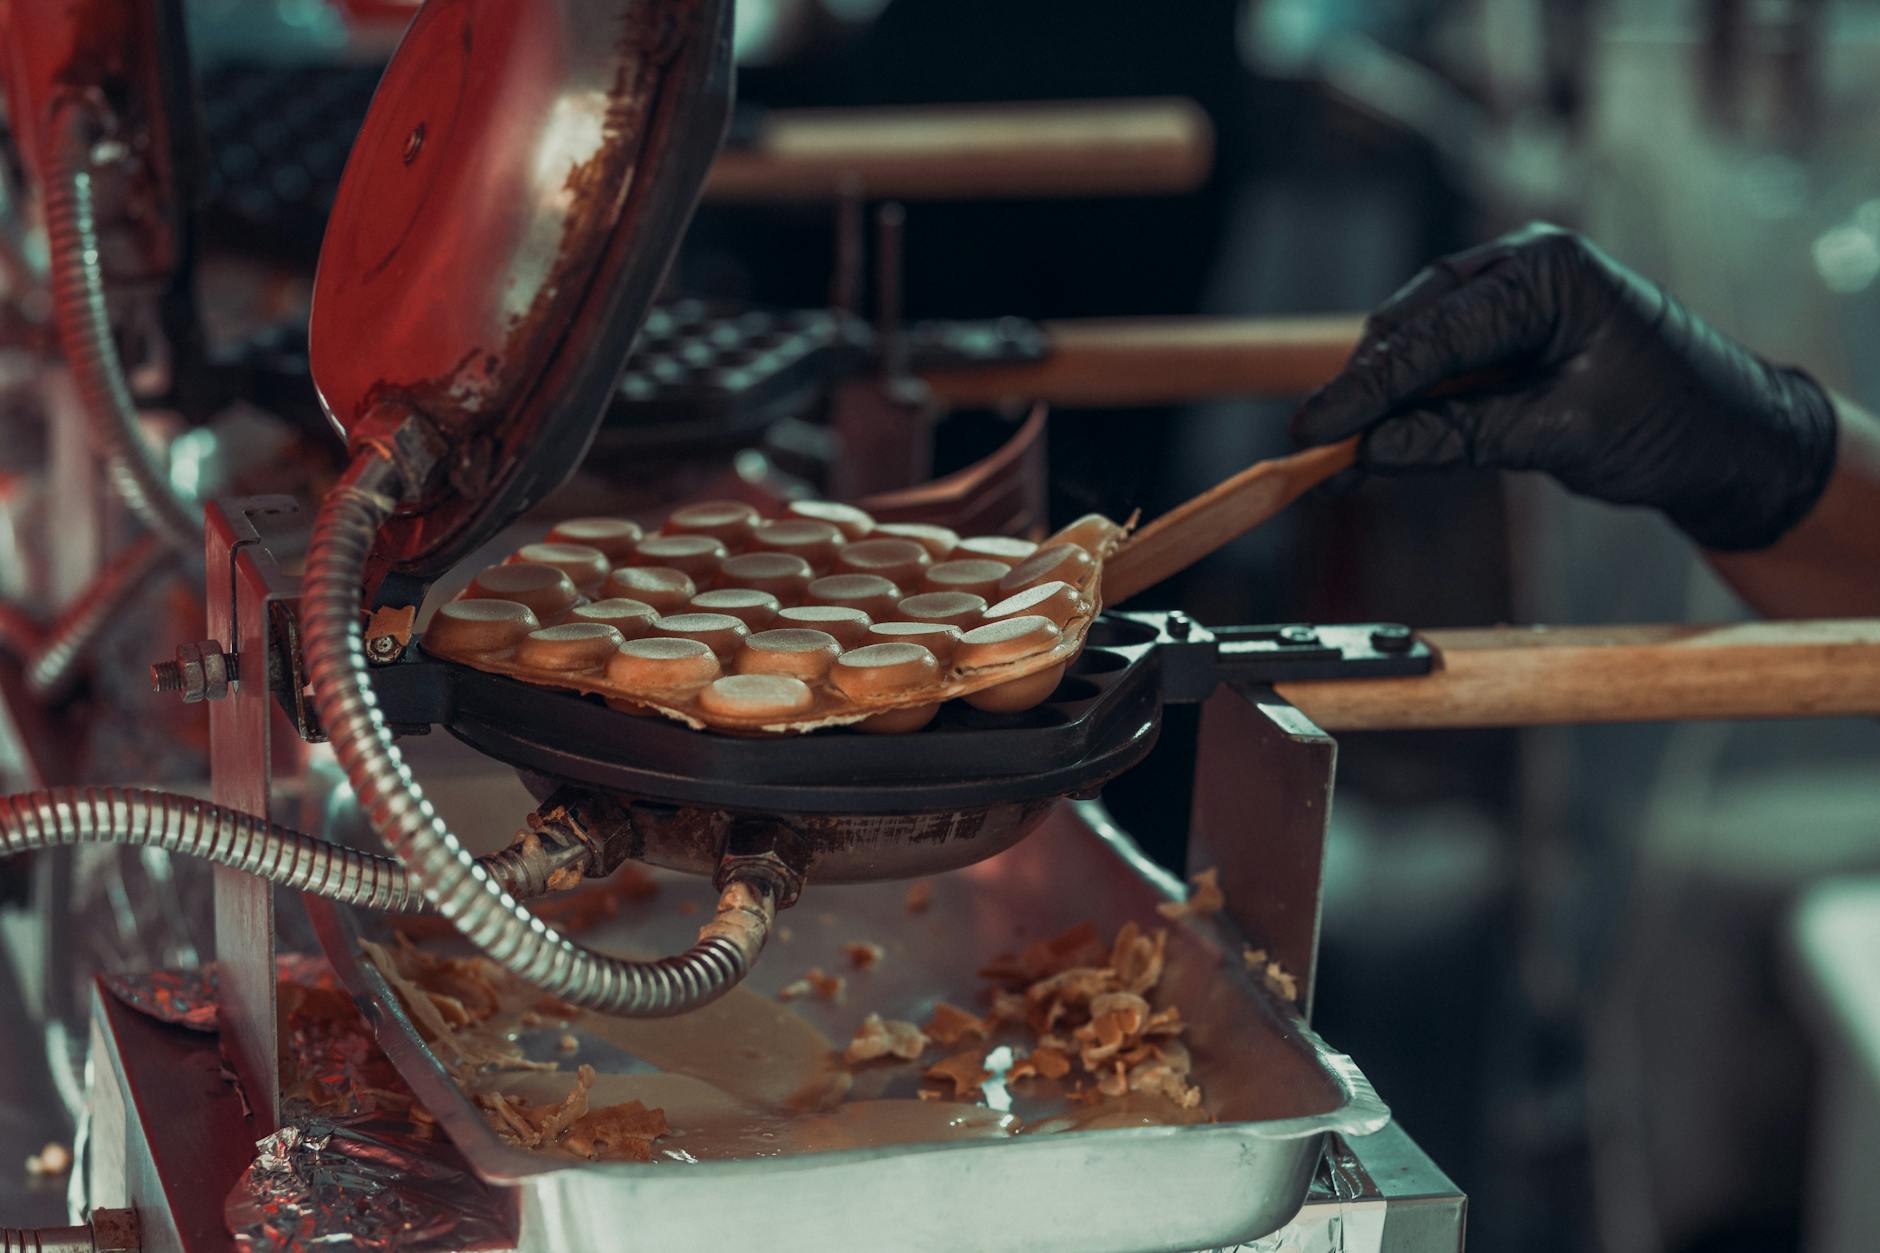
The biggest hurdle in making waffles without waffle maker is psychological. We’ve been conditioned to believe that the "pockets" are what make the waffle. While those squares are excellent for holding syrup, the essence of a waffle lies in the Maillard reaction—the chemical reaction between amino acids and reducing sugars that gives browned food its distinctive flavor. An electric waffle iron achieves this by applying high heat to a high-fat batter from both sides simultaneously. However, a cast iron skillet or a heavy-bottomed non-stick pan can achieve the same temperature profile if managed correctly.
The Science of the Waffle: Texture vs. Shape
The Secret is in the Batter: Adjusting for the Stovetop
Why Standard Batter Fails on a Flat Surface
The Role of Fat and Sugar in Crispiness
The "Stovetop Master" Waffle Batter
Ingredients:
- 1 ½ cups All-Purpose Flour
- ½ cup Cornstarch (Crucial for the "crunch")
- 2 tbsp Granulated Sugar
- 1 tbsp Baking Powder (Our primary leavening agent)
- ½ tsp Salt
- 1 ¾ cups Whole Milk (Room temperature)
- 2 Large Eggs (Separated for extra fluffiness)
- ½ cup Unsalted Butter (Melted and slightly cooled)
- 1 tsp Vanilla Extract
Instructions: Whisk dry ingredients. In a separate bowl, whisk egg yolks, milk, butter, and vanilla. Combine. In a third bowl, beat egg whites to stiff peaks and fold them gently into the batter. Let rest for 10 minutes before cooking.
Method 1: The Non-Stick Skillet Technique
Equipment Needed: Choosing the Right Pan
When cooking without gadgets, your pan selection is your most important decision. You need a non-stick surface with a heavy base. A thin, cheap pan will have "hot spots" that burn the center of your waffle while leaving the edges raw. Choose a 10-inch heavy-gauge aluminum non-stick skillet. This allows for even heat distribution across the entire surface. If you're making these as toddler-friendly meal options, a smaller 6-inch pan works perfectly for "mini waffles."
Step-by-Step: The Pour and Press Method
- Preheat: Heat your skillet over medium heat for at least 3-5 minutes. You'll know it's ready when a drop of water dances and evaporates instantly.
- The Pour: Pour about ½ cup of batter into the center. Do not spread it like a crepe; let it naturally form a thick circle.
- The "Faux-Pocket" Hack: This is a kitchen hack I developed after months of testing. Once the batter starts to bubble (about 2 minutes in), take a heat-resistant silicone spatula and firmly press a grid pattern into the top of the wet batter. It won't be as deep as a real waffle, but it creates surface area for the syrup to cling to.
The Flip: Timing is Everything
Wait for the edges to look dry and matte. When you flip, you should see a deep golden brown. Use a wide spatula to ensure you don't break the fluffy interior. Cook the second side for exactly 2 minutes. Remember, as per safe handling of egg-based batters, ensure the interior reaches at least 160°F to be fully cooked.
Method 2: The Griddle Method for Even Heat
Why Griddles Outperform Skillets for Batch Cooking
If you are feeding a crowd, the griddle method is superior. A long cast iron griddle that spans two burners provides a massive surface area. This allows steam to escape more freely than in a high-walled skillet, which is the key to achieving a crispy waffle exterior. As noted in the King Arthur Baking guide on achieving a crispy waffle exterior, moisture is the enemy of the crunch. The open air of a griddle helps that moisture evaporate quickly.
Managing Hot Spots on a Stovetop Griddle
The 'Lid Hack' for Fluffy Interiors
Achieving the Perfect Crunch on a Flat Surface
The Double-Cook Method
The Cooling Rack Secret
Never, ever stack your waffles without waffle maker. Stacking creates a steam chamber that turns your hard-earned crispy edges into wet cardboard in seconds. Always place finished waffles on a wire cooling rack. This allows air to circulate around the entire homemade breakfast, maintaining the integrity of the crust.
Butter vs. Cooking Spray: The Smoke Point Factor
While butter tastes better, it has a low smoke point. For the pan surface, consider a light coating of avocado oil or a high-heat cooking spray. Save the butter for the finished product. This prevents the "burnt milk solid" taste that can ruin a delicate Belgian waffle recipe. If you must use butter in the pan, clarify it first (Ghee) to remove the proteins that burn.
Taste and Texture Comparison: Stovetop vs. Traditional
- Crunch Factor: The traditional waffle iron won on "uniformity," but the stovetop version had "superior localized charing," similar to a pan-seared steak.
- Syrup Retention: This is where the traditional iron wins. Without deep pockets, the syrup runs off. However, using a thicker batter consistency helps create ridges that hold more liquid than a flat pancake.
- Flavor Profile: The stovetop waffle was voted "tastier" because of the direct contact with the seasoned cast iron, which imparted a deeper, toasted flavor that electric plates often lack.
As suggested in the stovetop methods for waffle batter resource, the skillet version is more of a "waffle-pancake hybrid," but with the right batter, the texture is unmistakably "waffle."
Common Mistakes and Troubleshooting
This is usually due to batter consistency or heat. If your batter is too thin (too much milk), it won't crisp. Also, ensure your pan is hot enough. If the batter doesn't sizzle the moment it hits the pan, it's absorbing oil rather than searing. Check out the tutorial on making waffles without a waffle iron for visual cues on proper heat.
Even on a non-stick surface, waffle batter can stick if the sugar content is too high or if the pan wasn't preheated. Make sure you're using a thin layer of oil and that you wait until the edges are completely dry before attempting to flip. If using cast iron, ensure it is well-seasoned.
Your heat is too high. Stovetop waffles without waffle maker require a "Medium" heat—usually a 5 or 6 on a 10-point dial. If the outside browns in less than 2 minutes, turn it down. The leavening agents need time to react and lift the batter before the sugars burn.
Serving and Storage Tips
Topping Strategies for Flat Waffles
Since you don't have deep pockets to hold syrup, change your topping game. Consider using thick fruit compotes, Greek yogurt, or a dollop of whipped mascarpone. These "hang onto" the flatter surface better than thin maple syrup. If you're determined to use syrup, whisk a little cornstarch into it and simmer it for a minute to create a "syrup glaze" that coats the waffle beautifully.
Freezing and Reheating for Busy Mornings
Stovetop waffles freeze exceptionally well. Flash-freeze them in a single layer on a baking sheet for one hour, then transfer to a freezer bag. To reheat, avoid the microwave at all costs—it will turn them into rubber. Instead, use a standard toaster on a medium-high setting. The toaster acts like a mini-waffle iron, reviving the crispy edges while keeping the center soft.
The Verdict: When to Use Each Method
If you have a large family and 30 minutes, use the griddle method. If you're cooking for one or two and want the absolute best flavor, the cast iron skillet is your best friend. Either way, you've successfully hacked your kitchen and reliable that great cooking is about technique, not just gadgets.
Conclusion: Embrace the Stovetop Waffle
Mastering how to make waffles without waffle iron is a rite of passage for the resourceful home cook. It forces you to understand the relationship between heat, fat, and starch. While the shape might be different, the soul of the waffle—that perfect harmony of crunch and fluff—is entirely achievable on your stovetop. Next time you're craving a homemade breakfast, don't let the lack of a waffle iron substitute stop you. Grab your skillet, adjust your batter, and enjoy the best "pancake-waffle" you've ever tasted.
Happy cooking, and remember: the best kitchen tool you own is your own experience!