Quick Answer
Use a reliable Thanksgiving turkey recipe with our reliable guide. It also explains how to make an easy juicy thanksgiving turkey with crispy skin and savory gravy.
Practical note
For A Practical Thanksgiving Turkey Recipe, this guide centers on The Breast, The Thigh, Make the Roux. Those are the checkpoints we would use first in a normal home kitchen before making a bigger change.
Decision table
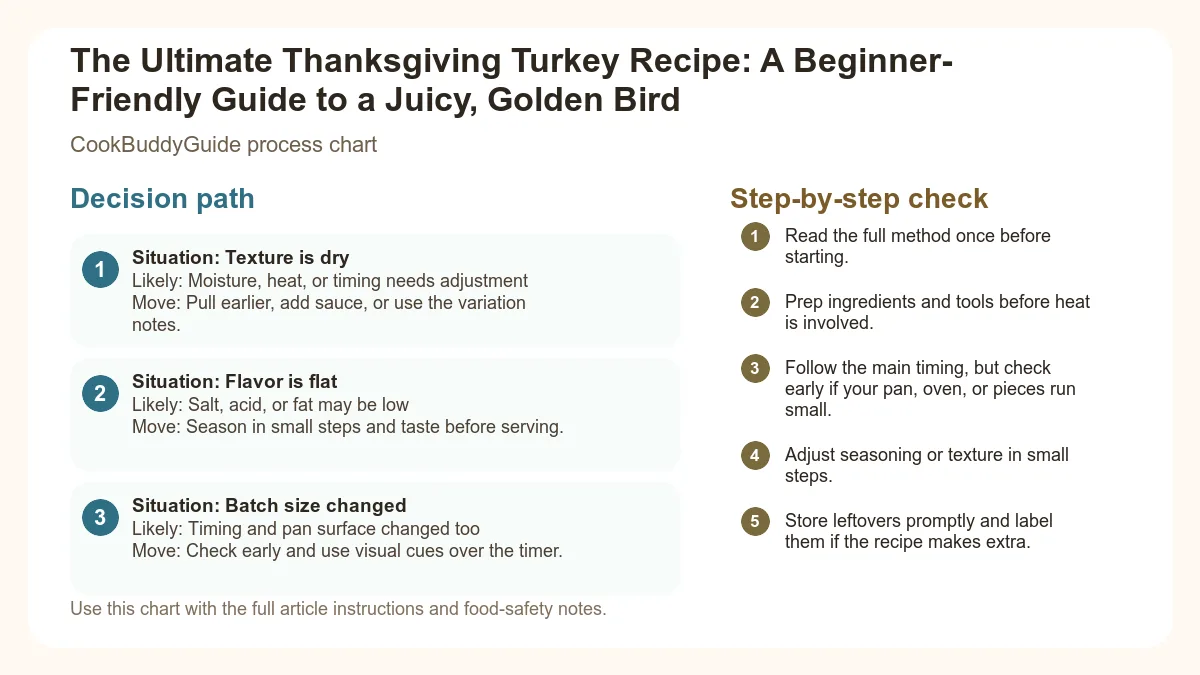
| Situation | Likely cause or meaning | Best move |
|---|---|---|
| Texture is dry | Moisture, heat, or timing needs adjustment | Pull earlier, add sauce, or use the variation notes. |
| Flavor is flat | Salt, acid, or fat may be low | Season in small steps and taste before serving. |
| Batch size changed | Timing and pan surface changed too | Check early and use visual cues over the timer. |
Step-by-step fix
- Read the full method once before starting.
- Prep ingredients and tools before heat is involved.
- Follow the main timing, but check early if your pan, oven, or pieces run small.
- Adjust seasoning or texture in small steps.
- Store leftovers promptly and label them if the recipe makes extra.
Common mistakes
- Changing the recipe before trying the base method once.
- Measuring casually when texture depends on ratios.
- Waiting until the end to fix seasoning.
- Ignoring carryover heat or resting time.
Related topic hubs
The truth is, roasting a magnificent turkey doesn't require a complicated training or a high-tech kitchen. It requires a plan. This guide is designed for the busy home cook who wants a reliable, easy juicy thanksgiving turkey without the fuss of complicated equipment or archaic techniques. We are going to focus on the science of flavor and the simplicity of technique to get you that picture-perfect, golden-brown result every single time.
Table of Contents
- The Secret to a Stress-Free Thanksgiving Turkey
- Choosing Your Bird: Fresh, Frozen, and Sizing
- The Great Brine Debate: Dry Brining vs. Wet Brining
- Preparation: The 48-Hour Timeline
- Roasting the Perfect Turkey
- How to Tell When Your Turkey is Done
- The Most Important Step: The Rest
- Easy 5-Minute Pan Gravy from Drippings
- Common Turkey Mistakes and How to Fix Them
The Secret to a Stress-Free Thanksgiving Turkey
Why This Recipe Works for Beginners
The Science of a Juicy Bird: Moisture vs. Heat
To understand how to cook a turkey, we have to talk about the Maillard reaction. This is the chemical reaction between amino acids and reducing sugars that gives browned food its distinctive flavor and that gorgeous golden-brown color. To achieve this, the skin must be dry. If the skin is wet, the heat of the oven spends all its energy evaporating water rather than browning the skin.
Furthermore, we are dealing with two different types of meat: the lean turkey breast and the fatty dark meat (legs and thighs). They cook at different rates. My method uses a specific positioning technique and a temperature strategy to ensure the breast doesn't dry out before the thighs are safe to eat. We want to maximize moisture retention inside while achieving a crisp, savory exterior.
Choosing Your Bird: Fresh, Frozen, and Sizing
How Much Turkey Per Person?
Fresh vs. Frozen: What You Need to Know
The Thawing Timeline (Safety First)
Thawing a frozen turkey is where most beginners go wrong. Never, ever thaw your turkey on the kitchen counter. This puts the meat in the "danger zone" for bacterial growth, which violates USDA food safety guidelines. The safest method is the refrigerator thaw. It takes approximately 24 hours for every 5 pounds of turkey.
- 10-12 lbs: 2-3 days in the fridge
- 12-16 lbs: 3-4 days in the fridge
- 16-20 lbs: 4-5 days in the fridge
If you’re in a pinch, you can use the cold-water thaw method (submerging the wrapped bird in cold water and changing the water every 30 minutes), but for a stress-free experience, stick to the fridge timeline.
The Great Brine Debate: Dry Brining vs. Wet Brining
Why We Recommend Dry Brining for Crispy Skin
Dry brining, or "salting," involves rubbing kosher salt and seasonings directly onto the skin and inside the cavity. The salt draws moisture out of the meat, dissolves into a concentrated brine, and is then reabsorbed back into the muscle fibers. This seasons the bird deeply and breaks down proteins for a tender result. You can read more about the science of dry brining versus wet brining to see why it’s the superior choice for flavor.
How to Dry Brine Like a Pro
- Remove the giblets and neck from the cavity (save them for turkey stock!).
- Pat the turkey extremely dry with paper towels.
- Use 1 tablespoon of kosher salt for every 4 pounds of turkey.
- Rub the salt all over the skin, under the skin of the breast, and inside the cavity.
- Place the bird on a roasting rack set inside a tray and leave it in the fridge, uncovered, for 24 to 48 hours.
Preparation: The 48-Hour Timeline
2 Days Before: The Brine
This is when you apply your salt rub. By doing this 48 hours in advance, the salt has enough time to penetrate deep into the dark meat of the thighs. If you only have 24 hours, that’s okay, but 48 is the "chef's secret" for the most flavorful bird.
24 Hours Before: The Air-Dry Secret
If you haven't already, remove any covering from the turkey. Letting the bird sit uncovered in the refrigerator for the final 24 hours allows the skin to air-dry. It will look slightly translucent and tight—this is exactly what you want. This dryness is the key to that crackling, golden skin that everyone fights over at the table.
Thanksgiving Morning: Room Temp and Aromatics
Instead of a bread stuffing (which can slow down cooking and present safety issues), I fill the cavity with aromatics: a halved onion, a head of garlic cut in cross-sections, a lemon, and a bundle of fresh herbs. These steam from the inside out, infusing the meat with incredible fragrance.
The CookBuddy Classic Herb Butter
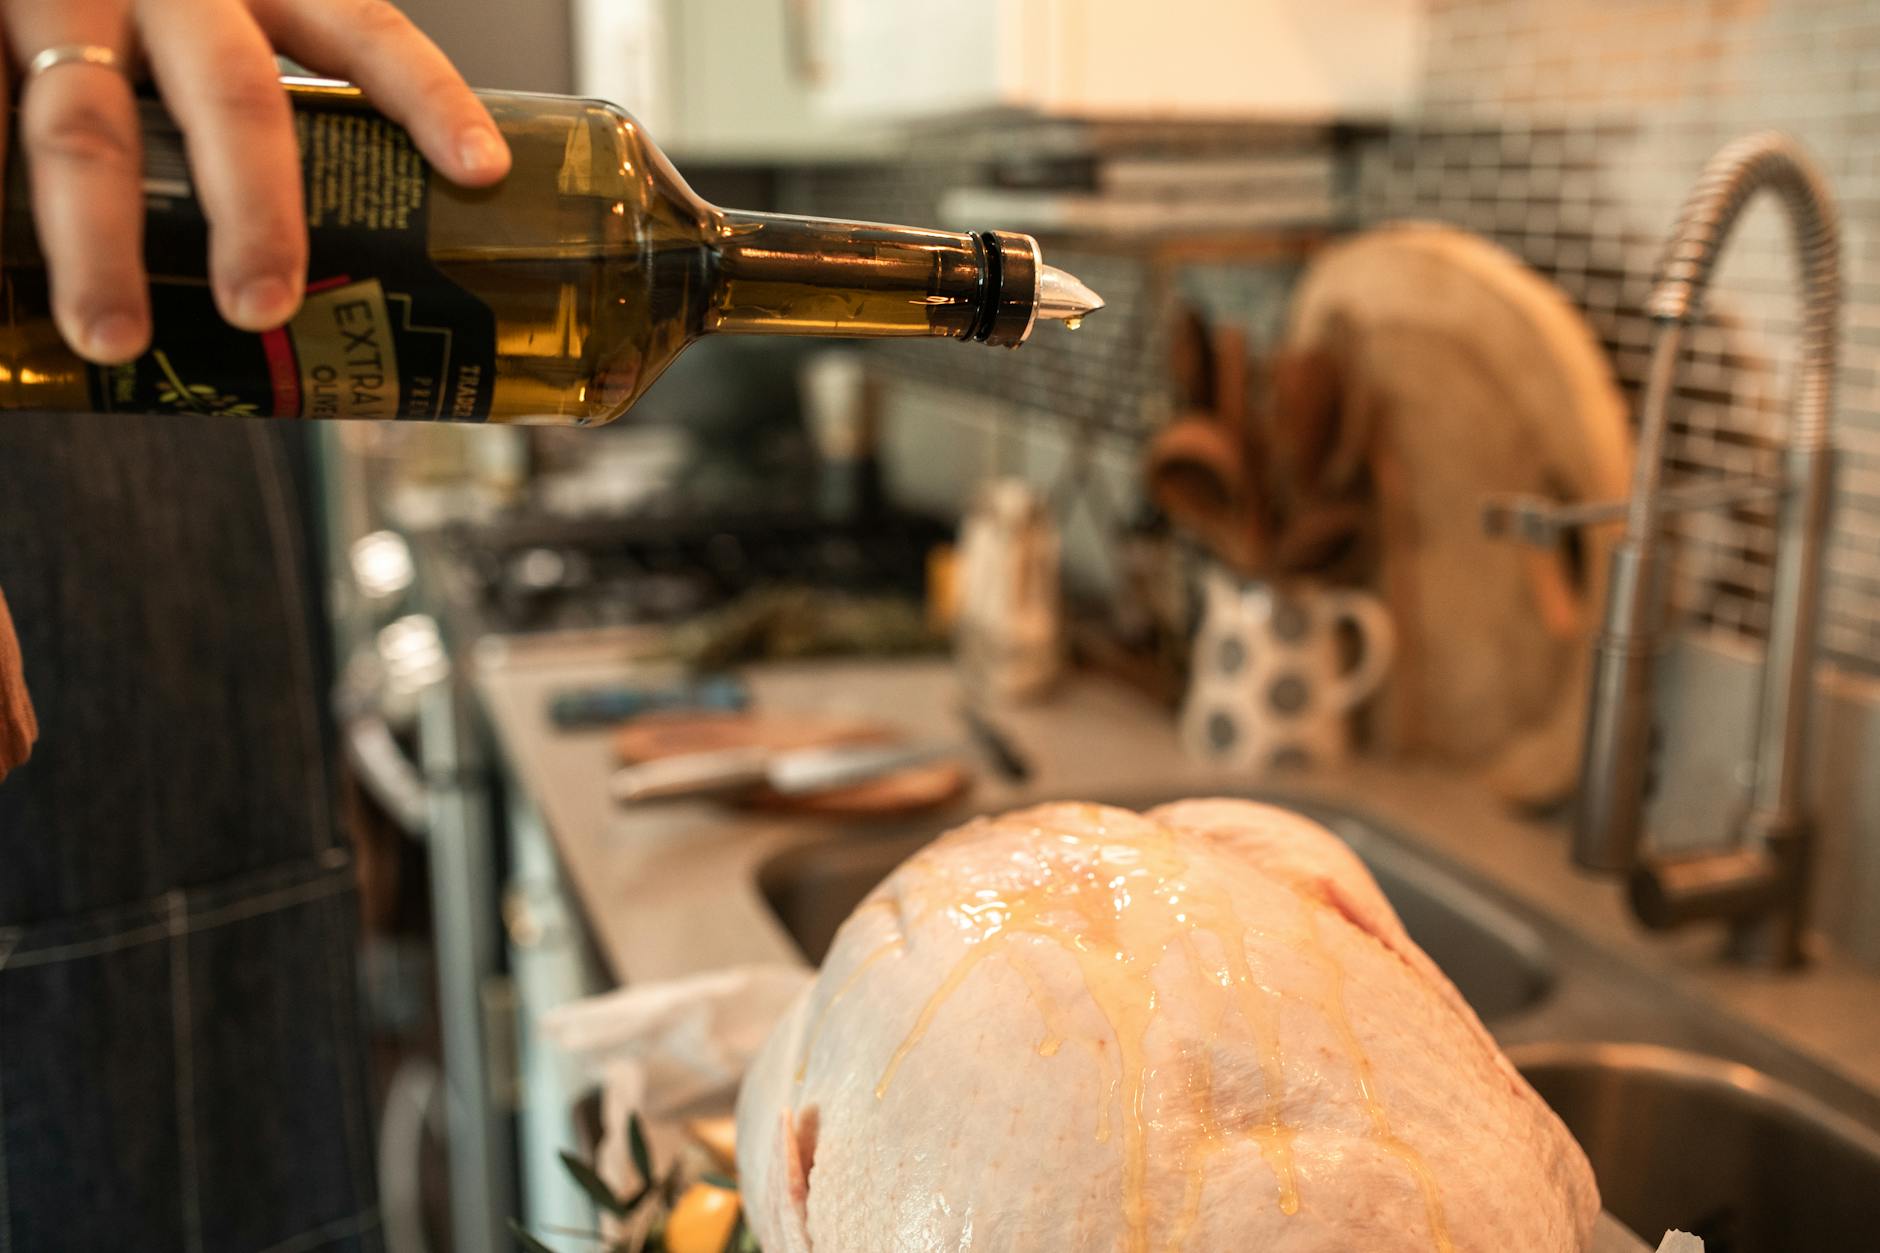
This is the secret sauce for an easy juicy thanksgiving turkey. Rubbing this under the skin protects the breast meat from the high heat.
- 1 cup (2 sticks) unsalted butter, softened
- 2 tbsp chopped fresh sage
- 1 tbsp chopped fresh rosemary
- 1 tbsp chopped fresh thyme
- 1 tsp cracked black pepper
- 2 cloves garlic, minced
Pro Tip: Use your fingers to gently separate the skin from the breast meat, being careful not to tear it. Stuff about half of the butter mixture directly onto the meat under the skin, then rub the remaining butter over the outside of the bird.
Roasting the Perfect Turkey
Essential Equipment: Roasting Pans and Racks
You don't need a $200 roasting pan, but you do need something sturdy. Avoid those flimsy disposable aluminum trays if possible; they are unstable and can buckle when you try to pull a heavy bird out of the oven. If you must use one, place it on a sturdy baking sheet for support. A roasting rack is essential because it allows hot air to circulate under the bird, preventing a "soggy bottom."
The Best Roasting Temperature
Timing by Weight: A Handy Reference Chart
While every oven is different, you can use this roasting time by weight guide to estimate your day. Generally, plan for 13-15 minutes per pound for an unstuffed turkey.
- 12 lbs: 2.5 - 3 hours
- 15 lbs: 3 - 3.5 hours
- 18 lbs: 3.5 - 4 hours
- 20 lbs: 4 - 4.5 hours
A note on basting: Consider against basting. Every time you open the oven door, the temperature drops significantly, increasing your cook time. Furthermore, pouring liquid over the skin you worked so hard to dry out will only make it rubbery. Trust the herb butter and the brine!
How to Tell When Your Turkey is Done
The Instant-Read Thermometer: Your Best Friend
If you take one piece of advice from this 3000-word guide, let it be this: Buy a digital meat thermometer. Relying on the plastic "pop-up" timers that come in some turkeys is a recipe for disaster; they are notoriously inaccurate and usually go off when the bird is already overcooked. For more poultry tips, you might also enjoy my guide on 15-minute chicken breast recipes, where temperature control is just as vital.
Where to Probe: Thigh vs. Breast
To get an accurate reading, you need to check two places:
- The Breast: Insert the probe into the thickest part of the breast. It should reach 160°F-165°F.
- The Thigh: Insert the probe into the thickest part of the thigh, avoiding the bone. The dark meat needs to reach 170°F-175°F to be tender.
The Magic Number: 165°F and Carryover Cooking
I pull my turkey out of the oven when the breast hits 160°F. This is because of "carryover cooking." The internal temperature will continue to rise about 5 degrees while the bird rests. By pulling it at 160°F, you hit that perfect 165°F mark without overshooting into "dry territory."
The Most Important Step: The Rest
Why You Must Wait 30-45 Minutes
By resting the turkey before carving, you allow the fibers to relax and reabsorb those juices. A 15-pound turkey needs at least 30 minutes, but it can easily rest for up to 45 or 60 minutes and still be plenty hot.
How to Tent with Aluminum Foil
Transfer the bird to a warm platter or a clean cutting board. Tent it loosely with aluminum foil. Do not wrap it tightly! If you seal it up, the steam will soften that crispy skin you worked so hard for. Just a loose "roof" of foil is enough to keep the heat in while you finish the gravy and sides.
Easy 5-Minute Pan Gravy from Drippings
While the bird rests, it’s time to make the liquid gold. A simple pan gravy from drippings is infinitely better than anything from a jar.
- Make the Roux: Pour the drippings from the roasting pan into a glass measuring cup. Let the fat rise to the top. Spoon 1/4 cup of that turkey fat into a saucepan over medium heat. Whisk in 1/4 cup of all-purpose flour and cook for 2 minutes.
- Deglaze the Pan: While the roux cooks, pour a splash of turkey stock or white wine into the roasting pan. Use a wooden spoon to scrape up all the "fond" (the brown bits stuck to the bottom). This is where the flavor lives!
- Combine: Slowly whisk the deglazed liquid and the remaining turkey drippings (minus the excess fat) into your roux.
- Thicken: Add 2-3 cups of turkey stock, whisking constantly until thickened.
Common Turkey Mistakes and How to Fix Them
If the turkey breast is looking dark but the thermometer says you have an hour left, don't panic. Create a "foil shield." Fold a piece of aluminum foil into a triangle and lightly place it over the breast. This reflects the heat and slows down the browning while the rest of the bird catches up.
A turkey is a massive heat sink. If it's done early, wrap it more tightly in foil and then wrap a couple of clean bath towels over the foil. It will stay food-safe and hot for up to 2 hours. This is actually a great way to free up your oven for side dishes!
It happens to the best of us. If the breast meat is a bit dry, the fix is simple: Gravy. Slice the meat and arrange it on a platter, then drizzle a little warm turkey stock or gravy over the slices before serving. It will revive the moisture instantly.
Final Thoughts for the Home Cook
Roasting a Thanksgiving turkey is a rite of passage, but it doesn't have to be a stressful one. By choosing the right bird, committing to a 48-hour dry brining process, and trusting your meat thermometer rather than a clock, you are already ahead of 90% of home cooks.
Remember, Thanksgiving is about the people around the table, not just the poultry on it. If the skin isn't perfectly even or the wings get a little charred, don't sweat it. With plenty of herb butter and a well-rested bird, your thanksgiving turkey recipe will be the star of the show. Happy roasting, and welcome to the ranks of confident holiday hosts!