Quick Answer
This guide explains how to make a moist vanilla cake from scratch with our reliable guide to the perfect tender crumb every time.
Practical note
For A Practical Simple Vanilla Cake Recipe, the most useful home checks are temperature, measuring, resting time, and visible texture. Those details tell you more than guessing, especially before adding extra flour, liquid, heat, or leavening.
Decision table
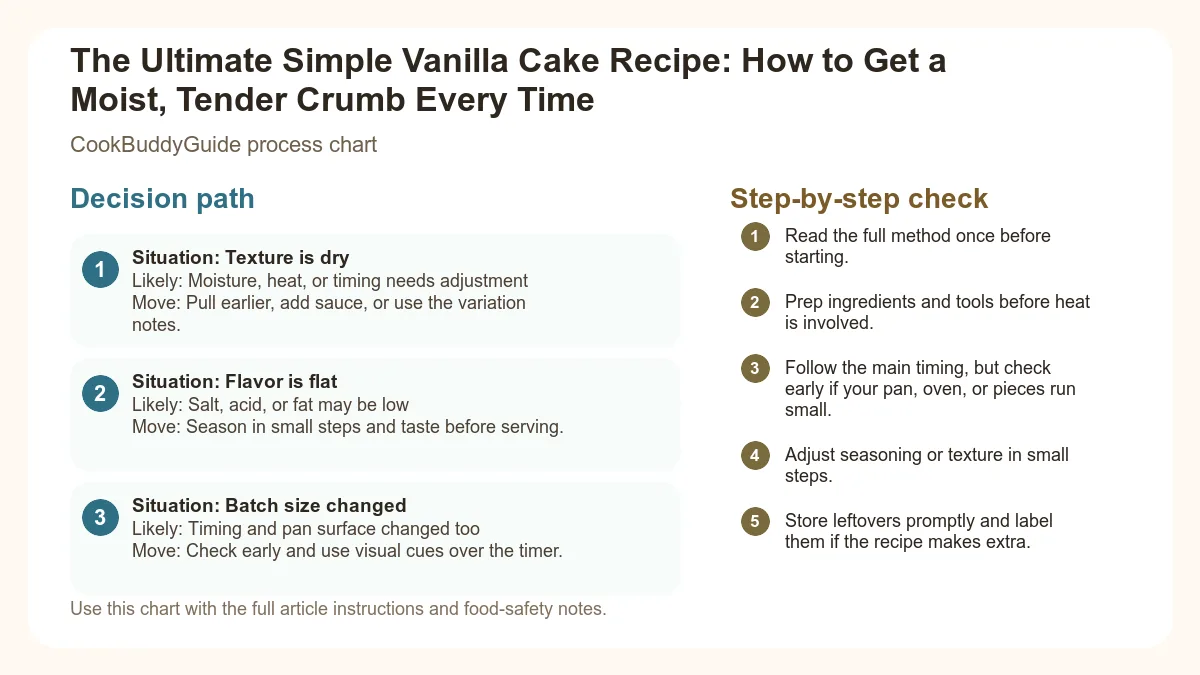
| Situation | Likely cause or meaning | Best move |
|---|---|---|
| Texture is dry | Moisture, heat, or timing needs adjustment | Pull earlier, add sauce, or use the variation notes. |
| Flavor is flat | Salt, acid, or fat may be low | Season in small steps and taste before serving. |
| Batch size changed | Timing and pan surface changed too | Check early and use visual cues over the timer. |
Step-by-step fix
- Read the full method once before starting.
- Prep ingredients and tools before heat is involved.
- Follow the main timing, but check early if your pan, oven, or pieces run small.
- Adjust seasoning or texture in small steps.
- Store leftovers promptly and label them if the recipe makes extra.
Common mistakes
- Changing the recipe before trying the base method once.
- Measuring casually when texture depends on ratios.
- Waiting until the end to fix seasoning.
- Ignoring carryover heat or resting time.
Related topic hubs
Table of Contents
- Why This is the Only Simple Vanilla Cake Recipe You’ll Ever Need
- The Science of Moisture: Why Your Cake Stays Soft
- Vanilla 101: Extract, Paste, or Bean?
- Mastering the Creaming Method
- The Recipe: Simple Vanilla Cake From Scratch
- Troubleshooting: Why is My Cake Dry or Dense?
- The Frosting Guide: Choosing Your Finish
- How to Assemble a Professional Layer Cake
- Storage and Make-Ahead Instructions
Why This is the Only Simple Vanilla Cake Recipe You’ll Ever Need
The Quest for the Perfect Vanilla Cake
What Makes This Recipe Different?
The philosophy behind this simple vanilla cake recipe is "Simple but Superior." We aren't using obscure ingredients that require a trip to a specialty grocery store. Instead, we are focusing on the technique of how these pantry staples interact. By understanding the cake flour vs all-purpose debate and the role of acidity, we can create a cake that stays moist for days. This cake is light, fluffy, and possesses a sophisticated flavor profile that puts box mixes to shame. It is the perfect companion to our easy five ingredient recipes for those days when you want a special dessert without the stress.
The Science of Moisture: Why Your Cake Stays Soft
The Role of Buttermilk and Sour Cream
Fat Content: Butter vs. Oil
This is the great debate in the baking world. Butter provides incomparable flavor, but oil provides superior moisture because it remains liquid at room temperature. My "secret" for this recipe is using a high ratio of unsalted butter for that classic bakery taste, supplemented with just two tablespoons of neutral vegetable oil. This hybrid approach gives you the best of both worlds: a cake that tastes like butter but doesn't dry out the moment it hits the wire cooling rack.
The Importance of Room Temperature Ingredients
your large eggs, buttermilk, and butter must be at room temperature. When you try to cream cold butter or add cold eggs to a warm emulsion, the fats will seize. This causes the batter to "break" or curdle, leading to a dense, heavy cake with uneven holes. Aim for about 65-70°F (18-21°C). If you’re in a rush, place your eggs in a bowl of warm water for 5 minutes and microwave your buttermilk in 10-second bursts until the chill is gone.
Vanilla 101: Extract, Paste, or Bean?
Pure Vanilla Extract vs. Imitation
When to Use Vanilla Bean Paste
If you want those beautiful little black specks in your cake, vanilla bean paste is your best friend. It offers a more concentrated flavor than extract without the labor of scraping a whole bean. When comparing vanilla extract versus vanilla beans, the paste is often the best middle ground for home bakers who want a "gourmet" look without the $10-per-bean price tag.
Mastering the Creaming Method
How Long to Cream Butter and Sugar
Signs of Proper Aeration
You are looking for the mixture to turn "pale and fluffy." It should look like thick whipped cream or very soft soft-serve ice cream. If the mixture is still yellow and dense, keep going. This aeration is the foundation of a light cake. Without it, your cake will rely entirely on chemical leaveners, often resulting in a metallic aftertaste or a collapsed center.
Avoiding Overmixing After Adding Flour
Once the all-purpose flour hits the wet ingredients, the clock starts ticking. Mixing develops gluten. While we want some gluten for structure, overmixing will turn your cake into bread. Consider adding the dry ingredients in three parts, alternating with the buttermilk, and mixing on the lowest speed just until no streaks of flour remain. Sometimes, I even finish the last few strokes by hand with a spatula to be safe.
The Recipe: Simple Vanilla Cake From Scratch
Ingredients
- All-purpose flour: 2 ½ cups (315g) - Spoon and leveled, or weighed for accuracy.
- Granulated sugar: 1 ½ cups (300g)
- Baking powder: 2 ½ teaspoons - Ensure it is fresh!
- Salt: ½ teaspoon fine sea salt
- Unsalted butter: 1 cup (226g), softened to room temperature
- Large eggs: 3, room temperature
- Vanilla extract: 1 tablespoon high-quality pure extract
- Buttermilk: 1 cup (240ml), room temperature
- Vegetable oil: 2 tablespoons (canola or grapeseed)
Equipment Needed
- Two 8-inch round cake pans
- Parchment paper
- Stand mixer or hand mixer
- Wire cooling rack
- Offset spatula
Step-by-Step Instructions
- Preheat and Prep: Preheat your oven to 350°F (175°C). Grease your cake pans with butter or non-stick spray. Line the bottoms with parchment paper rounds. This is a non-negotiable step to ensure the cakes release cleanly.
- Whisk Dry Ingredients: In a medium bowl, whisk together the flour, baking powder, and salt. Set aside.
- Cream Butter and Sugar: In the bowl of your mixer, beat the room temperature butter and granulated sugar on medium-high speed for 4 minutes until very pale and fluffy.
- Add Eggs and Vanilla: Add the eggs one at a time, beating well after each addition. Scrape down the sides of the bowl. Stir in the vanilla extract and vegetable oil.
- Alternate Wet and Dry: With the mixer on low, add 1/3 of the dry ingredients, followed by 1/2 of the buttermilk. Repeat, ending with the dry ingredients. Mix until just combined. Do not overmix!
- Bake: Divide the batter evenly between the two pans. Bake for 30-35 minutes. Perform the toothpick test: insert a toothpick into the center; if it comes out clean or with just a few moist crumbs, it's done.
- Cool: Let the cakes cool in the pans for 10 minutes, then turn them out onto a wire cooling rack to cool completely before frosting.
Troubleshooting: Why is My Cake Dry or Dense?
Common Culprit: Overbaking
Even the best simple vanilla cake recipe will fail if it stays in the oven five minutes too long. Every oven is different. Consider checking your cake 5 minutes before the recipe says it's done. When testing cake for doneness, look for the edges to just slightly pull away from the pan. The "spring-back" test is also helpful: gently press the center of the cake; if it bounces back, it's ready. If your finger leaves an indentation, it needs more time.
The Flour Measurement Mistake
If you scoop your measuring cup directly into the flour bag, you are likely using 20-30% more flour than the recipe calls for because the flour gets packed down. This is the #1 reason for a dry cake. Always use a kitchen scale (315g for this recipe) or use the "spoon and level" method: spoon flour into the cup until overflowing, then level it off with a knife.
Expired Leavening Agents
Baking powder loses its potency after about six months to a year. If your cake is dense and didn't rise, your powder might be dead. You can test it by dropping a half-teaspoon into a cup of hot water. If it bubbles vigorously, it’s good. If not, toss it. Also, a quick safety reminder: while it's tempting to lick the bowl, the safety of consuming raw batter is a real concern due to raw flour and eggs. Resist the urge!
The Frosting Guide: Choosing Your Finish
Classic Vanilla American Buttercream
For a true "birthday cake" feel, nothing beats American buttercream. It’s simple: 1 cup of butter to 4 cups of powdered sugar, a splash of heavy cream, and plenty of vanilla. To get that professional, snow-white look, add the tiniest toothpick-dot of purple gel food coloring. The purple neutralizes the yellow of the butter, leaving you with a bright white finish.
Tangy Cream Cheese Frosting
If you find buttercream too sweet, a cream cheese frosting adds a lovely tang that cuts through the richness of the vanilla. Use full-fat brick cream cheese (not the spreadable kind from a tub) and ensure it is slightly chilled so the frosting maintains its structure for piping.
Whipped Ganache for a Modern Twist
For a more sophisticated moist vanilla cake from scratch, try a white chocolate whipped ganache. Melt equal parts white chocolate and heavy cream, let it set in the fridge until firm, and then whip it with a hand mixer. It creates a cloud-like texture that is incredibly elegant.
How to Assemble a Professional Layer Cake
Leveling Your Cakes
Once your cakes are completely cool, you’ll notice a slight dome on top. To stack them properly, use a long serrated knife to gently saw off the very top of the dome. This gives you a flat surface. Don't throw away the scraps—they are the baker's snack!
The Importance of the Crumb Coat
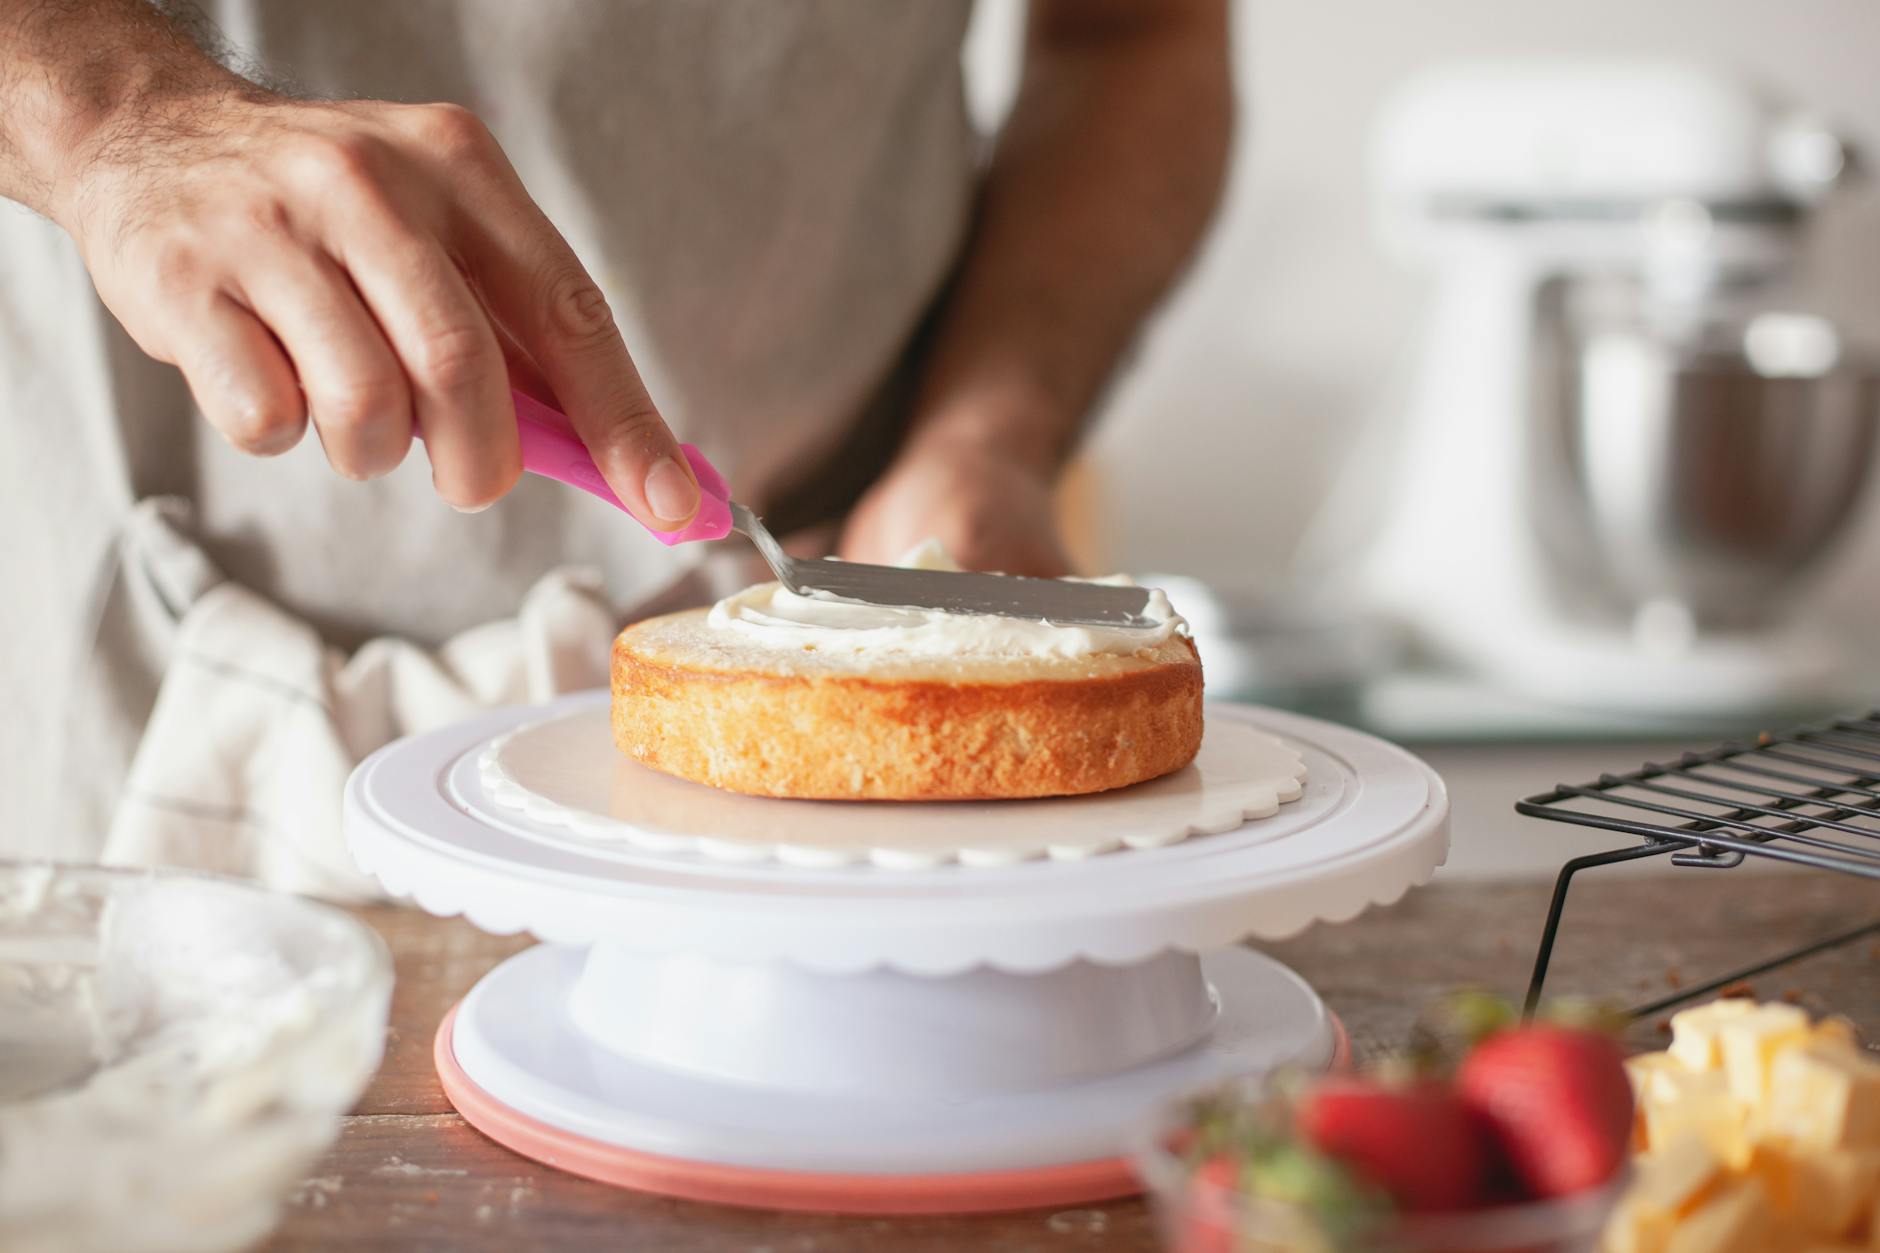
A crumb coat is a very thin layer of frosting applied to the entire cake to "lock in" the crumbs. After applying this thin layer with your offset spatula, place the cake in the fridge for 20 minutes. This creates a firm base so that your final layer of frosting is perfectly smooth and crumb-free.
Final Decorating Tips
You don't need to be a pro to make a beautiful cake. Use your offset spatula to create "swooshes" in the frosting for a rustic look, or use a bench scraper for smooth sides. Top with fresh berries or high-quality sprinkles to add a pop of color. Chilling the cake for at least 30 minutes before serving will help you get those clean, professional slices.
Storage and Make-Ahead Instructions
How to Keep Cake Moist Overnight
If you aren't frosting your cake immediately, wrap the layers tightly in plastic wrap while they are still slightly warm (not hot!). This traps the remaining steam inside the cake, ensuring it stays ultra-moist. Store them on the counter overnight or in the fridge for up to 3 days.
Freezing Cake Layers for Later
Reviving a Slightly Dry Cake
If you accidentally overbaked your cake, don't panic. Make a "simple syrup" by boiling equal parts sugar and water until dissolved. While the cake is still warm, brush the syrup over the layers. This adds a boost of moisture and flavor that can save almost any overbaked cake.
Conclusion: Your New Baking Superpower
Mastering a simple vanilla cake recipe is like having a superpower in the kitchen. It is the foundation for countless celebrations and the ultimate canvas for your creativity. By focusing on room temperature ingredients, proper aeration, and the science of the tender crumb, you have moved beyond "following a recipe" and into the realm of true baking expertise. The next time you need a show-stopping dessert, skip the bakery and reach for your unsalted butter and buttermilk. You’ve got this!
Happy baking from all of us at CookBuddyGuide.com. If you enjoyed this masterclass, be sure to check out our other guides for busy home cooks who want exceptional results without the fuss.
Frequently Asked Questions
Yes! This recipe is specifically developed for all-purpose flour because it's what most home cooks have in their pantry. If you want an even lighter texture, you can replace the AP flour with cake flour, but increase the amount by 2 tablespoons.
You can make a DIY version by adding 1 tablespoon of lemon juice or white vinegar to 1 cup of whole milk. Let it sit for 5-10 minutes until it looks curdled. While not as thick as real buttermilk, it provides the necessary acidity for a tender crumb.
Absolutely. This batter makes about 22-24 standard cupcakes. Bake them at 350°F for 18-22 minutes, or until they pass the toothpick test.