Quick Answer
This reliable pumpkin pie recipe ensures a smooth filling and flaky crust. It also explains to make homemade pumpkin pie from scratch with our practical tips and jiggle test.
Practical note
For A Practical Pumpkin Pie Recipe, this guide centers on Preheat & Prep, Blind Bake, The Flavor Infusion. Those are the checkpoints we would use first in a normal home kitchen before making a bigger change.
Decision table
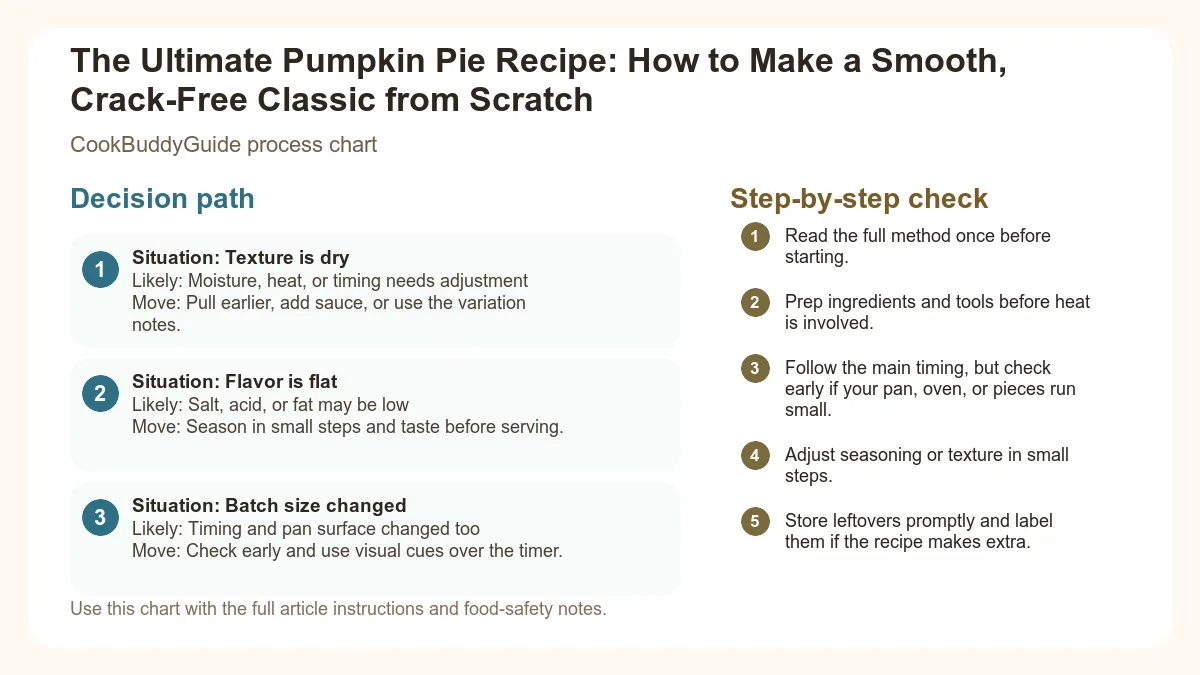
| Situation | Likely cause or meaning | Best move |
|---|---|---|
| Texture is dry | Moisture, heat, or timing needs adjustment | Pull earlier, add sauce, or use the variation notes. |
| Flavor is flat | Salt, acid, or fat may be low | Season in small steps and taste before serving. |
| Batch size changed | Timing and pan surface changed too | Check early and use visual cues over the timer. |
Step-by-step fix
- Read the full method once before starting.
- Prep ingredients and tools before heat is involved.
- Follow the main timing, but check early if your pan, oven, or pieces run small.
- Adjust seasoning or texture in small steps.
- Store leftovers promptly and label them if the recipe makes extra.
Common mistakes
- Changing the recipe before trying the base method once.
- Measuring casually when texture depends on ratios.
- Waiting until the end to fix seasoning.
- Ignoring carryover heat or resting time.
Related topic hubs
Making a homemade pumpkin pie from scratch is about more than just mixing a few cans together. It’s a delicate balance of moisture management, temperature control, and spice infusion. Whether you are a seasoned pro or looking for easy recipes for beginners to round out your holiday menu, this guide will walk you through the science and the soul of the perfect slice. We’re going to achieve a silky-smooth custard, a shatteringly flaky pastry, and a flavor profile that makes the store-bought versions taste like cardboard.
- Why This is the Only Pumpkin Pie Recipe You’ll Ever Need
- The Science of the Perfect Pumpkin Custard
- Canned vs. Fresh Pumpkin: The Great Debate
- Mastering the Crust: Avoiding the Soggy Bottom
- Step-by-Step: Homemade Pumpkin Pie from Scratch
- The Bake: Timing, Temperature, and the Jiggle Test
- Troubleshooting: Why Pumpkin Pies Crack
- Make-Ahead and Storage Tips
- Topping Your Masterpiece
Why This is the Only Pumpkin Pie Recipe You’ll Ever Need
The Quest for the Perfect Custard Texture
Practical: 50+ Pies to Perfect the Spice Ratio
The CookBuddyGuide philosophy is built on reliability. We don't just want your pie to taste good; we want it to look like it belongs on the cover of a magazine. That means solving the "soggy bottom" once and for all and ensuring your Thanksgiving dessert has the structural integrity to stand tall on the plate.
The Science of the Perfect Pumpkin Custard
The Role of Eggs and Fat in Texture
Why Temperature Control Matters for Smoothness
Custards are temperamental. If the oven is too hot, the eggs on the outer edges will overcook and "weep" liquid before the center is even set. This is known as syneresis. To prevent this, we use a two-stage baking process. We start high to set the crust and then drop the temperature significantly to gently "poach" the custard. This ensures that the Custard Filling stays emulsified and smooth from the edge to the center.
Furthermore, sugar plays a chemical role here. Sugar isn't just for sweetness; it’s a hygroscopic element that holds onto water. If you cut the sugar too much, your pie will likely weep and crack because there isn't enough sugar to "bond" the moisture within the protein matrix.
Canned vs. Fresh Pumpkin: The Great Debate
Why Libby’s is the Gold Standard for Consistency
If you choose canned, ensure the label says "100% Pure Pumpkin" and not "Pumpkin Pie Mix," which contains low-quality spices and corn syrup. If you're looking for other ways to use up canned staples, check out our simple five ingredient recipes for quick weeknight inspiration.
How to Process Fresh Sugar Pumpkins for Pie
If you are determined to use fresh pumpkin, you cannot simply roast it and mash it. You must use the "strain and roast" method. According to the University of Illinois Extension, fresh pumpkin has a much higher water content than canned. To fix this, roast your pumpkin halves until tender, puree the flesh, and then let it sit in a fine-mesh sieve lined with cheesecloth for at least 2 hours. You’ll be shocked at how much water drains out. This step is vital to prevent a watery, flavorless filling.
Mastering the Crust: How to Avoid the Dreaded Soggy Bottom
The Art of Blind Baking (Par-Baking)
The number one complaint with pumpkin pie is a soft, raw crust under the filling. Because the filling is so wet, the crust doesn't have a chance to crisp up before it gets soaked. The solution is Blind Baking. This means baking the crust partially (or fully) before adding the filling.
Consider using Pie Weights or even just dried beans to keep the flaky pastry from puffing up. You want to bake it until the edges are just starting to turn golden. For a detailed breakdown of this essential technique, this guide on how to blind bake pie crust is an excellent resource for mastering the timing.
Choosing the Right Pie Plate: Glass vs. Ceramic vs. Metal
Pro Tip: After par-baking, brush the bottom of the hot crust with a thin layer of beaten egg white. This creates a "moisture barrier" that prevents the custard from seeping into the pastry, keeping it crisp for days.
A Practical CookBuddy Pumpkin Pie
Ingredients
- 1 disc of high-quality pie dough (Shortening vs Butter: Choose a 50/50 mix for flavor and flakes!)
- 15 oz (1 can) 100% Pure Pumpkin Puree
- 3 large eggs + 2 large egg yolks
- 1/2 cup granulated sugar
- 1/3 cup packed light brown sugar
- 1.5 cups Evaporated Milk (classic diner-style texture)
- 1.5 tsp ground cinnamon
- 1 tsp ground ginger
- 1/4 tsp cloves
- 1/4 tsp nutmeg (freshly grated is best!)
- 1/2 tsp salt
- 1 tsp vanilla extract
Instructions
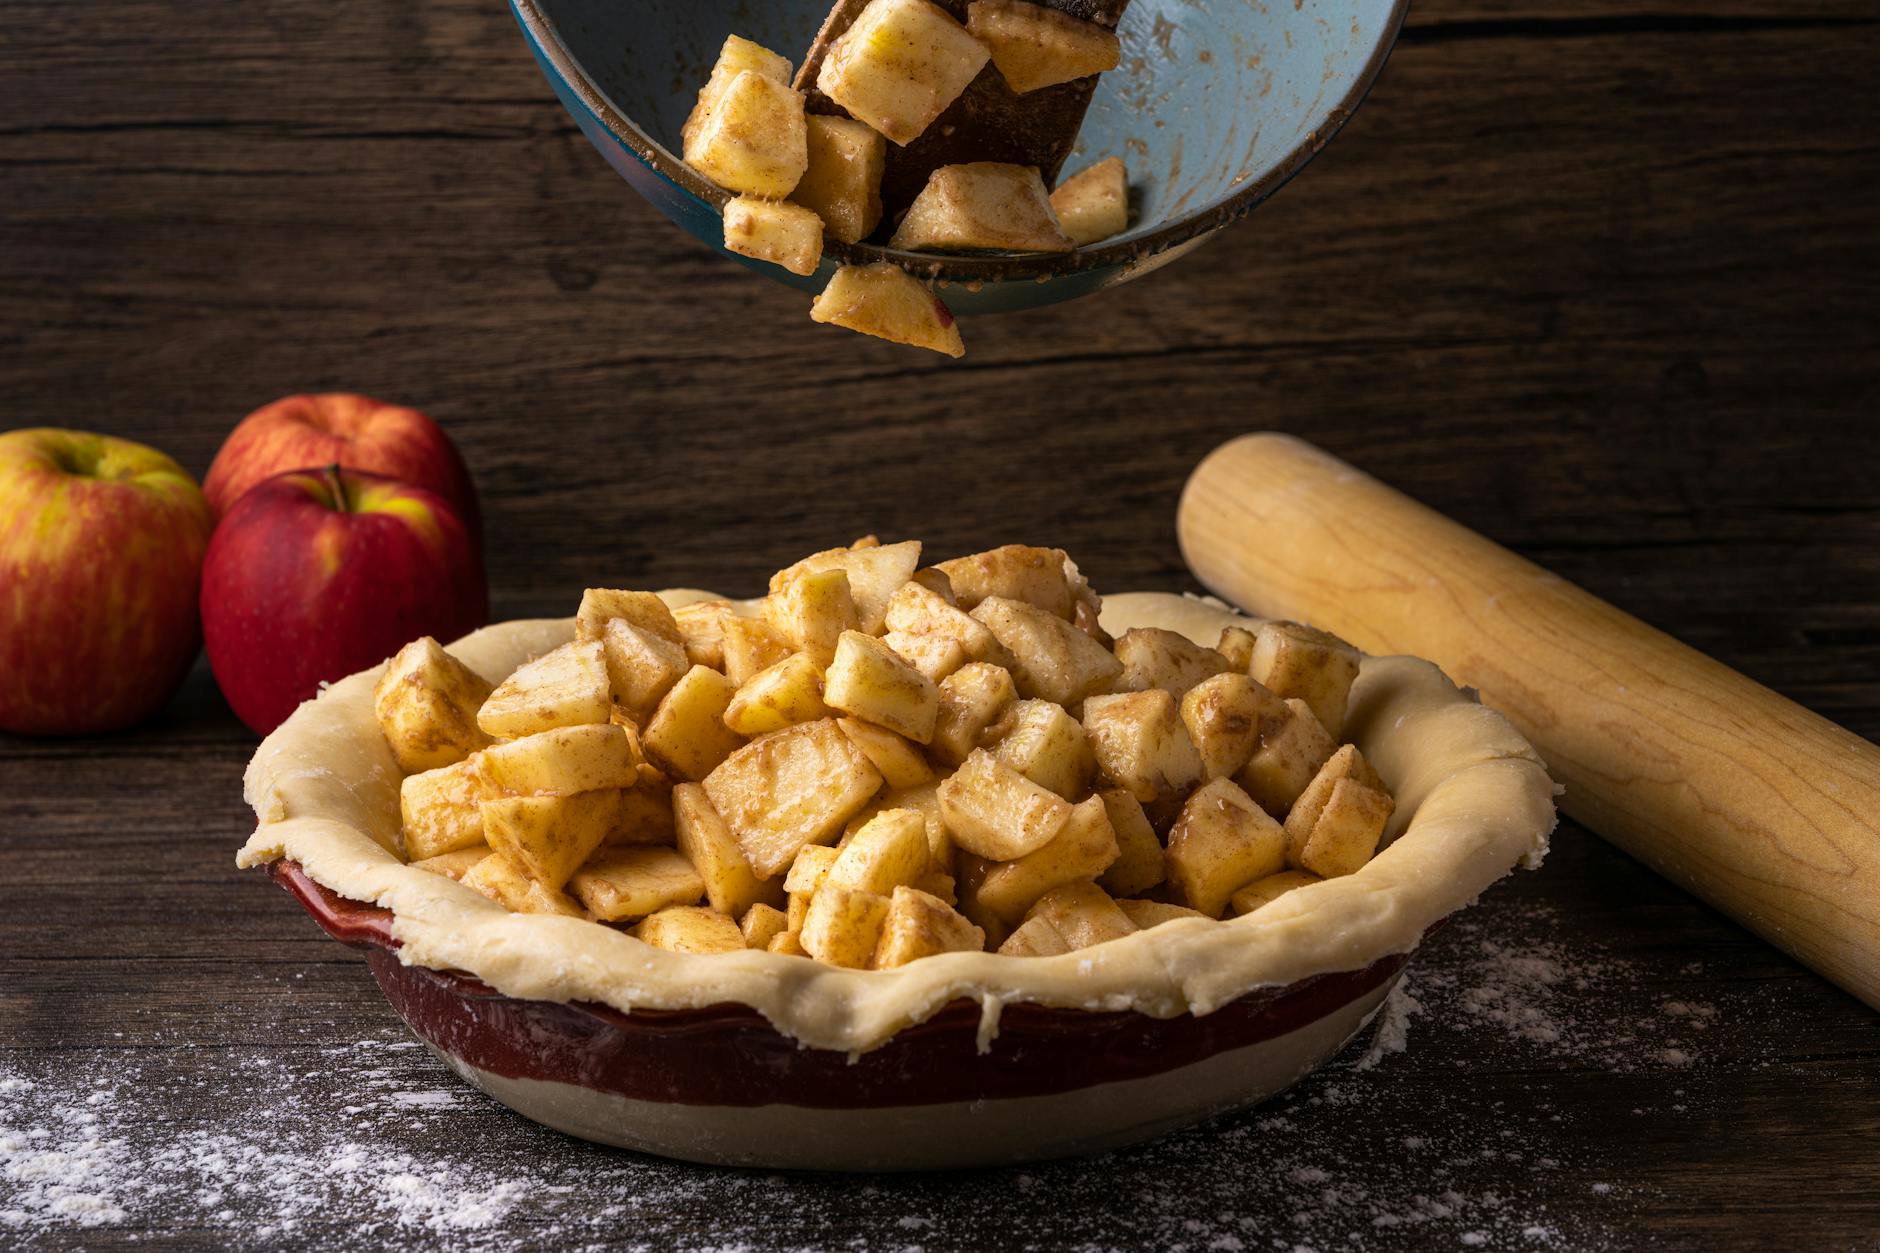
- Preheat & Prep: Preheat your oven to 425°F (218°C). Roll out your dough and fit it into a 9-inch pie plate. Crimp the edges.
- Blind Bake: Line the dough with parchment paper and fill with pie weights. Bake for 12-15 minutes. Remove weights and parchment, then bake for another 5 minutes until the bottom looks dry.
- The Flavor Infusion: In a medium saucepan, combine the pumpkin puree, sugars, salt, and all spices. Heat over medium heat, stirring constantly, for about 5 minutes. This "blooms" the spices and cooks out the "canned" taste of the pumpkin.
- Mix the Custard: Whisk the eggs and yolks in a large bowl. Slowly whisk in the warm pumpkin mixture. Gradually stir in the evaporated milk and vanilla. Tip: Stir gently to avoid creating air bubbles, which cause cracks!
- The First Bake: Pour the filling into the par-baked crust. If the edges of your crust are already dark, protect them with aluminum foil or a pie shield.
- The Temperature Drop: Place the pie in the oven and immediately turn the heat down to 350°F (175°C). Bake for 45-55 minutes.
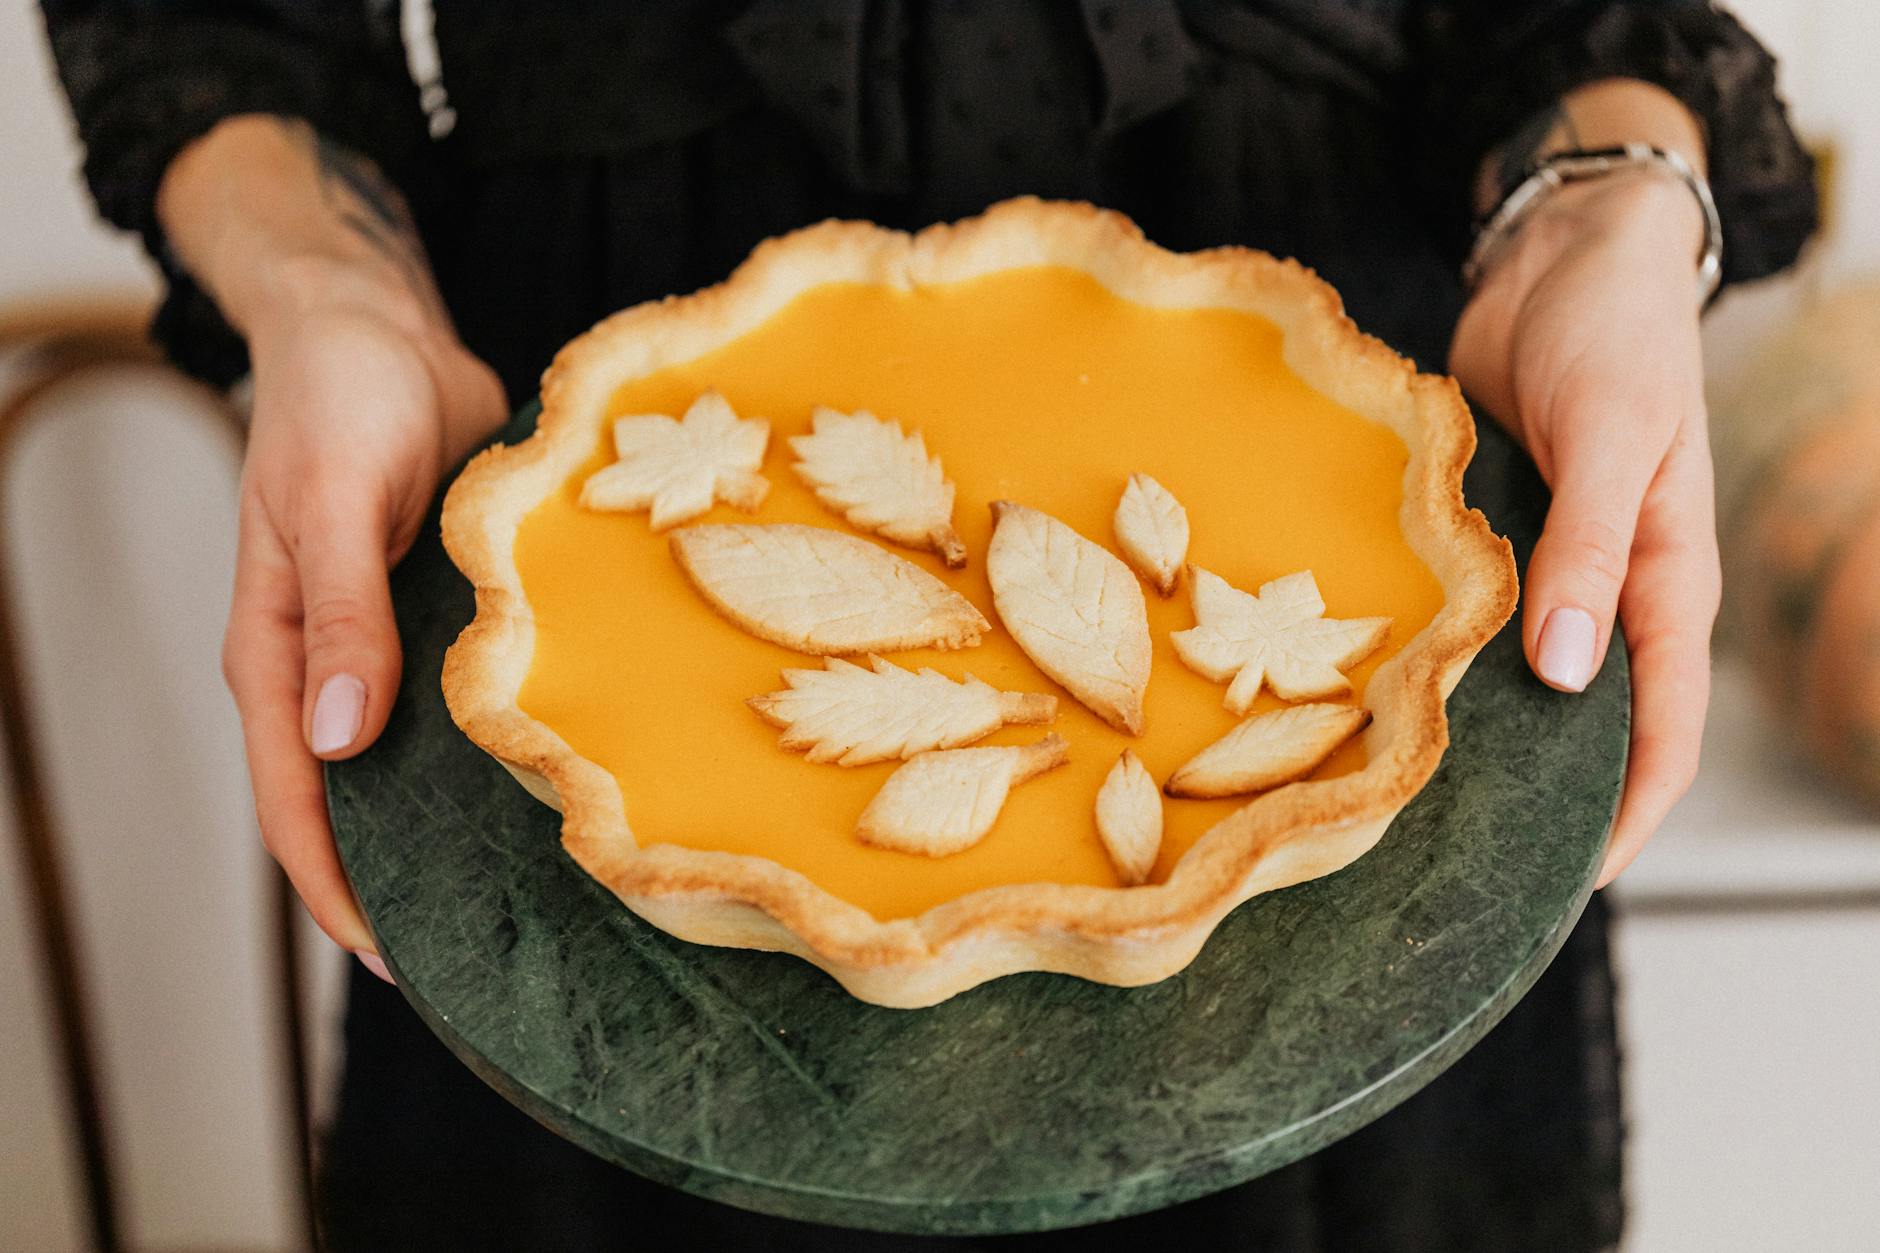
- The Jiggle Test: The pie is done when the edges are set and slightly puffed, but the center (about 2-3 inches) still wobbles like Jell-O when shaken.
- Cooling: Turn off the oven, crack the door, and let the pie sit inside for 15 minutes. Then, move it to a cooling rack to cool completely at room temperature.
Step-by-Step: Homemade Pumpkin Pie from Scratch
The Ingredient List: Spices, Dairy, and Aromatics
For the spices, I cannot stress enough the importance of freshness. If your nutmeg has been in the pantry since the last presidential election, throw it out. Buy whole nutmeg and a microplane; the difference in aroma is astronomical. The ground ginger provides a necessary "bite" that cuts through the richness of the eggs and milk.
Mixing Technique: Avoiding Air Bubbles
The Bake: Timing, Temperature, and the Jiggle Test
The Low and Slow Method for a Crack-Free Surface
The secret to a crack-free pie is preventing the eggs from reaching a "hard boil." By dropping the oven temperature to 350°F (or even 325°F if your oven runs hot), we allow the proteins to set slowly. Think of it like slow-cooking a steak versus searing it. A slow-cooked custard is flexible and smooth; a fast-cooked one is brittle and prone to breaking.
Visual Cues: How to Tell When It’s Done
Don't rely solely on the timer. Every oven is different. You need to look for the "jiggle." If the whole pie sloshes like water, it needs more time. If the whole pie is firm and doesn't move, you’ve overbaked it, and it will likely crack as it cools. You want the "Goldilocks" zone: the edges should be stable, but the center should have a distinct, gelatinous wobble.
If you want to be scientifically certain, use an instant-read thermometer. The internal temperature should be exactly 175°F (80°C). For a deeper dive into the physics of this, check out this guide on how to tell when pumpkin pie is done.
Troubleshooting: Why Pumpkin Pies Crack (and How to Fix It)
Overbaking: The Number One Enemy
Most cracks happen because the pie was left in the oven five minutes too long. When the egg proteins get too hot, they tighten up and squeeze out moisture. This causes the filling to shrink. Since the filling is "stuck" to the edges of the crust, the only way it can shrink is by pulling apart in the middle. This is why preventing pumpkin pie cracks is mostly about temperature management and early removal from the heat.
The Cooling Process: Why Patience is a Virtue
Even if you bake it perfectly, a rapid change in temperature can cause a crack. If you take a 350°F pie and put it directly into a 65°F kitchen, the sudden "shock" causes the steam inside to condense too quickly. Consider turning off the oven and letting the pie sit with the door ajar for at least 15-20 minutes. This gradual transition is the best insurance policy for a smooth surface.
How to hide a crack: If the worst happens, don't panic! This is what whipped cream was invented for. A beautiful border of piped cream or a rustic dollop in the center hides any imperfections and adds a lovely contrast to the dense pie.
Make-Ahead and Storage Tips for Busy Hosts
Why Pumpkin Pie Actually Tastes Better on Day Two
Freezing Instructions: Does Pumpkin Pie Freeze Well?
Speaking of food safety, remember that because this is an egg-based custard, it cannot sit out on the counter all day. According to official safe storage guidelines, custard pies should be refrigerated within two hours of cooling to prevent bacterial growth.
Topping Your Masterpiece: Beyond Basic Whipped Cream
Bourbon-Infused Whipped Cream
To elevate your Thanksgiving dessert, try adding a tablespoon of good bourbon and a teaspoon of maple syrup to your heavy cream before whipping. The oaky notes of the bourbon complement the Pumpkin Pie Spice beautifully. Always whip your cream to "stiff peaks" so it holds its shape on the pie.
Crunchy Praline Pecan Topping
If you prefer a bit of texture, a praline crumble is the way to go.
- Melt 2 tbsp butter in a pan.
- Add 1/2 cup chopped pecans and 2 tbsp brown sugar.
- Cook for 3 minutes until fragrant and toasted.
- Let it cool completely and sprinkle over the pie just before serving.
Frequently Asked Questions
A: This usually happens because the dough wasn't rested long enough or was stretched too much when being placed in the pan. Always let your dough rest in the fridge for at least 30 minutes before rolling, and never "pull" it to fit the plate.
A: That is called "weeping." It usually happens if the pie was overbaked or if it was refrigerated while still warm. Ensure the pie is completely cool to the touch before putting it in the fridge.
Conclusion: Your Path to Pumpkin Perfection
Mastering the pumpkin pie recipe is a rite of passage for any home cook. It requires patience, a bit of scientific understanding, and a lot of love. By focusing on the details—heating your spices, par-baking your crust, and respecting the "jiggle test"—you are guaranteed to produce a pie that is the highlight of your holiday table.
Remember, the most important ingredient is time. Don't rush the cooling process, and don't be afraid to bake your pie a full day in advance. Your future self, standing in a busy kitchen on Thanksgiving morning, will thank you for having the dessert already finished and waiting in the fridge. Happy baking from all of us at CookBuddyGuide.com!