Quick Answer
This guide explains how to tell when oil is hot enough for frying. It also explains testing oil temperature for frying using the wooden spoon, bread, and flour tests for crisp results.
Practical note
For How to Tell When Oil is Hot Enough, this guide centers on If no bubbles form, If a few lazy bubbles appear, If steady, vigorous bubbling occurs. Those are the checkpoints we would use first in a normal home kitchen before making a bigger change.
Decision table
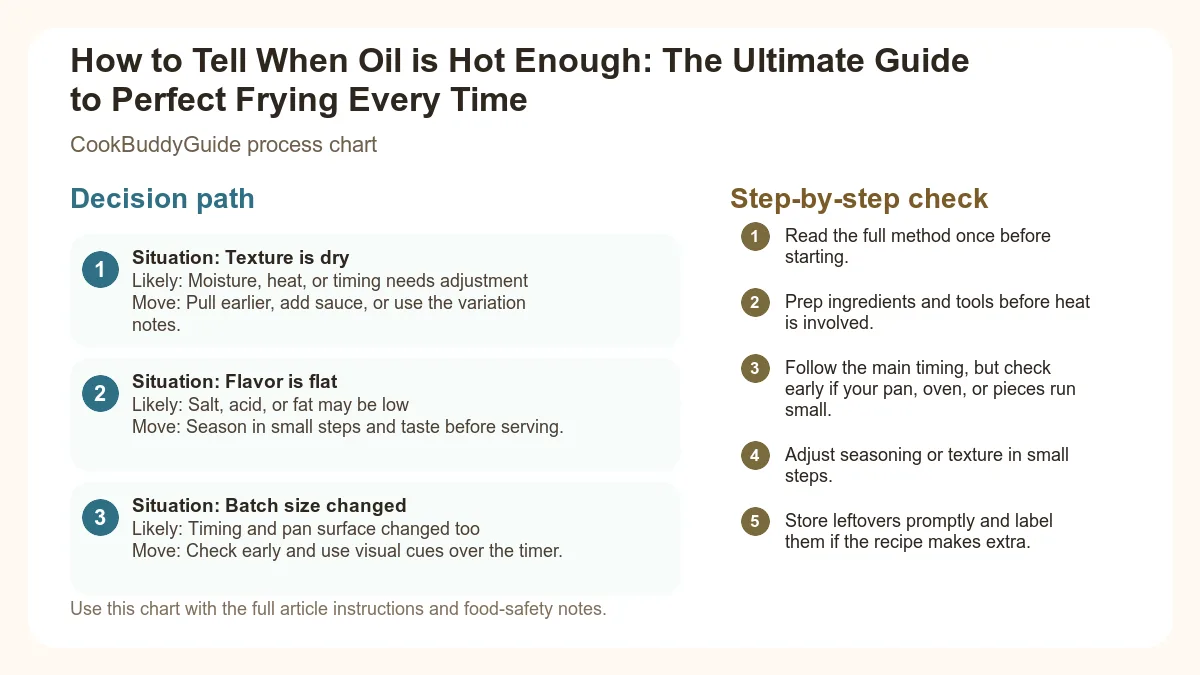
| Situation | Likely cause or meaning | Best move |
|---|---|---|
| Texture is dry | Moisture, heat, or timing needs adjustment | Pull earlier, add sauce, or use the variation notes. |
| Flavor is flat | Salt, acid, or fat may be low | Season in small steps and taste before serving. |
| Batch size changed | Timing and pan surface changed too | Check early and use visual cues over the timer. |
Step-by-step fix
- Read the full method once before starting.
- Prep ingredients and tools before heat is involved.
- Follow the main timing, but check early if your pan, oven, or pieces run small.
- Adjust seasoning or texture in small steps.
- Store leftovers promptly and label them if the recipe makes extra.
Common mistakes
- Changing the recipe before trying the base method once.
- Measuring casually when texture depends on ratios.
- Waiting until the end to fix seasoning.
- Ignoring carryover heat or resting time.
Related topic hubs
We’ve all been there: you’ve spent forty minutes carefully breading a batch of buttermilk chicken, your kitchen smells like a gourmet bistro, and you’re ready for that satisfying sizzle. You drop the first piece in, and... nothing. The chicken sinks to the bottom of the cast iron skillet, sitting in a pool of silent, lukewarm neutral oil. Within minutes, that beautiful breading has turned into a heavy, oil-logged sponge. Or, worse yet, the oil is screaming hot, the exterior charcoals in seconds, and you’re left with a raw, dangerous center.
- The Science of Frying: Why Temperature is Everything
- How to Tell When Oil is Hot Enough Without a Thermometer
- The Precision Approach: Using a Thermometer
- Troubleshooting: What Happens When Temperature Goes Wrong?
- How to Maintain and Recover Oil Temperature
- Safety First: Frying Tips Every Home Cook Needs
The Science of Frying: Why Temperature is Everything
To truly master testing oil temperature for frying, you have to understand what is happening inside that pot. Frying is essentially a high-speed form of convection cooking. Unlike baking, where air (a poor conductor) transfers heat, oil has high thermal conductivity, allowing it to blast the surface of food with intense energy instantly.
The Maillard Reaction and Texture
The magic happens when your oil hits that crucial 350°F+ range. This triggers the Maillard reaction, a chemical process between amino acids and reducing sugars that gives fried food its distinctive savory flavor and golden brown color. If your oil is too cold, this reaction never fully develops, leaving your food pale and tasting "floury" or bland.
The Role of Steam in Oil Repulsion
How to Tell When Oil is Hot Enough Without a Thermometer
Method 1: The Wooden Spoon Test (The Bubble Test)
- If no bubbles form: The oil is under 300°F. Wait longer.
- If a few lazy bubbles appear: You're around 325°F. Good for slow-frying chicken, but not quite there for fries.
- If steady, vigorous bubbling occurs: You’ve hit the 350°F-365°F sweet spot. This is the gold standard for most frying.
- If the oil bubbles violently: It's likely over 400°F. Turn the heat down immediately to avoid reaching the smoke point.
Method 2: The Bread Cube Method (The 60-Second Rule)
- If the bread takes 60 seconds to brown: The oil is approximately 350°F-365°F.
- If it browns in 30 seconds: Your oil is closer to 375°F-385°F (perfect for thin items like potato chips).
- If it stays white for over a minute: Your oil is too cold.
Method 3: The Flour Test (The Instant Sizzle)
Method 4: The Popcorn Kernel Trick
Method 5: The Water Droplet Test (Proceed with Caution)
The Precision Approach: Using a Thermometer
While the tricks above are great, nothing beats the accuracy of an instant-read thermometer or a dedicated clip-on deep-fry thermometer. Experienced cooks use these because they know that a 20-degree difference can be the difference between a crisp donut and a greasy mess.
Ideal Frying Temperatures by Food Type
The CookBuddy Temperature Guide
- Chicken (Bone-in): 325°F - 350°F. You need a slightly lower temp so the meat reaches 165°F internally before the skin burns.
- Donuts & Fritters: 360°F - 375°F. High heat ensures the dough rises quickly and doesn't absorb oil.
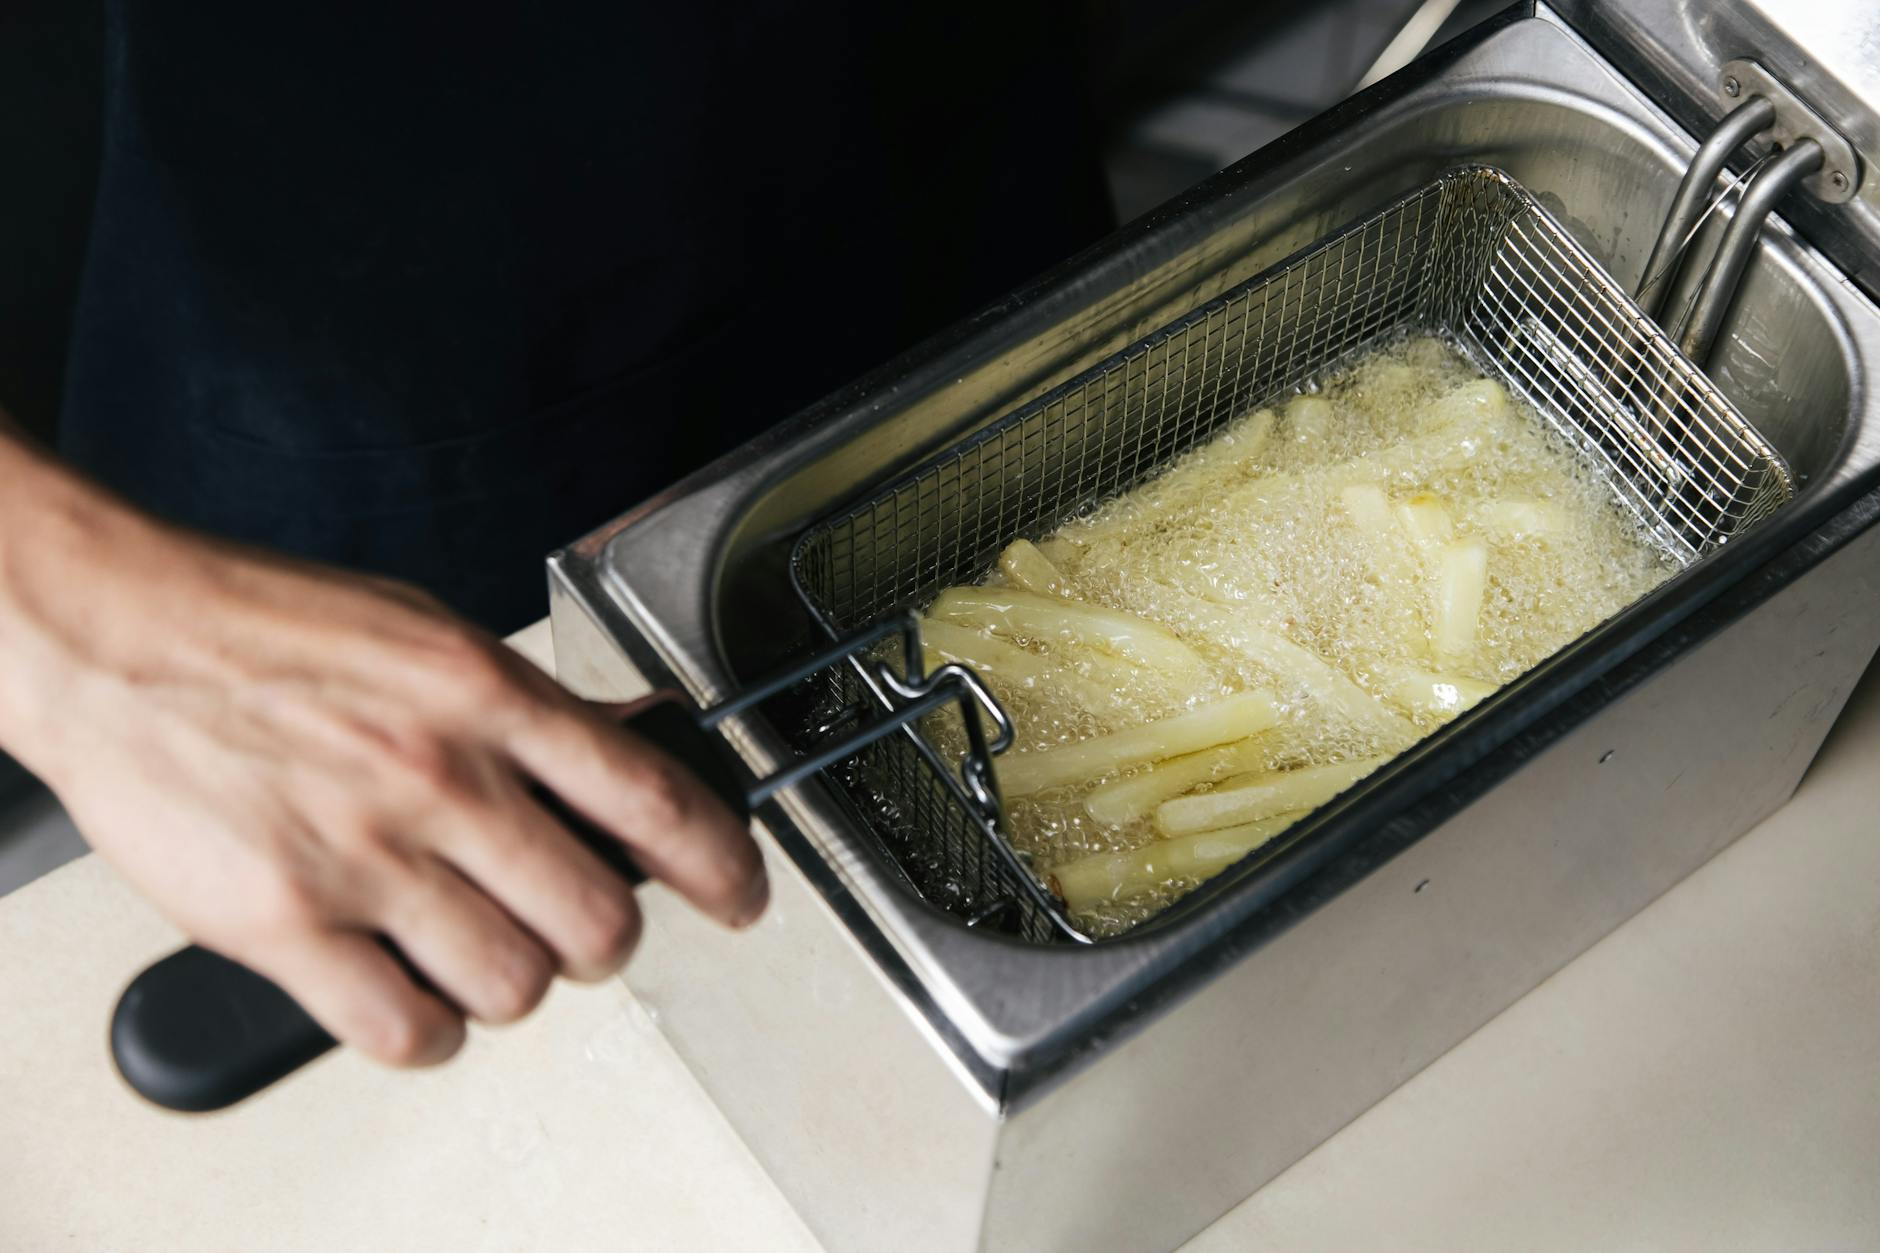
- French Fries (The Double Fry): First fry at 325°F to soften the potato; second fry at 375°F to achieve that golden brown crunch.
- Seafood (Shrimp/Calamari): 375°F. Seafood cooks incredibly fast, so you want a quick, hot sear.
Troubleshooting: What Happens When Temperature Goes Wrong?
The Soggy Disaster: Signs Your Oil is Too Cold
If you see your food sitting in the oil with very few bubbles, or if the bubbles look "heavy" and slow, your oil is too cold. The result is greasy food. Why? Because the oil absorption rate skyrockets when the internal steam pressure isn't strong enough to push the oil away. If you realize your oil is too cold mid-fry, don't just leave the food in. Pull it out, let it drain on a wire rack, wait for the oil to reach the correct temperature, and then re-fry. It won't be perfect, but it will be better than a grease-soaked sponge.
The Burnt & Raw Dilemma: Signs Your Oil is Too Hot
When oil is too hot, the exterior of the food undergoes the Maillard reaction too quickly, eventually carbonizing and turning bitter. Meanwhile, the thermal conductivity hasn't had enough time to move the heat to the center of the food. If you see your breading turning dark brown in less than 30 seconds, your oil is likely over 400°F. This is dangerous because you are approaching the flash point—the temperature at which oil vapors can ignite.
Smoke Point vs. Flash Point
Every oil has a smoke point, the temperature at which it begins to break down and release acrid smoke. For example, extra virgin olive oil has a low smoke point (325°F-375°F), making it poor for deep frying. Canola or Peanut oil can handle 400°F-450°F. If your oil starts smoking, it is ruined. The flavor will be "off," and the chemical structure has changed. Discard it (safely) and start over.
How to Maintain and Recover Oil Temperature
The Danger of Overcrowding the Pan
Pro Technique: The Recovery Strategy
- Pre-heat slightly higher: If your target is 350°F, heat the oil to 365°F. The temperature will drop to exactly where you want it the moment the food hits the pan.
- Fry in small batches: Never fill more than half the surface area of the oil. This allows for proper convection cooking.
- The 'Recovery Time' Secret: Always wait for the oil to return to your target temperature before starting the next batch. According to maintaining consistent oil temperature, ignoring oil recovery time is the #1 cause of inconsistent results between the first and last batch.
Safety First: Frying Tips Every Home Cook Needs
Choosing the Right Oil
- Peanut Oil: The gold standard for flavor and high heat.
- Canola Oil: Affordable and widely available.
- Avocado Oil: An incredibly high smoke point (500°F), though more expensive.
Never, ever use water. Water will sink to the bottom, vaporize instantly, and create a fireball. Instead, slide a metal lid over the pot to cut off the oxygen, or dump a generous amount of baking soda on it. Keep a fire extinguisher rated for grease (Class B) in your kitchen. For more details, check out the deep fat frying safety guidelines from the USDA.
Yes! Once the oil has cooled, strain it through a fine-mesh sieve or cheesecloth to remove food particles. Store it in a cool, dark place. Usually, reuse my oil 3-4 times before the smoke point starts to drop too low for effective frying.
Never pour it down the drain; it will solidify and ruin your plumbing. Pour cooled oil into a non-recyclable container (like an old coffee tin or milk carton) and toss it in the trash.
Conclusion: Your Path to Frying Mastery
Mastering how to tell when oil is hot enough is a transformative moment for any home cook. It’s the difference between a meal that feels like a chore and a meal that feels like a celebration. By using the wooden spoon method, monitoring your oil recovery time, and respecting the smoke point of your fats, you can achieve that perfect, golden brown crunch every single time.
The next time you’re standing over a cast iron skillet, remember: patience is your best ingredient. Wait for the bubbles, watch for the sizzle, and don't be afraid to use a thermometer to verify your instincts. Happy frying!