Quick Answer
Master the brown butter technique with our reliable guide. It also explains how to brown butter perfectly every time for cookies, pasta, and more. Elevate your cooking.
Practical note
For How to Brown Butter, this guide centers on Refrigeration, Freezing, Reheating. Those are the checkpoints we would use first in a normal home kitchen before making a bigger change.
Decision table
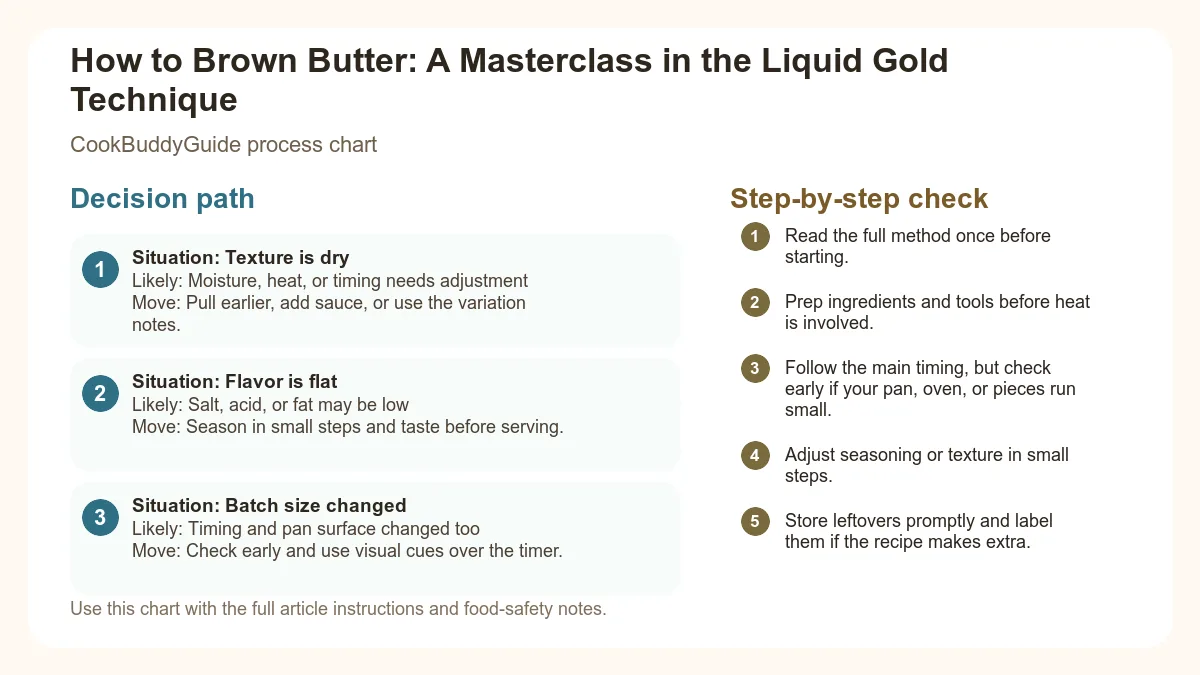
| Situation | Likely cause or meaning | Best move |
|---|---|---|
| Texture is dry | Moisture, heat, or timing needs adjustment | Pull earlier, add sauce, or use the variation notes. |
| Flavor is flat | Salt, acid, or fat may be low | Season in small steps and taste before serving. |
| Batch size changed | Timing and pan surface changed too | Check early and use visual cues over the timer. |
Step-by-step fix
- Read the full method once before starting.
- Prep ingredients and tools before heat is involved.
- Follow the main timing, but check early if your pan, oven, or pieces run small.
- Adjust seasoning or texture in small steps.
- Store leftovers promptly and label them if the recipe makes extra.
Common mistakes
- Changing the recipe before trying the base method once.
- Measuring casually when texture depends on ratios.
- Waiting until the end to fix seasoning.
- Ignoring carryover heat or resting time.
Related topic hubs
Table of Contents
- Introduction: Why Brown Butter is a Kitchen Superpower
- Essential Tools for the Perfect Brown Butter Technique
- The Step-by-Step Guide: How to Brown Butter Like a Pro
- Critical Safety: How to Stop the Cooking Process
- Troubleshooting and Common Mistakes
- Using Brown Butter in Baking
- Savory Applications for Beurre Noisette
- Storage and Make-Ahead Tips
- Frequently Asked Questions
Introduction: Why Brown Butter is a Kitchen Superpower
What is Brown Butter (Beurre Noisette)?
In the professional culinary world, brown butter is known as Beurre Noisette, which literally translates to "hazelnut butter." This isn't because it contains nuts, but because the finished product takes on a deep, nutty flavor and a rich amber hue. Unlike clarified butter or ghee, where the milk solids are removed entirely to raise the smoke point, brown butter keeps those solids in the pan. We toast them until they reach a state of caramelized perfection.
The Science of the Maillard Reaction
The magic of this culinary technique lies in the science of browning butter. Butter is an emulsion consisting of roughly 80-82% saturated fat, 16-18% water, and about 1-2% milk solids (proteins and sugars). When you heat butter, the water begins to evaporate. Once the water is gone, the temperature of the fat rises above 212°F (100°C), allowing the Maillard reaction to occur.
This is the same chemical reaction that gives a seared steak its crust or a loaf of bread its golden skin. In the case of butter, the proteins and lactose in the milk solids undergo a transformation, creating hundreds of new flavor compounds. This is why brown butter tastes so much more complex than melted butter; you are literally creating flavor through heat and chemistry.
Essential Tools for the Perfect Brown Butter Technique
Why Pan Choice Matters (The Light-Colored Rule)
Consider a high-quality stainless steel skillet or a light-colored ceramic-coated pan. According to choosing the right pan for browning butter, the visual feedback provided by a light-colored surface is the only way to ensure you don't burn the delicate solids.
Utensils and Heat Control
You will also need a heat-proof silicone spatula or a wire whisk. Choose a spatula because it allows you to scrape the "fond"—those delicious golden brown bits—off the bottom of the pan to ensure they don't stick and char. As for the stove, you want a burner that provides consistent medium heat. High heat moves too fast, and low heat takes forever to evaporate the water, often resulting in a greasy mess rather than a toasted masterpiece.
The Step-by-Step Guide: How to Brown Butter Like a Pro
Stage 1: Melting and Prep
Start by cutting your butter into uniform, tablespoon-sized chunks. If you throw a whole stick into a hot pan, the outside will start browning before the center has even melted. Place the chunks in your cold stainless steel skillet and turn the heat to medium. Kitchen tip: Use unsalted butter (more on that later) to keep the foaming manageable.
Stage 2: The Foaming and Sizzling Phase
As the butter melts, it will begin to bubble and sizzle loudly. This is the water content evaporating. You’ll notice a thick layer of white foam forming on the surface. This is the foaming stage. During this time, stay close to the stove. The "crackling" sound is your indicator that there is still water present. As long as it’s sizzling, the butter cannot rise above 212°F, so it won't brown yet.
Stage 3: The Golden Transformation
Once the sizzling subsides, the bubbles will become smaller and more uniform. The foam may subside slightly or become more translucent. Now, the temperature is climbing. Use your spatula to move the foam aside so you can see the bottom of the pan. You will start to see tiny specks—the milk solids—turning a light golden color. This is the beginning of the beurre noisette recipe coming to life.
Stage 4: Achieving the Nutty Aroma
This is the "10-second window." The color will shift rapidly from golden to a deep, toasted amber. You will smell a distinct toasted aroma that is unmistakable. The golden brown bits will settle at the bottom of the pan. The moment it smells like toasted nuts and looks like the color of a copper penny, it is done.
Critical Safety: How to Stop the Cooking Process
The Ice Bath Method
If you are new to this, consider having a heat-proof glass or ceramic bowl waiting next to the stove. The moment the butter is done, pour it immediately into the bowl. If you are worried you've gone a second too long, you can set that bowl inside a larger bowl filled with ice water to drop the temperature instantly. This stops the emulsification process from breaking further and preserves the flavor profile.
Handling Hot Fat
Please be careful! Butter can reach temperatures of 250°F to 300°F during this process. Avoid getting any water droplets into the pan during the later stages, as this can cause the hot fat to splatter violently. Always use a long-handled spatula to keep your hands away from the steam.
Troubleshooting and Common Mistakes
If the sediment at the bottom of the pan is black and the aroma is acrid or smoky rather than nutty, it is burnt. There is no way to "fix" burnt butter. Discard it, wipe the pan clean, and start over. It’s a $1 mistake that can ruin a $20 steak or a whole batch of cookies.
If the foam is too thick to see through, keep a small metal spoon nearby. Dip the spoon into the butter and lift it out; the color of the liquid on the spoon will give you an accurate reading of the progress without having to fight the foam in the pan.
Using Brown Butter in Baking
Browning butter is the easiest way to upgrade your baking game, but it’s not a 1:1 swap without a little bit of math. When you brown butter, you lose about 15-20% of its volume due to water evaporation. If a recipe calls for 1 cup of butter and you brown exactly 1 cup, you will end up with only about 0.8 cups of fat.
A Practical Brown Butter Chocolate Chip Cookies
According to baking with brown butter, you should either start with more butter than the recipe requires or add a tablespoon of water back into the cooled brown butter to restore the moisture balance. This ensures your cookies don't turn out too greasy or crumbly.
Pro-Tip: Creaming Brown Butter
Many cake recipes require "creaming" room-temperature butter with sugar to create air pockets. You can still use brown butter here! Simply brown the butter, pour it into a bowl, and let it solidify in the fridge until it reaches the consistency of softened butter. Then, proceed with your recipe as usual. You get the nutty flavor and the proper structural aeration.
Savory Applications for Beurre Noisette
While often associated with sweets, the brown butter technique is a staple in savory French cuisine. It adds a level of sophistication to simple meals that salt and pepper alone cannot achieve. For more inspiration, check out these tips on cooking with brown butter.
Brown Butter Pasta Sauces
Elevating Vegetables and Seafood
Storage and Make-Ahead Tips
The beauty of brown butter is that it stores incredibly well. Often, make a large batch on Sunday to use throughout the week.
- Refrigeration: Store in an airtight glass jar for up to 2 weeks. The solids will settle at the bottom, so give it a stir if you are using it in a liquid state.
- Reheating: Reheat gently over low heat or in the microwave at 50% power. Avoid high heat, or you risk burning the already-toasted milk solids.
Conclusion: Master the Liquid Gold
Learning how to brown butter is a rite of passage for any serious home cook. It is the bridge between "good" home cooking and "unforgettable" culinary experiences. By choosing a stainless steel skillet, maintaining medium heat, and watching for those golden brown bits, you can transform the most basic ingredient in your fridge into a powerhouse of flavor.
The next time you’re standing over the stove, listen for the sizzle, wait for the foam, and follow your nose to that perfect toasted aroma. Whether you're folding it into a cake batter or drizzling it over a simple bowl of pasta, you'll know that you've mastered one of the most essential techniques in the kitchen. Happy cooking!